

Where to start? Not too sure. This was supposed to be a revolutionary new product, and yet the specs don’t correlate with the hype. Why am I saying this? There’s no doubt DJI has stuffed a significant amount of technology into this new, fold-able little drone, but is it an upgrade from the DJI Spark? Within this blog post, we’ll go over my likes and dislikes of the drone while comparing the Mini to the Spark.
What is the DJI MAVIC Mini?
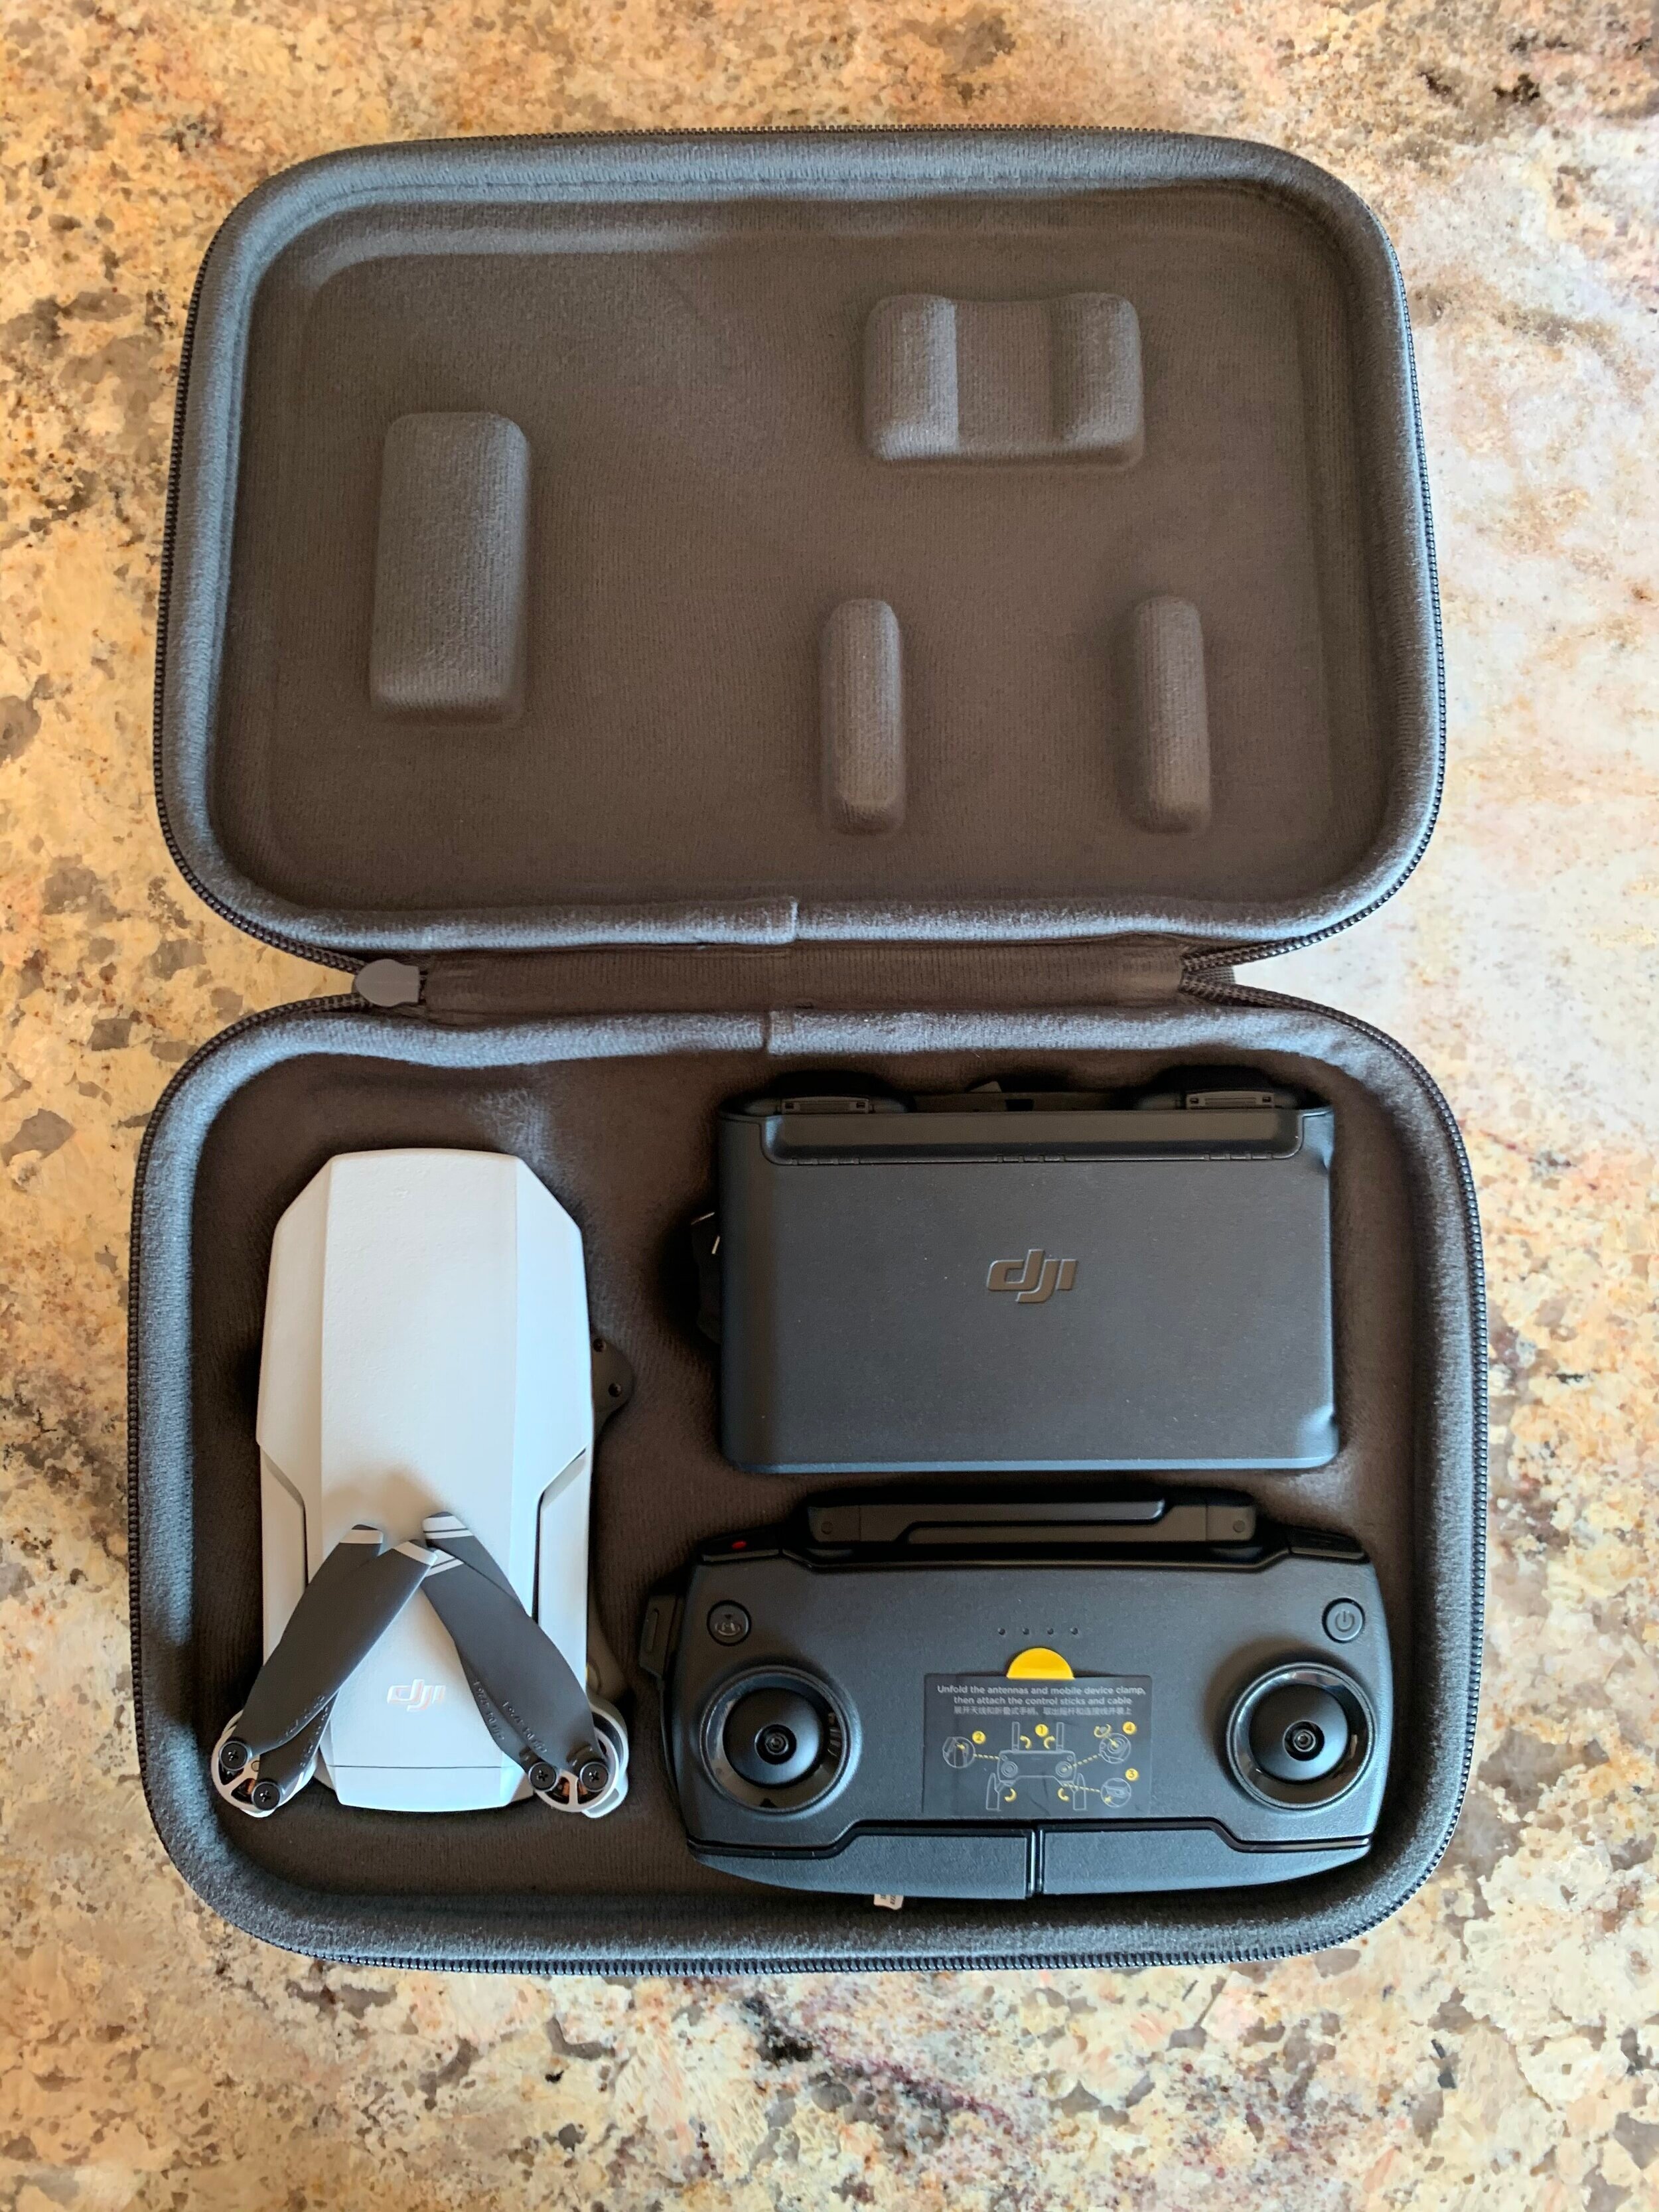
DJI’s latest creation is weighing only 249 grams and capable of capturing 2.7k video footage. Same with the Spark, JPS is the only still file format. Potential flight time is up to 30 minutes, and most of the quick shots offered within the DJI GO 4 app the Mini has makes this a cool drone. But “cool” as in a toy or a tool to add to your current flight systems. Can the Mini fit in a back jean pocket? Yes. Will this replace your Mavic Pro? No.
Let’s get into my head, AKA thoughts.
Is the MAVIC Mini a Good Drone?
This is an ambiguous question because perspective is everything. If you’re looking for something to take quick pics and video and then immediately upload to social, this could be for you. If you are thinking of or already have an aerial media business, I’d save your money.
Likes:
Increased Range - I was never able to achieve 4km anywhere - Urban, suburban, or rural environments. My Spark would start having transmissions issues only 150-250 meters away, but the Mini went 1.2k meters before any lag was experienced. The range is a vast improvement, and my favorite attribute overall.
Battery Life - with the Spark I was averaging around 7-10 mins with each battery, now, the Mini is close to 25 minutes average but a mean value of 22 based on all my flights.
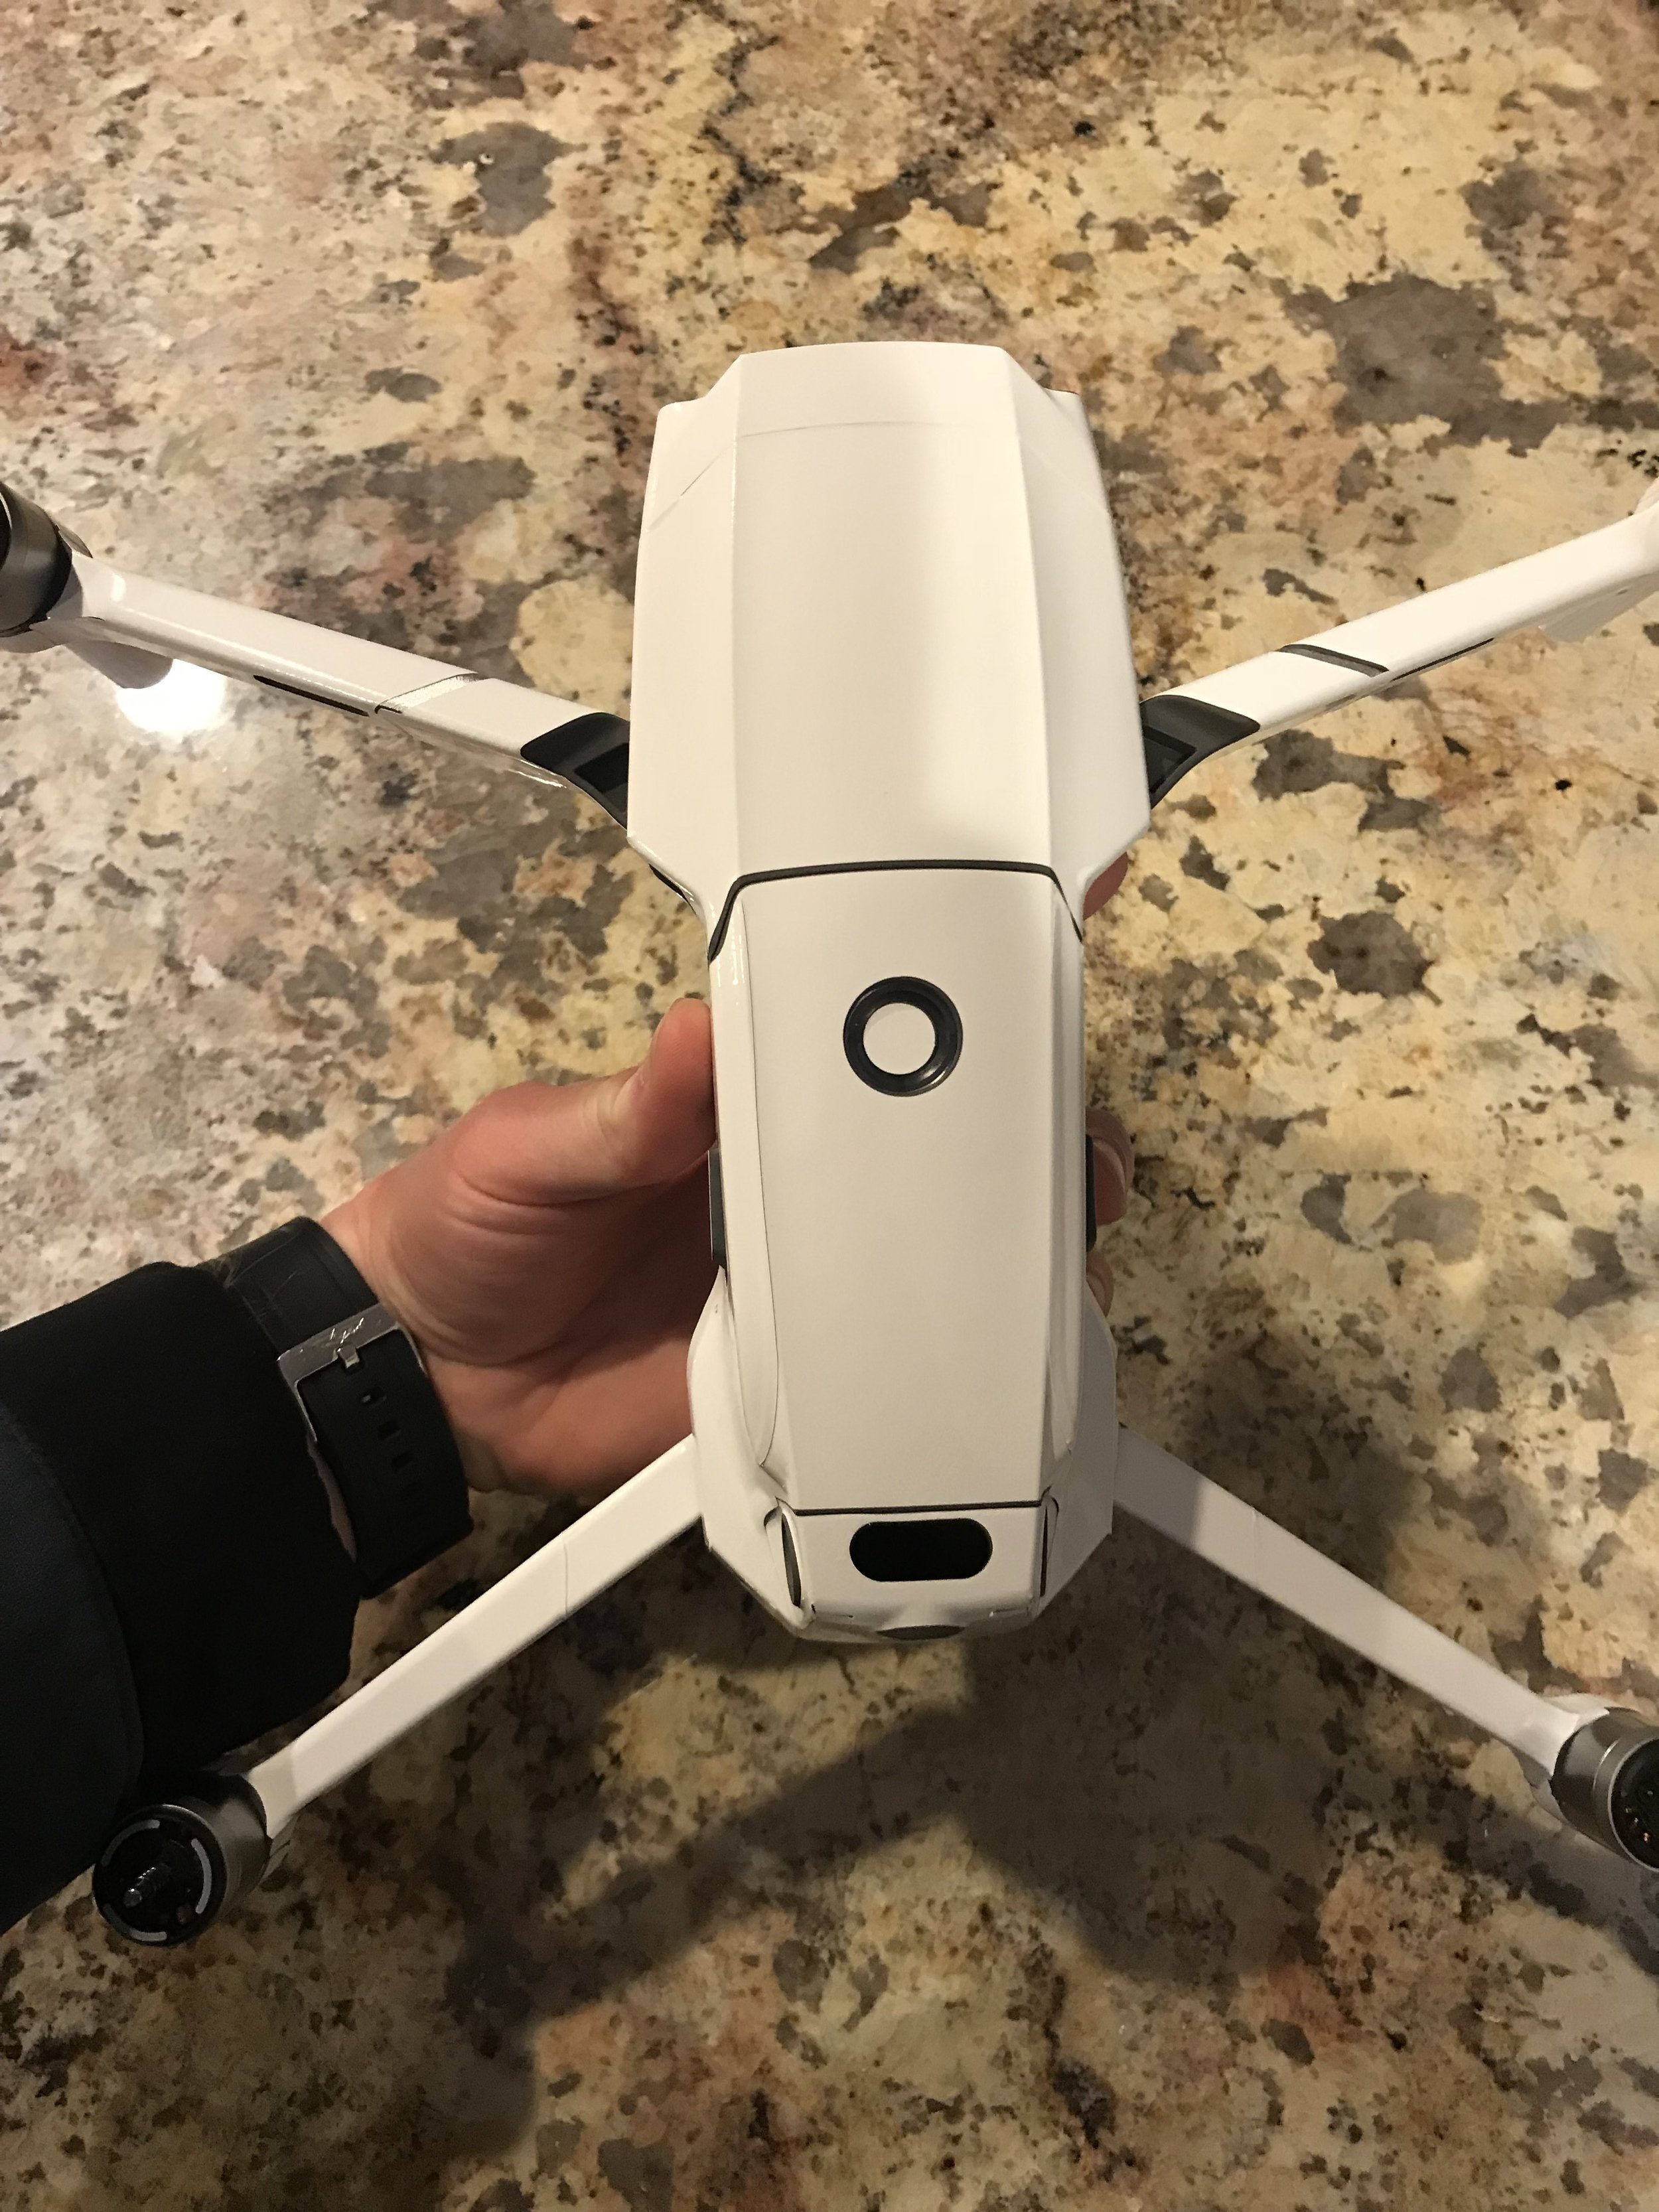
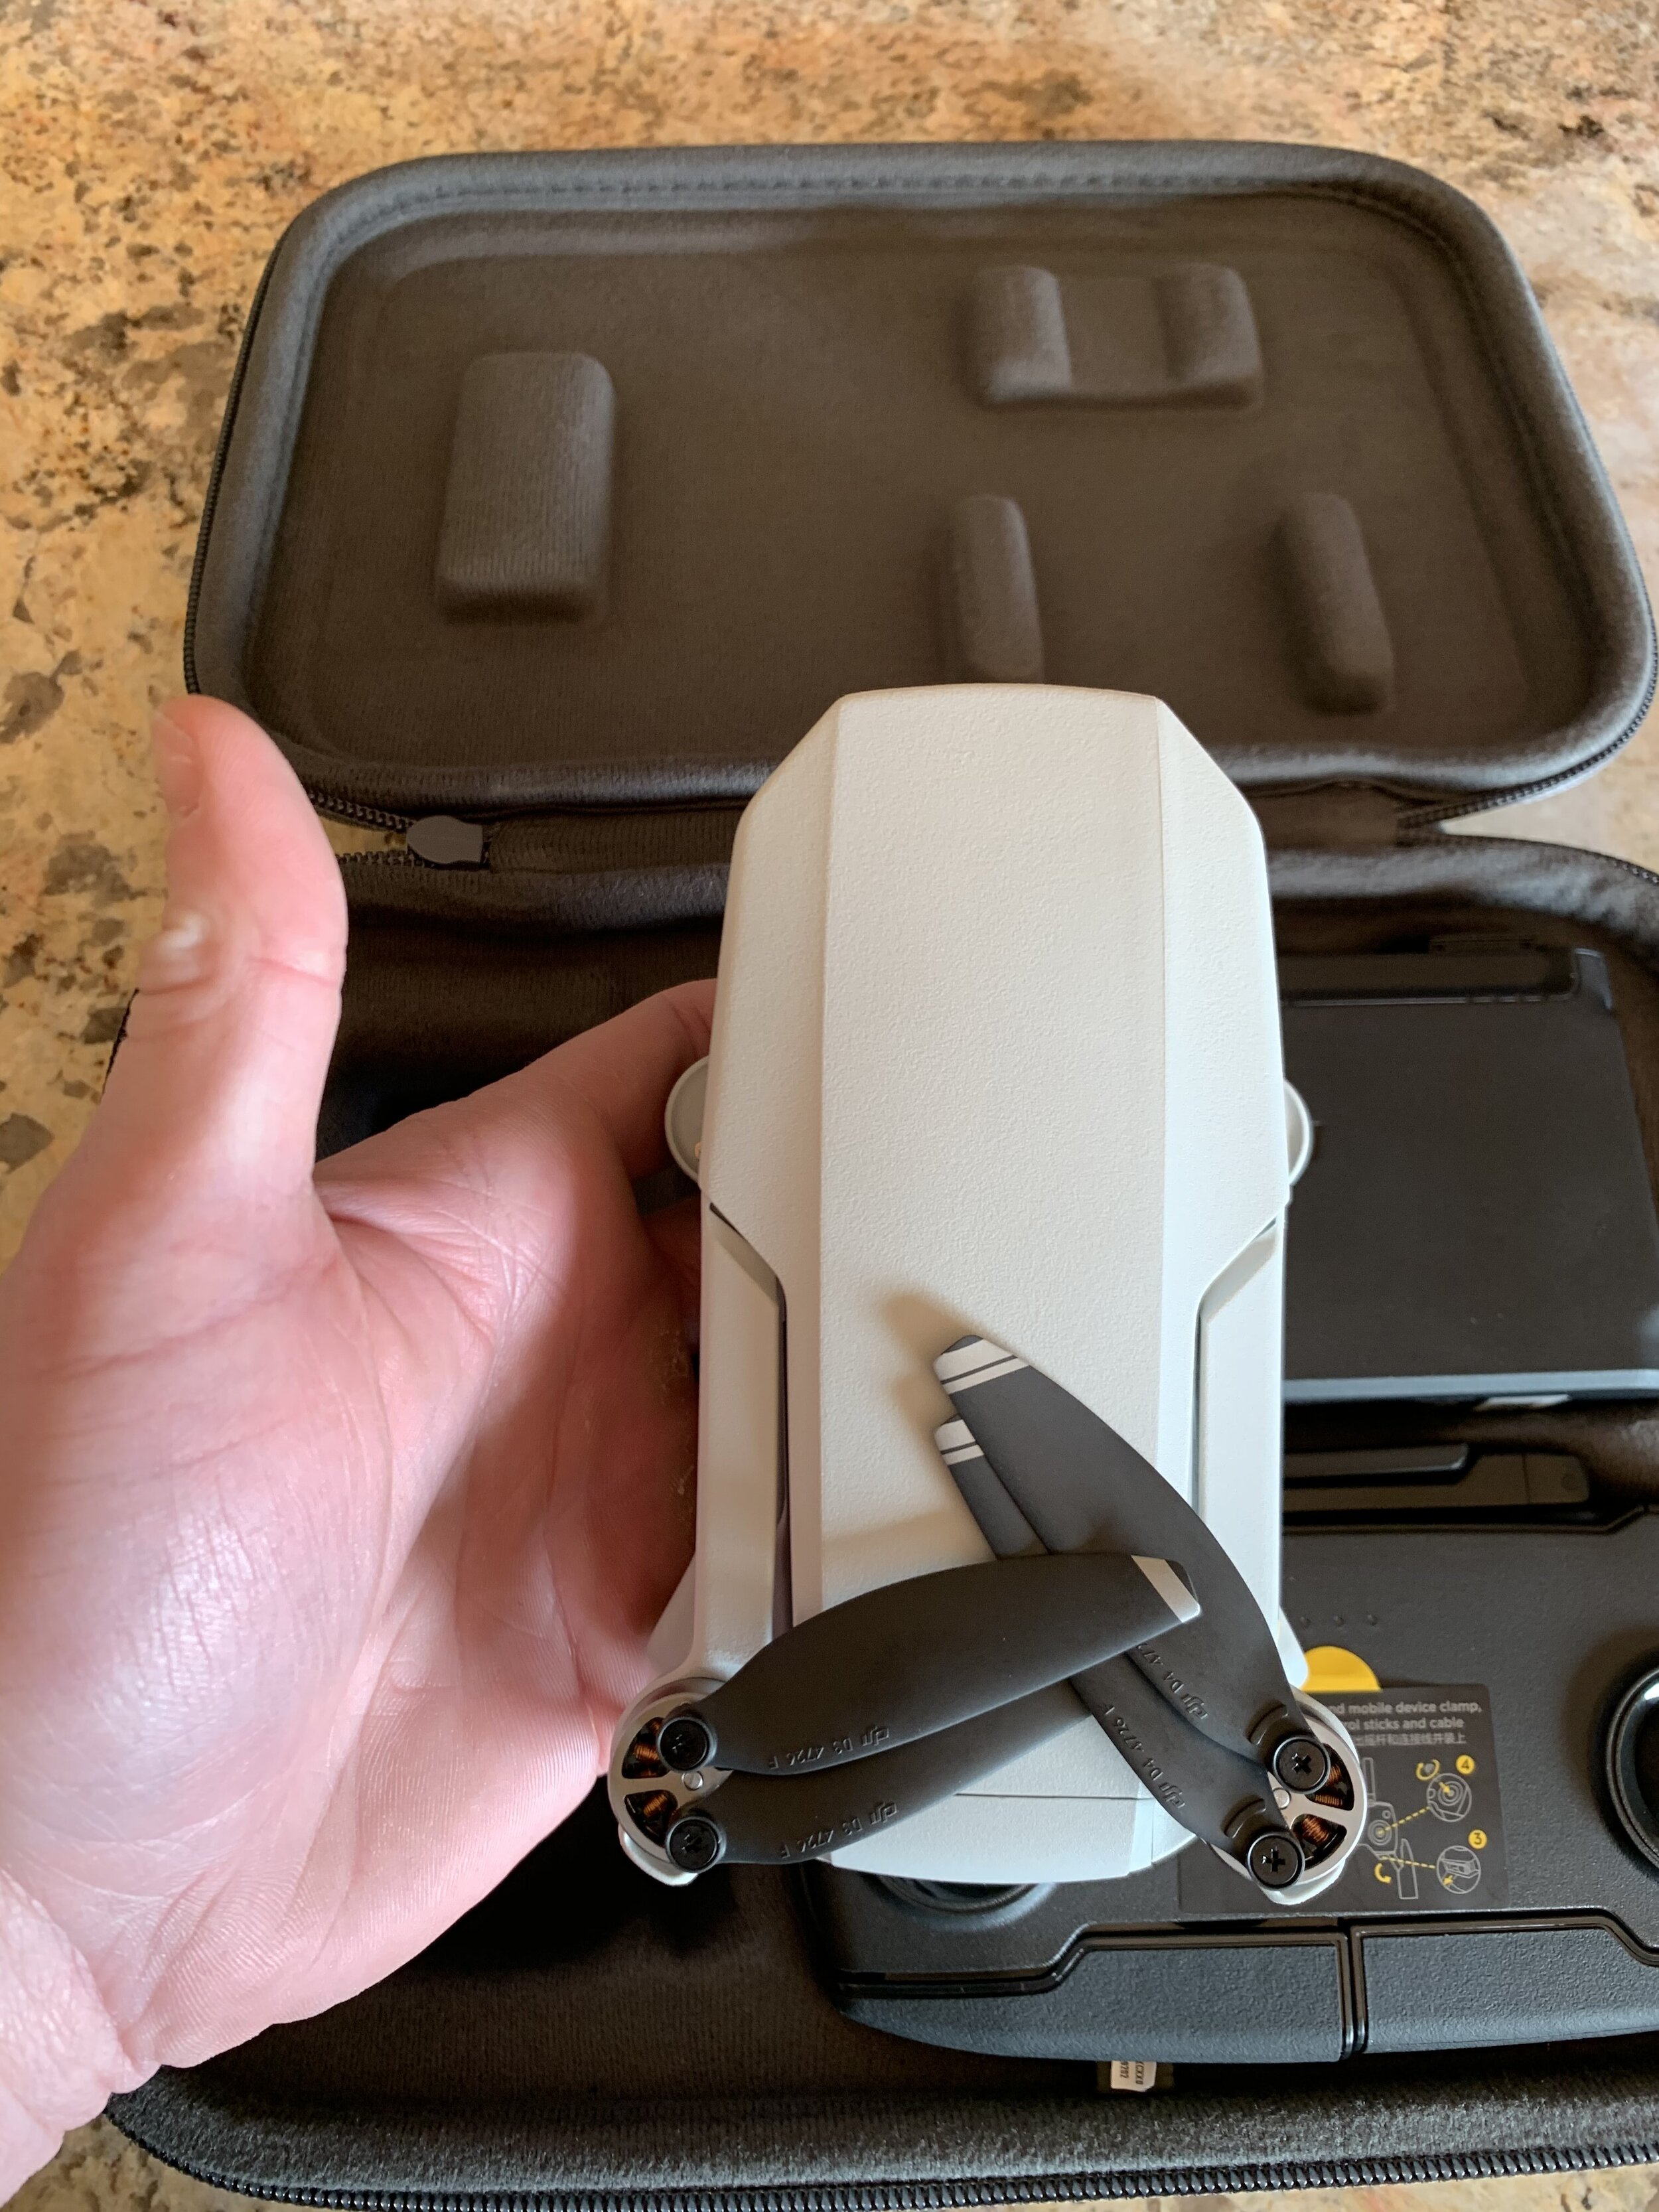
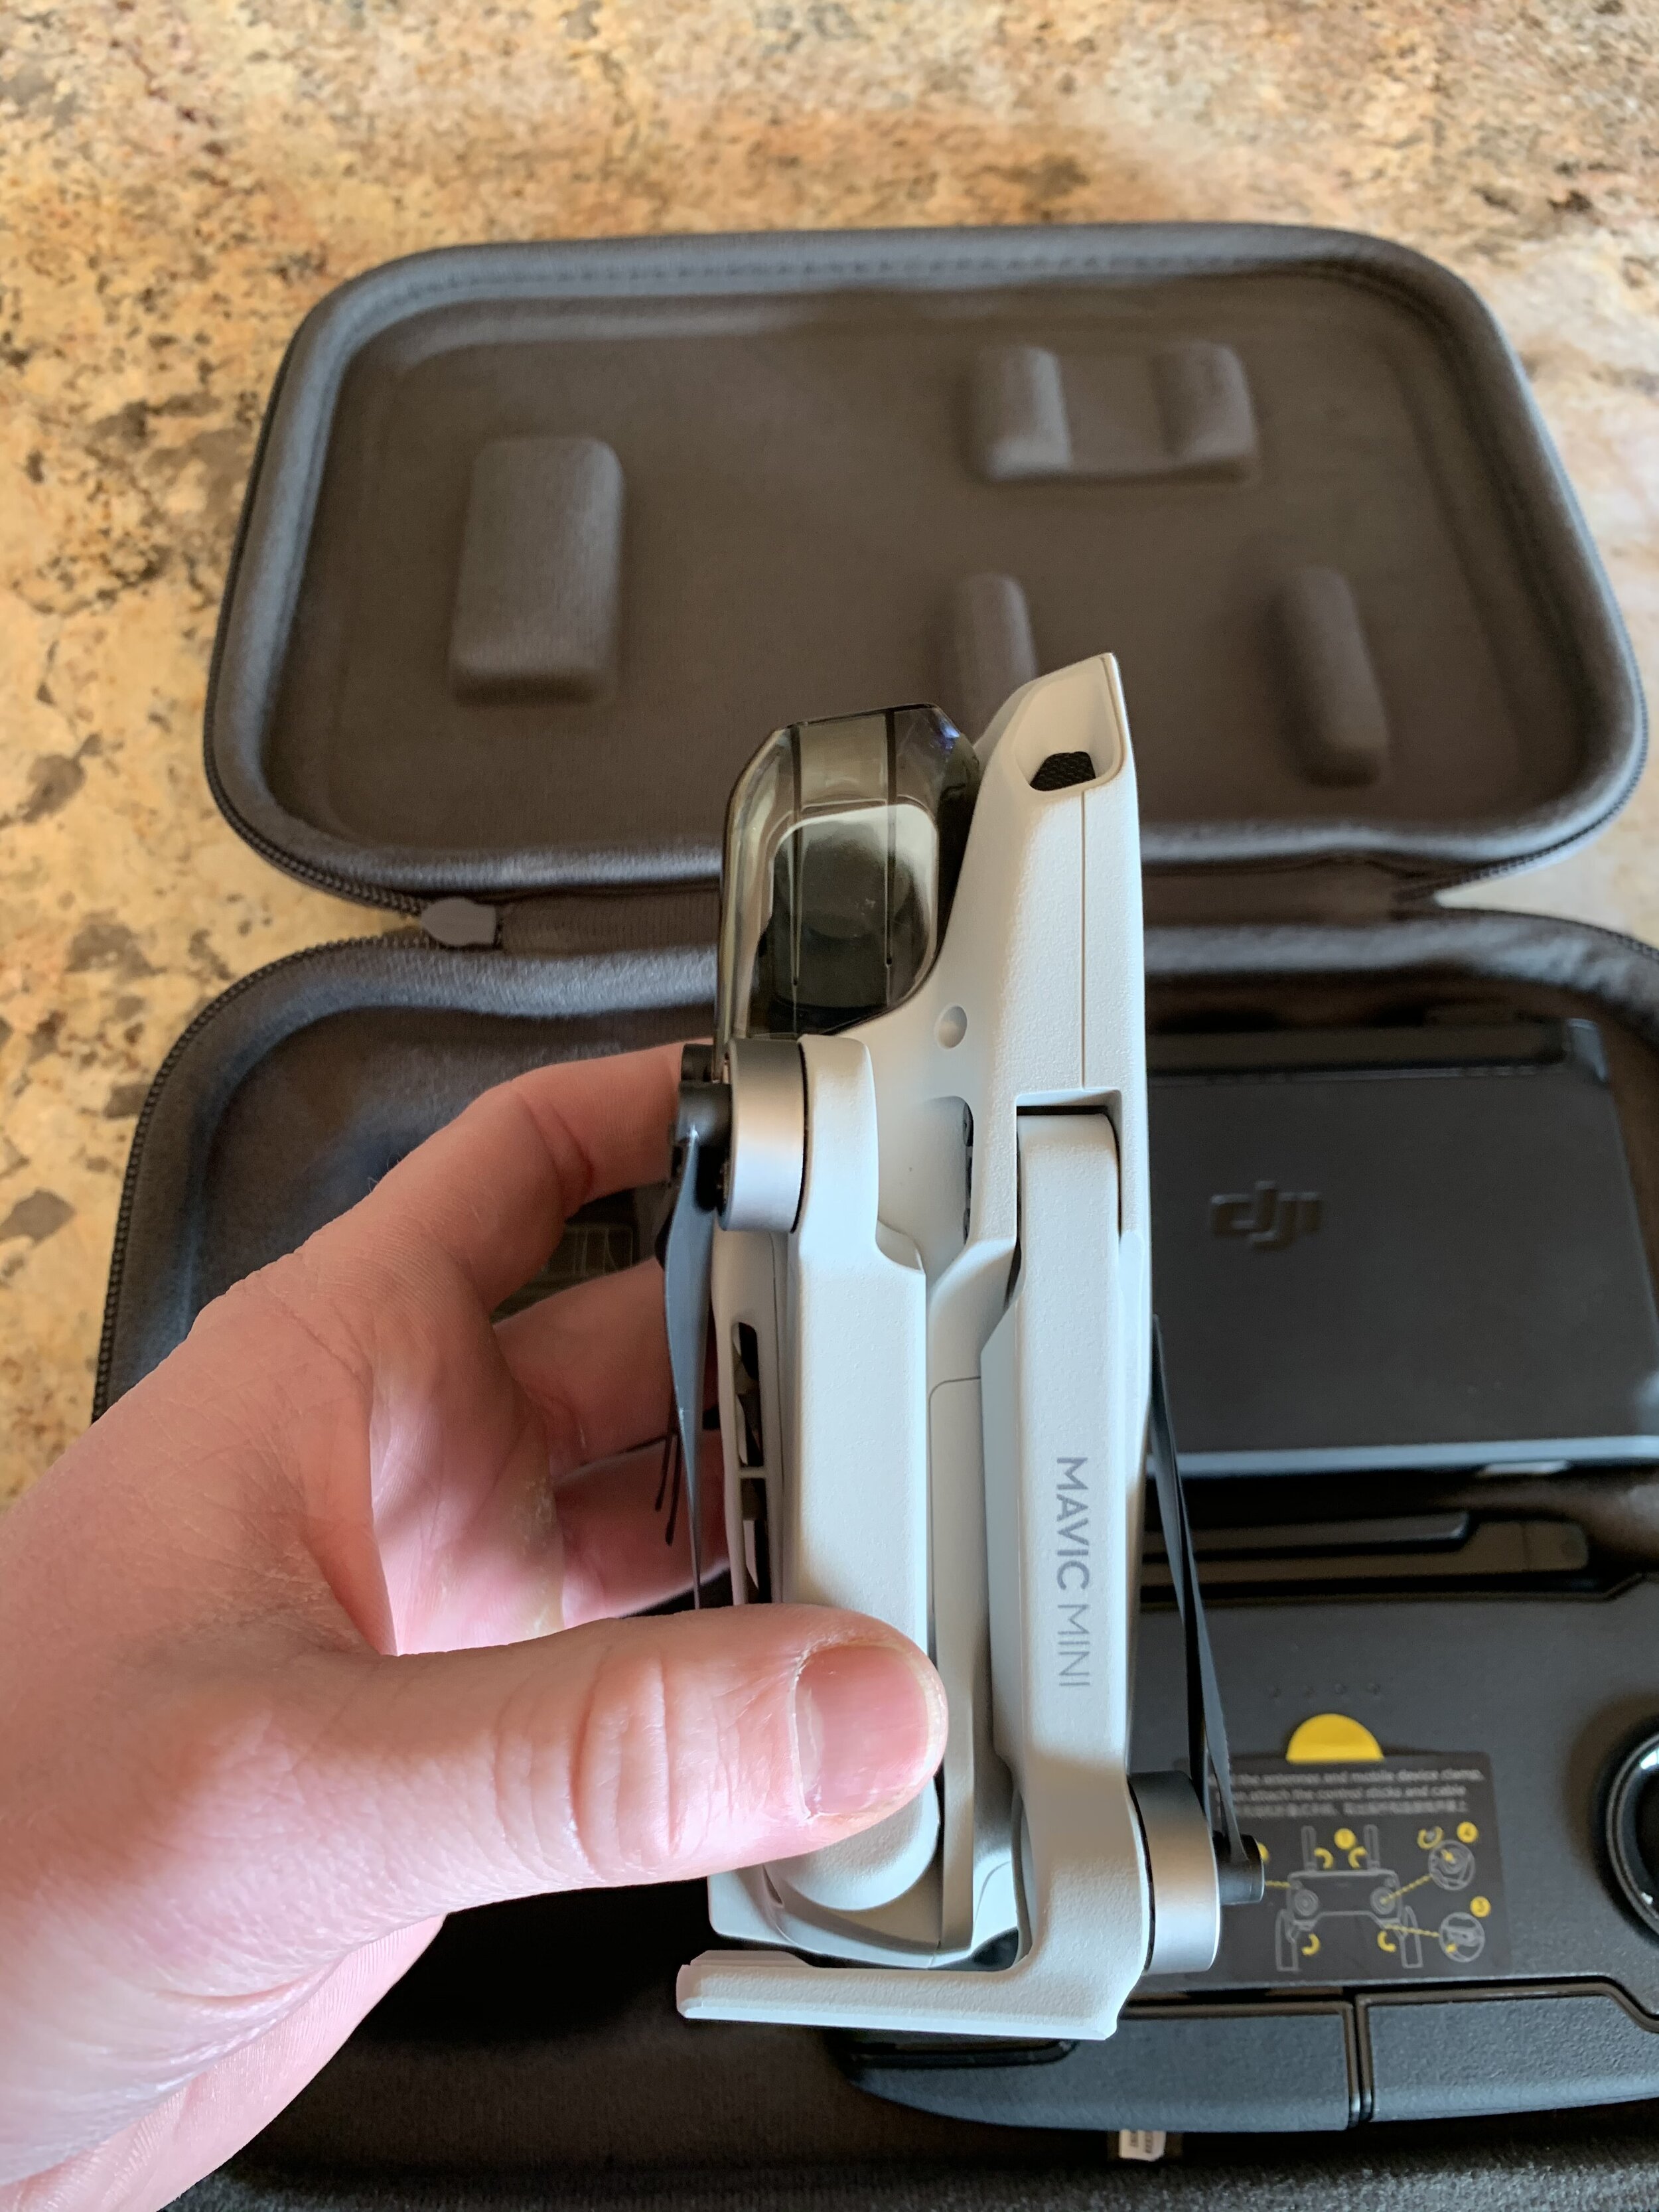
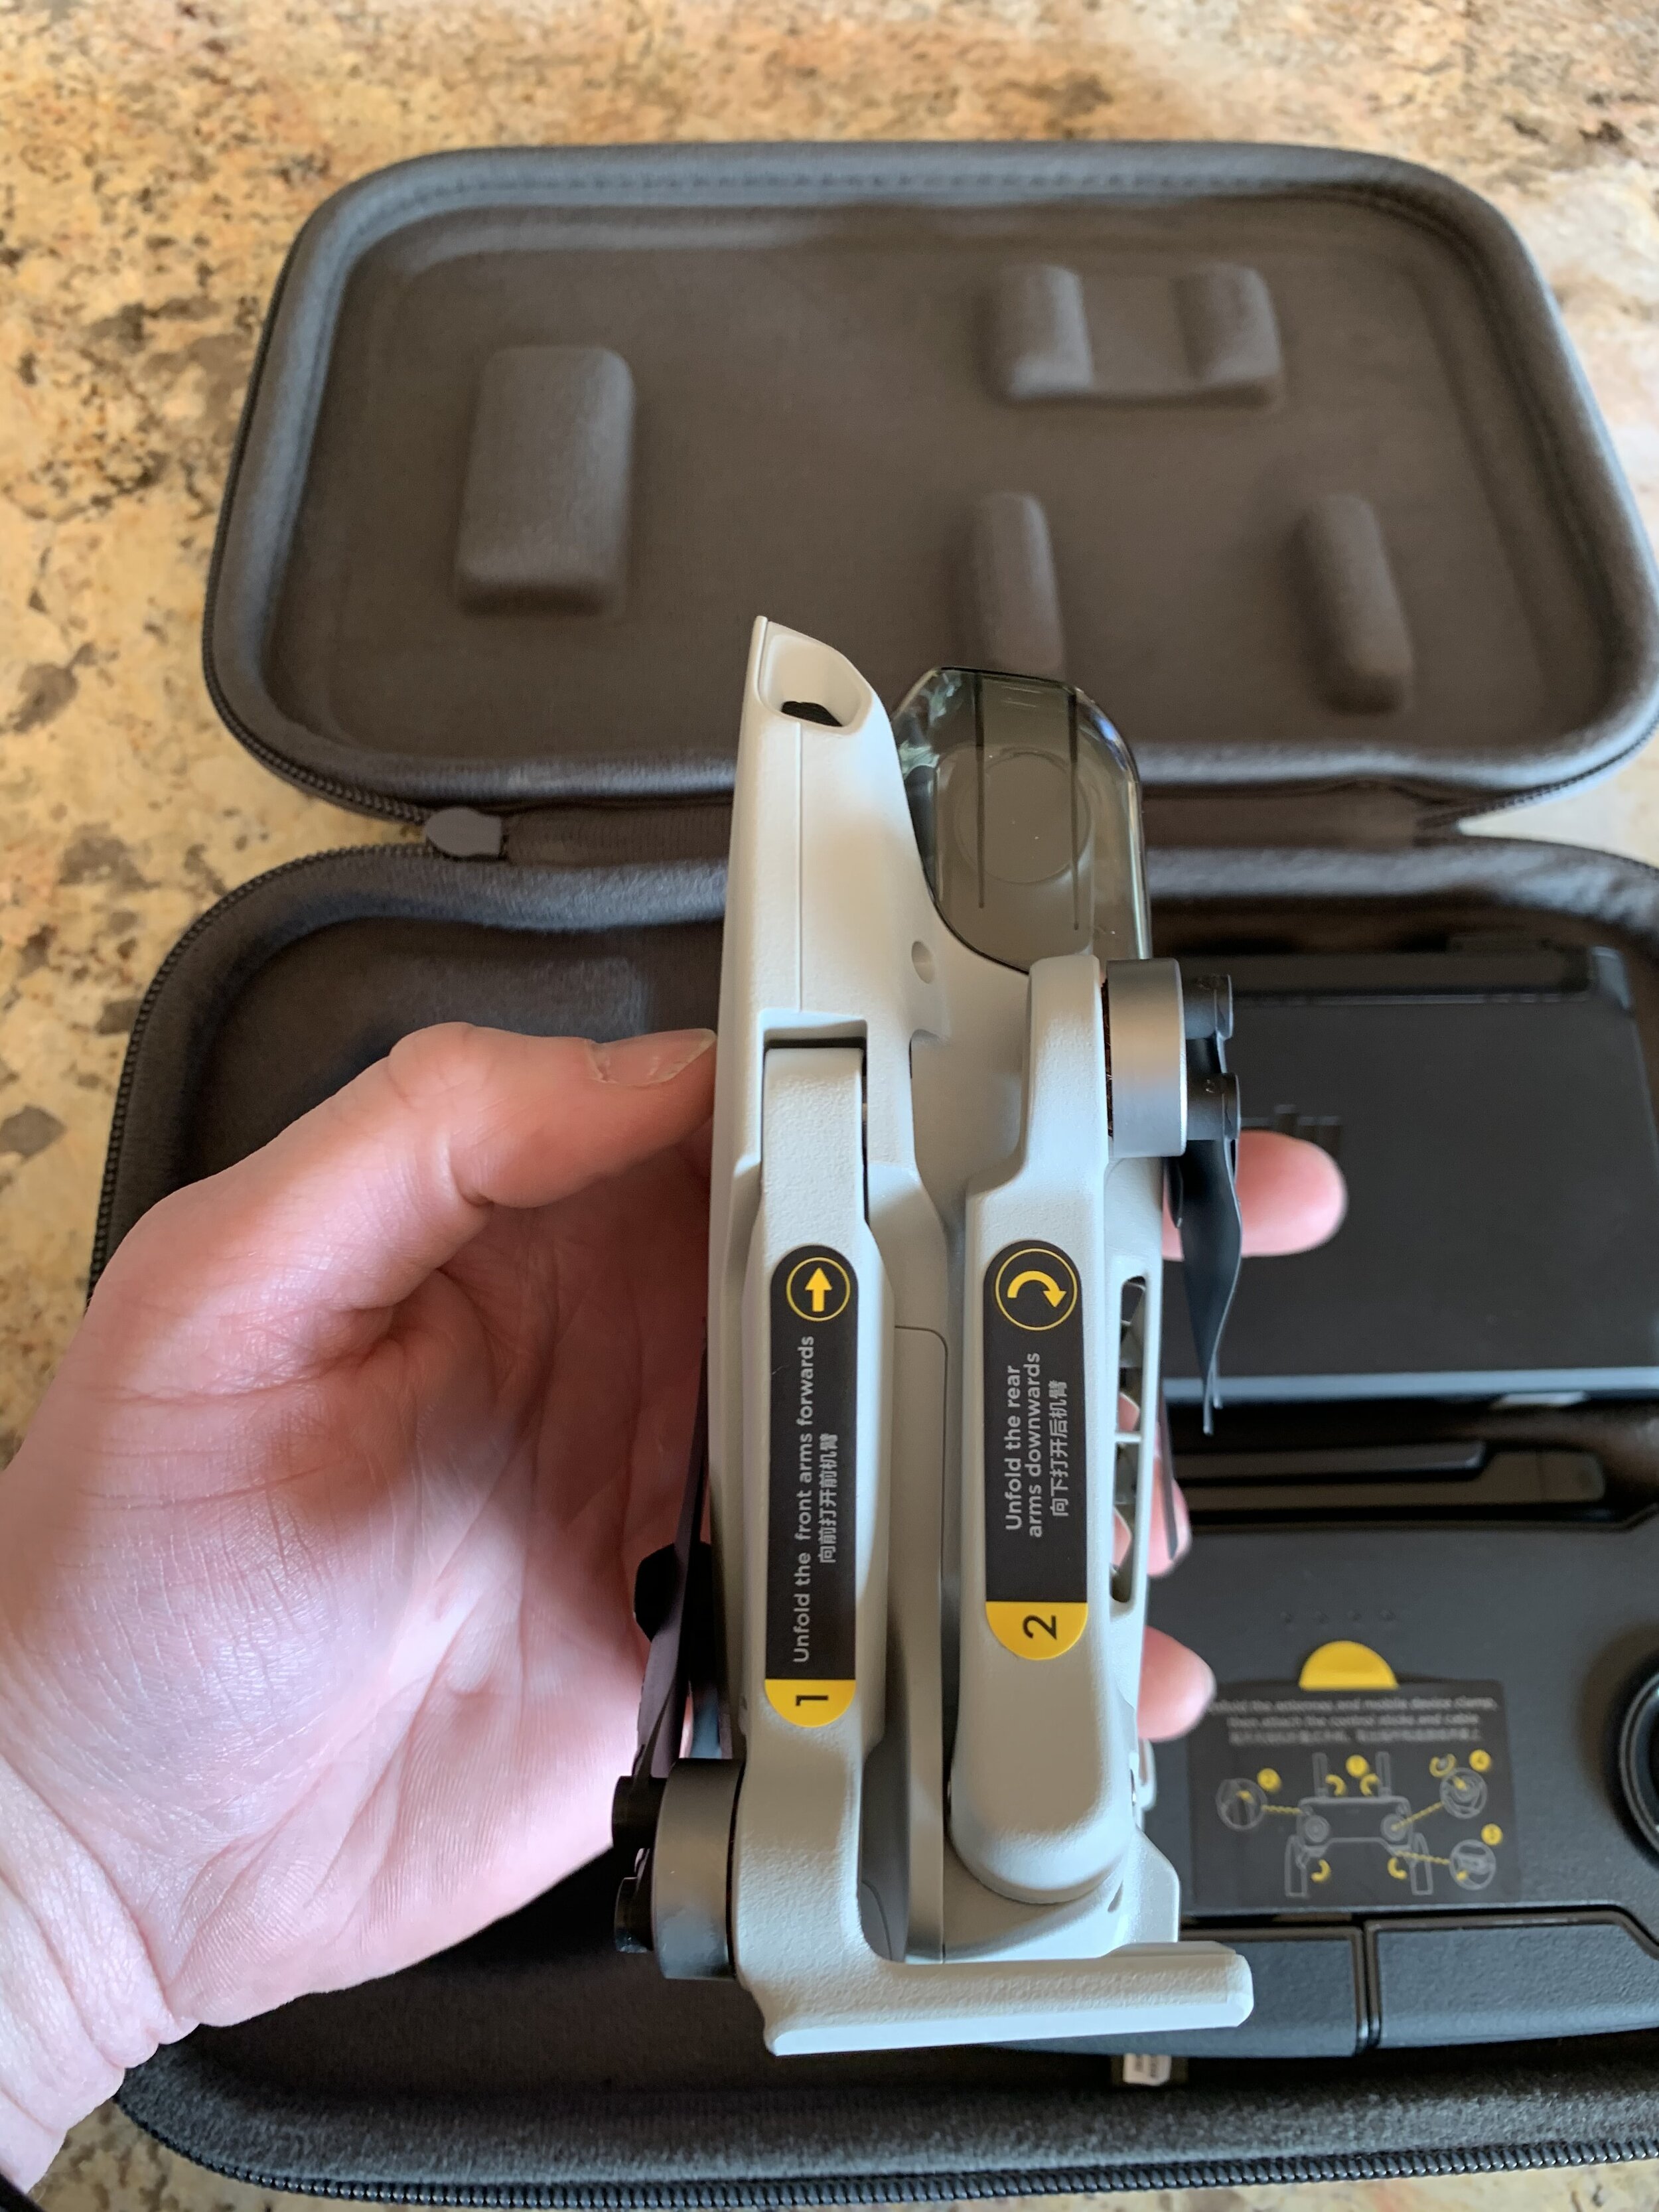
Size - They call it a Mavic because it has fold-able arms and legs. That’s about it, though. A legit Mavic has OA (obstacle avoidance) and Occusync 1.0 or 2.0. Putting the drone or RC in your (back) pocket isn’t an issue. JUST DON” T SIT DOWN WITH IT IN YOUR POCKET!
Flys Well Indoors - I had a few of my Amazon students fly the Mini indoors during our last week of class with and without GPS lock. Based on what I saw, the Mini handles likes a rock indoors without the need for GPS.
DJI Fly App - This app was built for the Mini and is very user-friendly. However, it is bland, and the notifications that pop up don’t last long, but I like it. A few bugs need to be worked on, such as the lag while trying to switch between video and picture settings.
Dislikes:

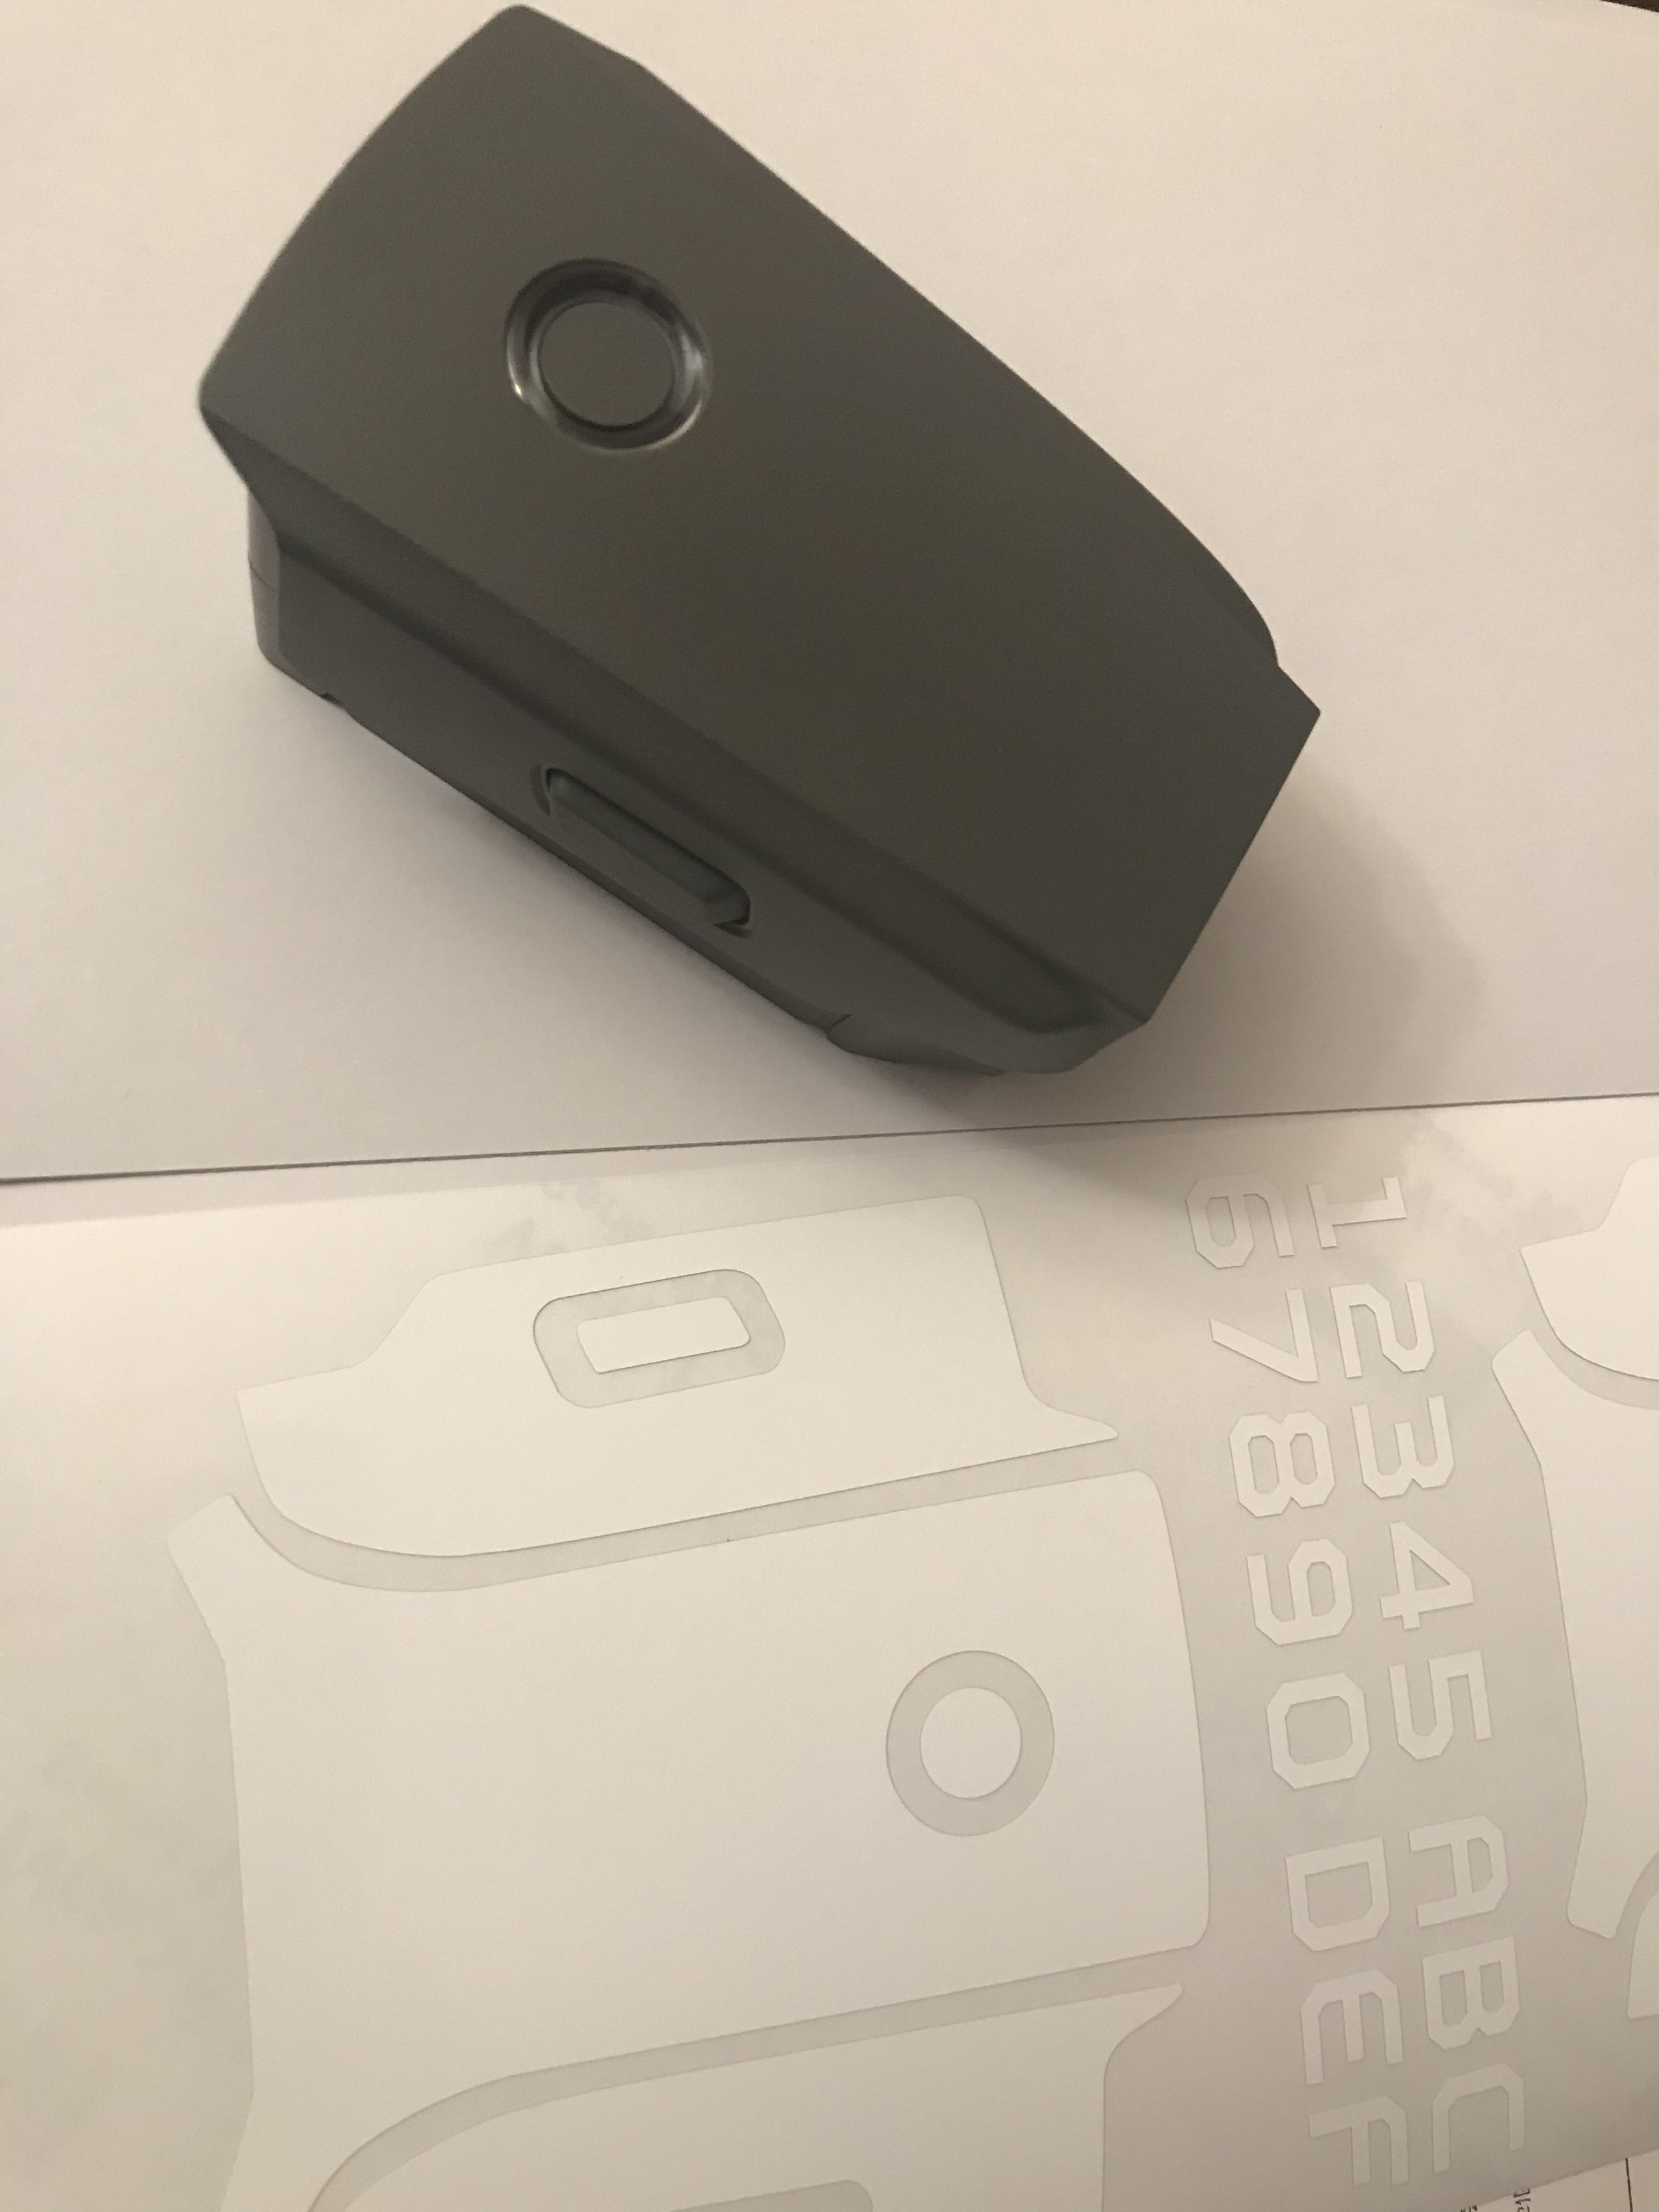
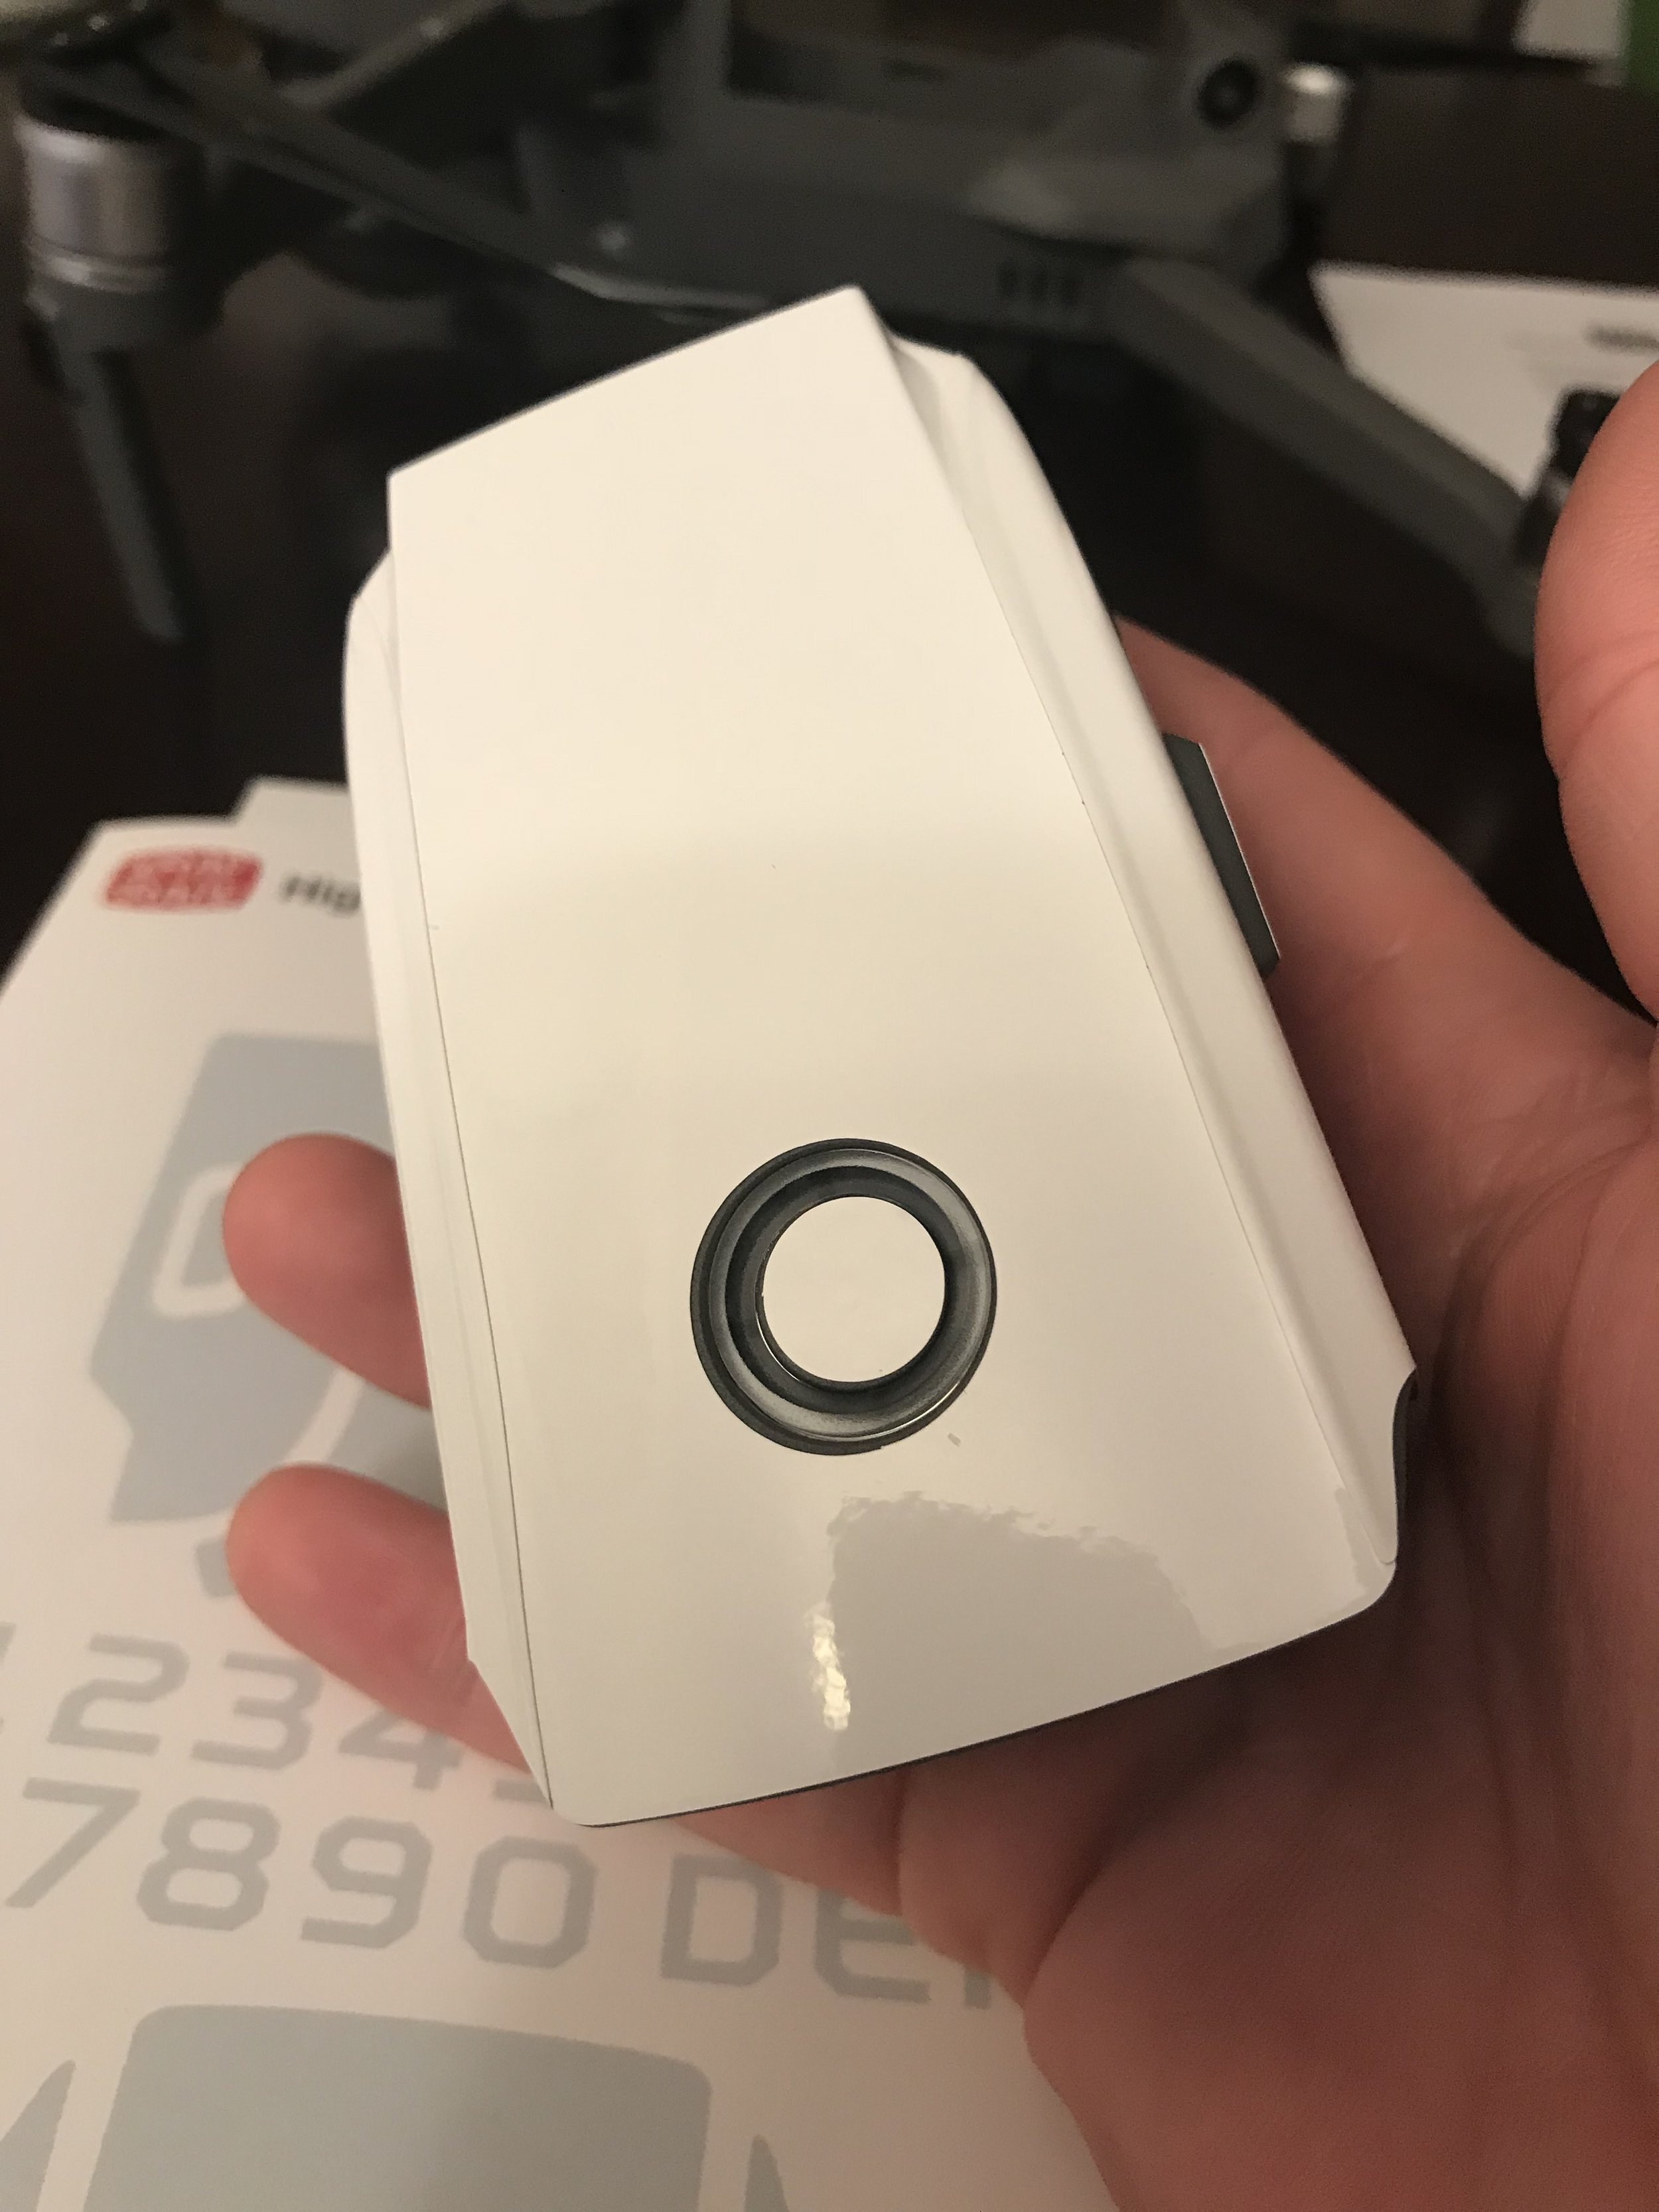
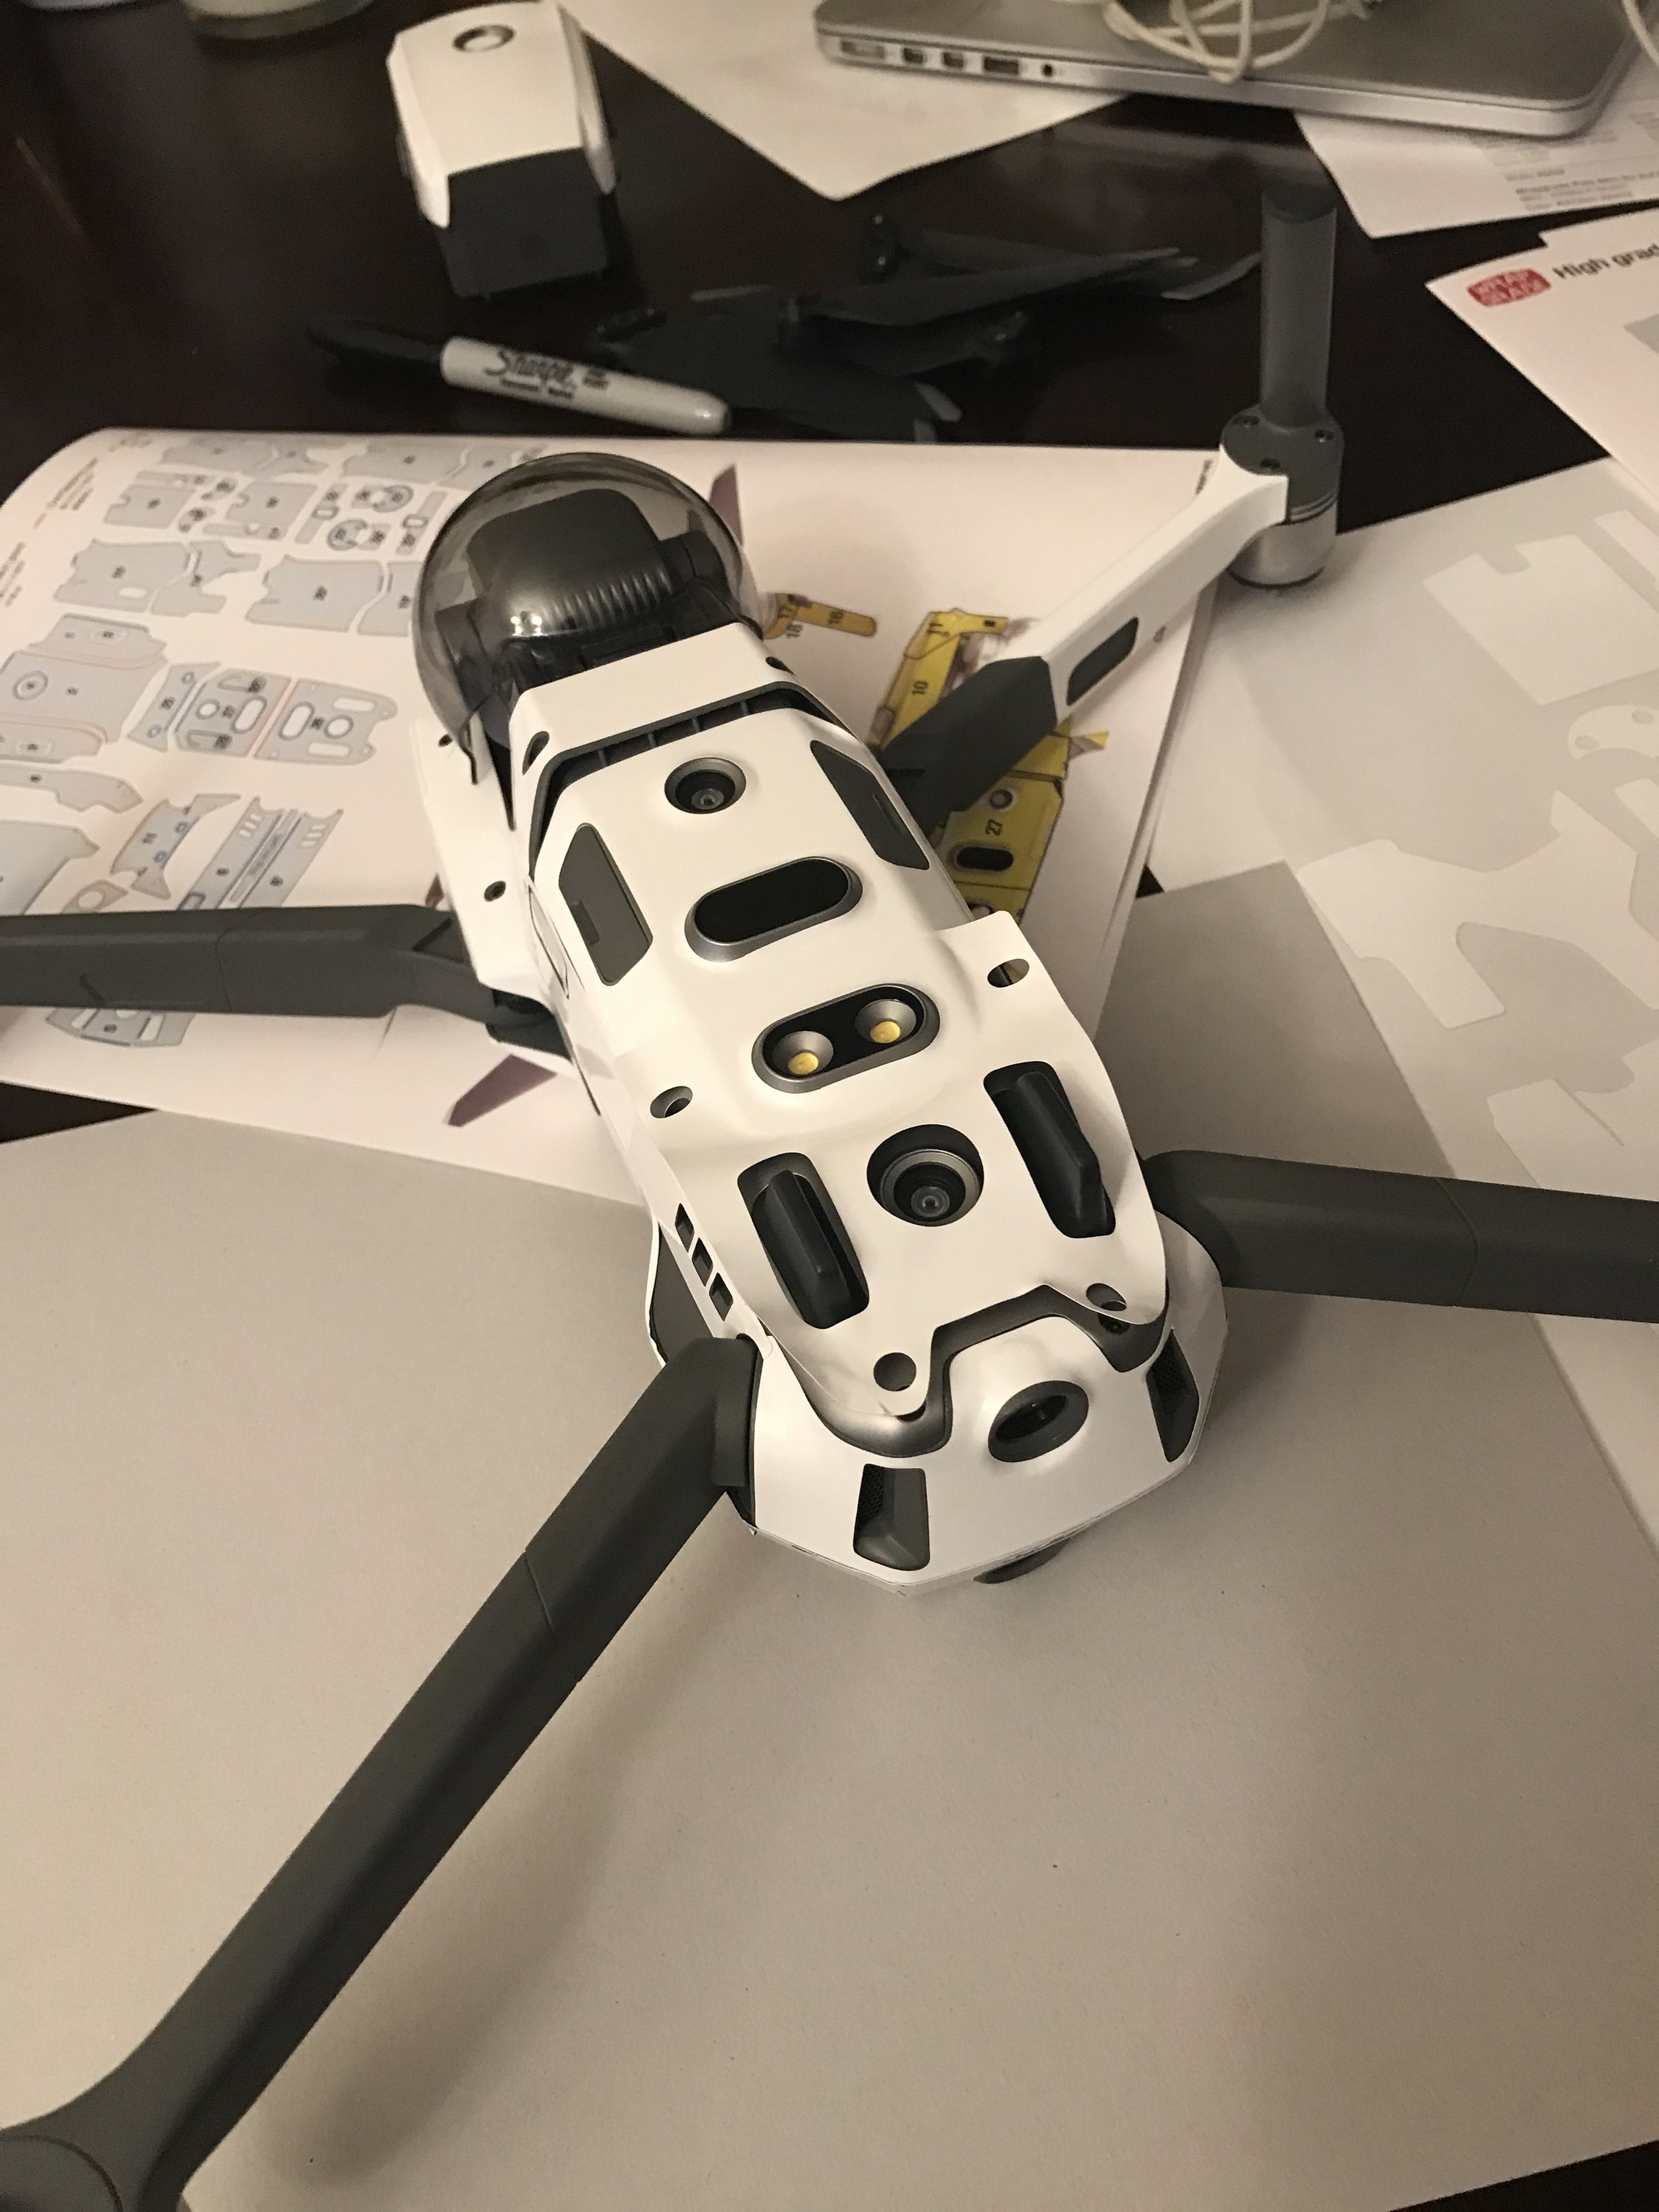
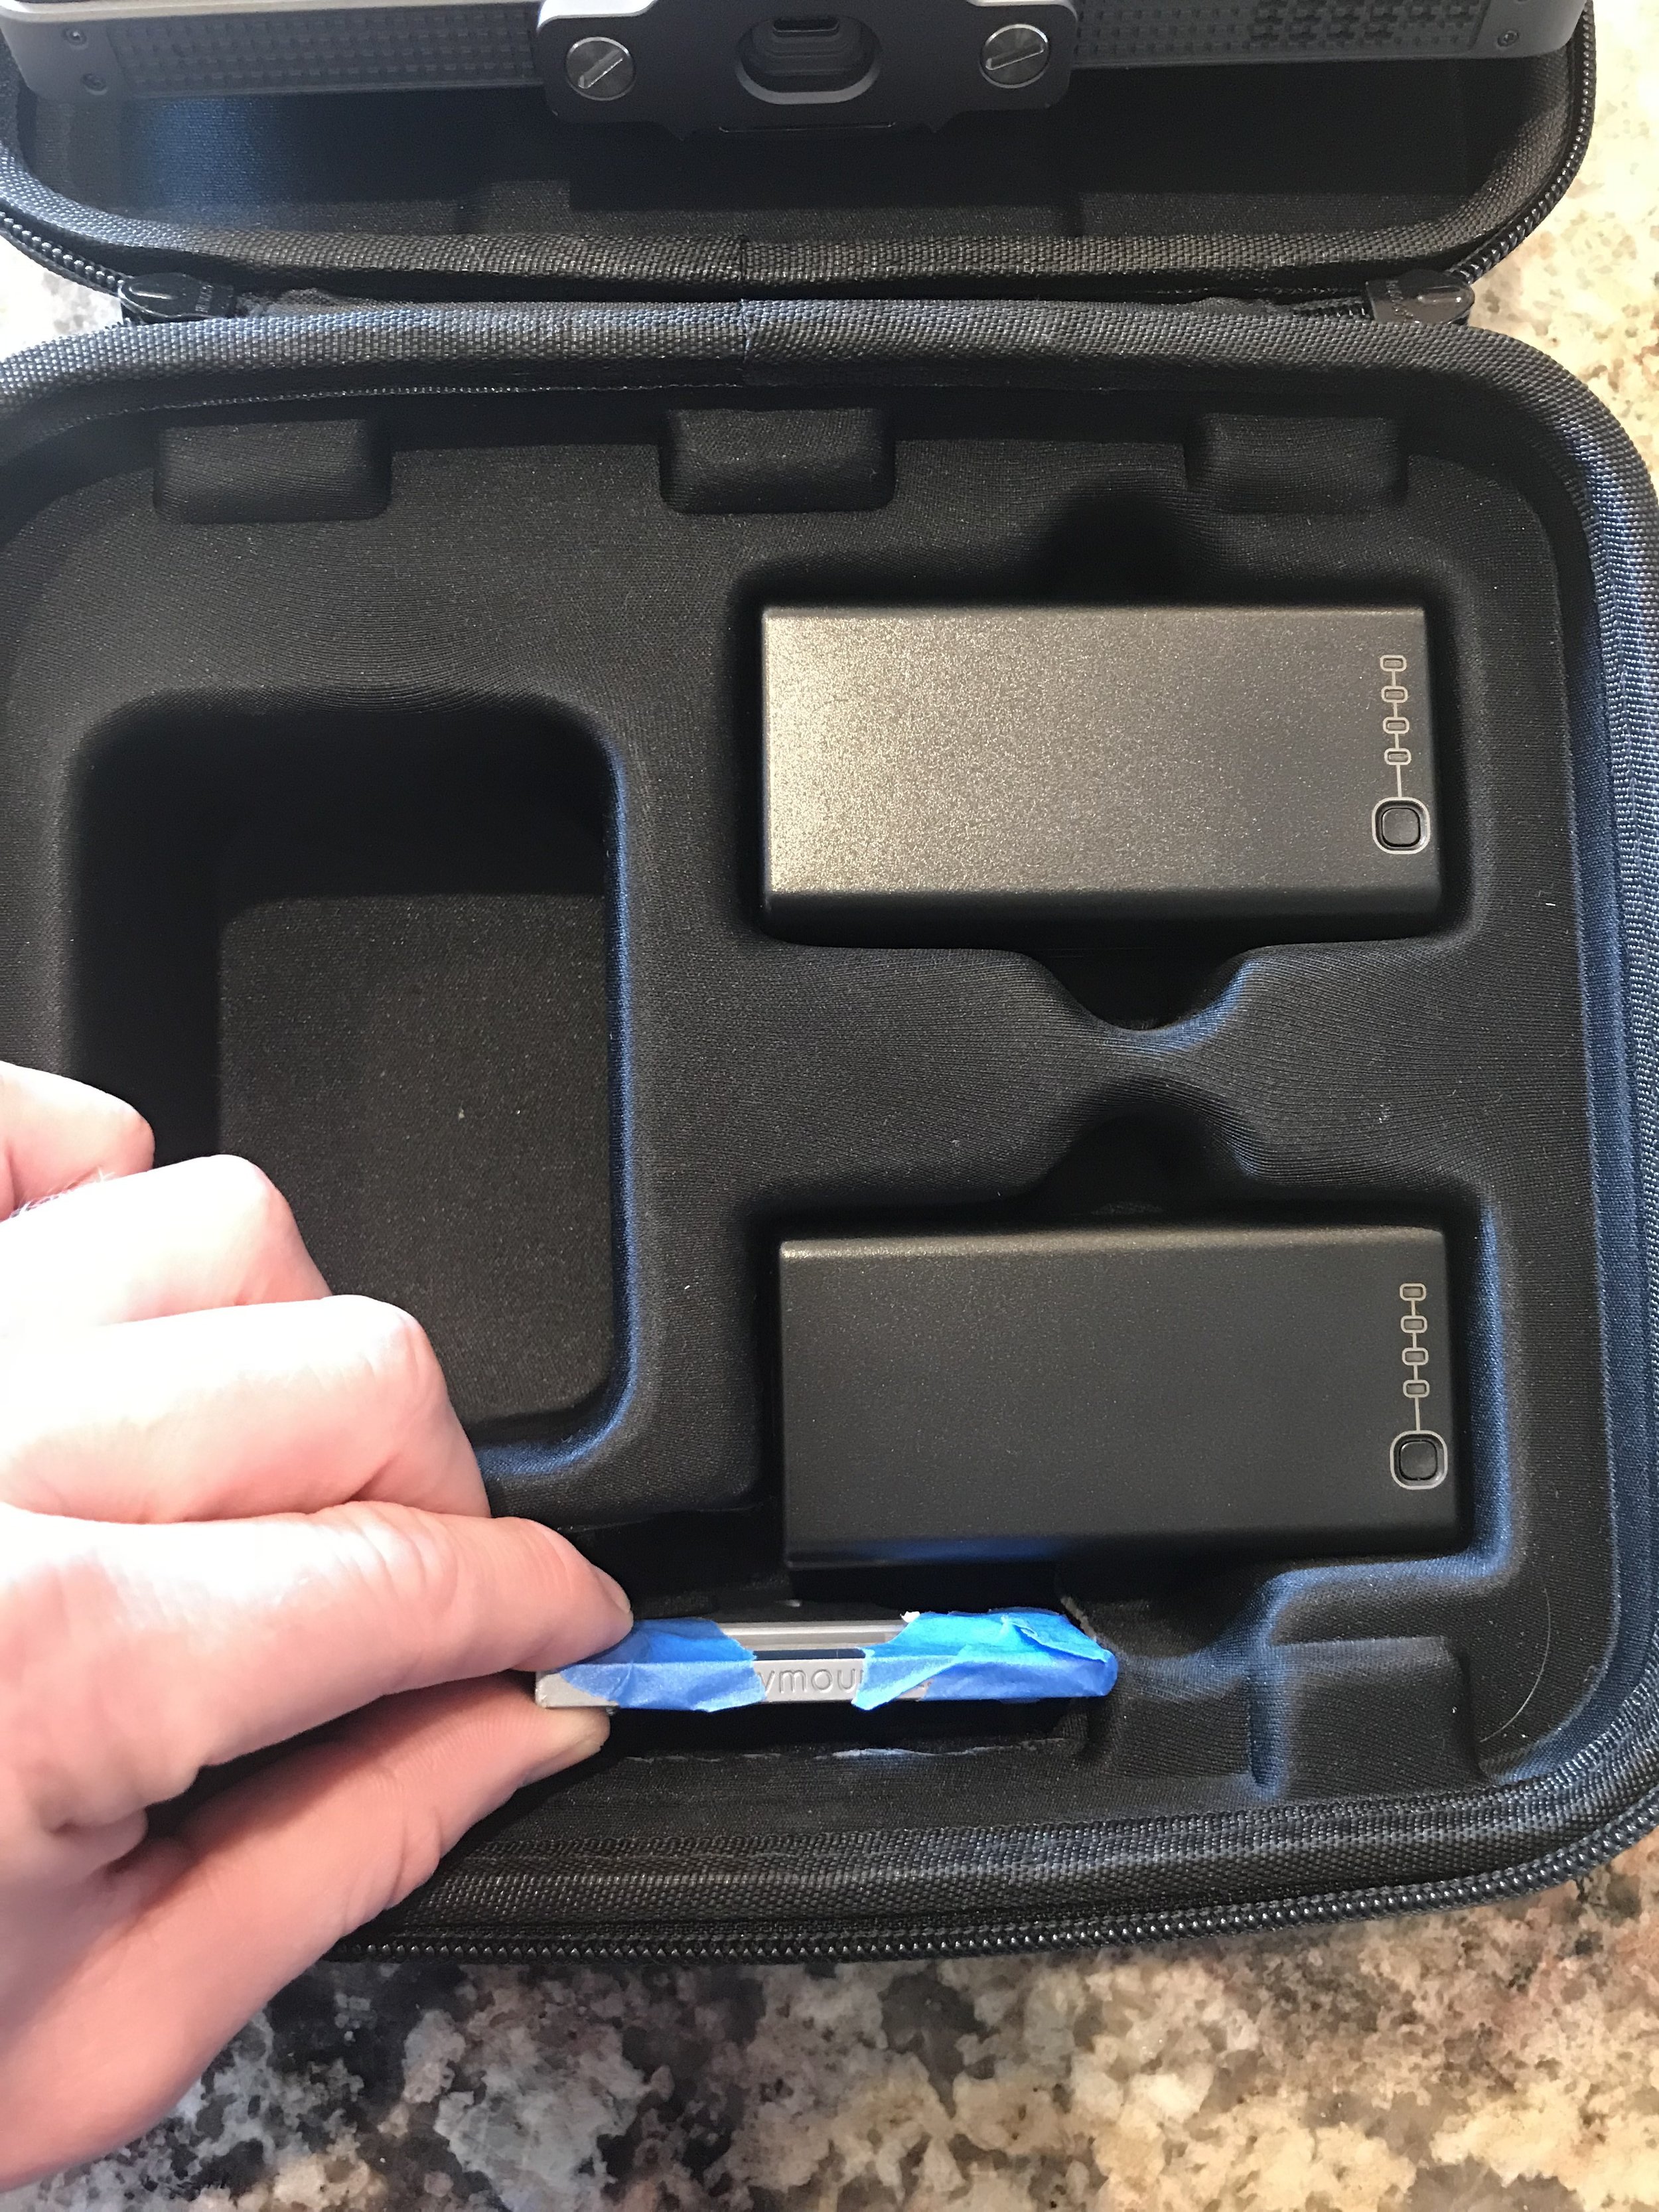
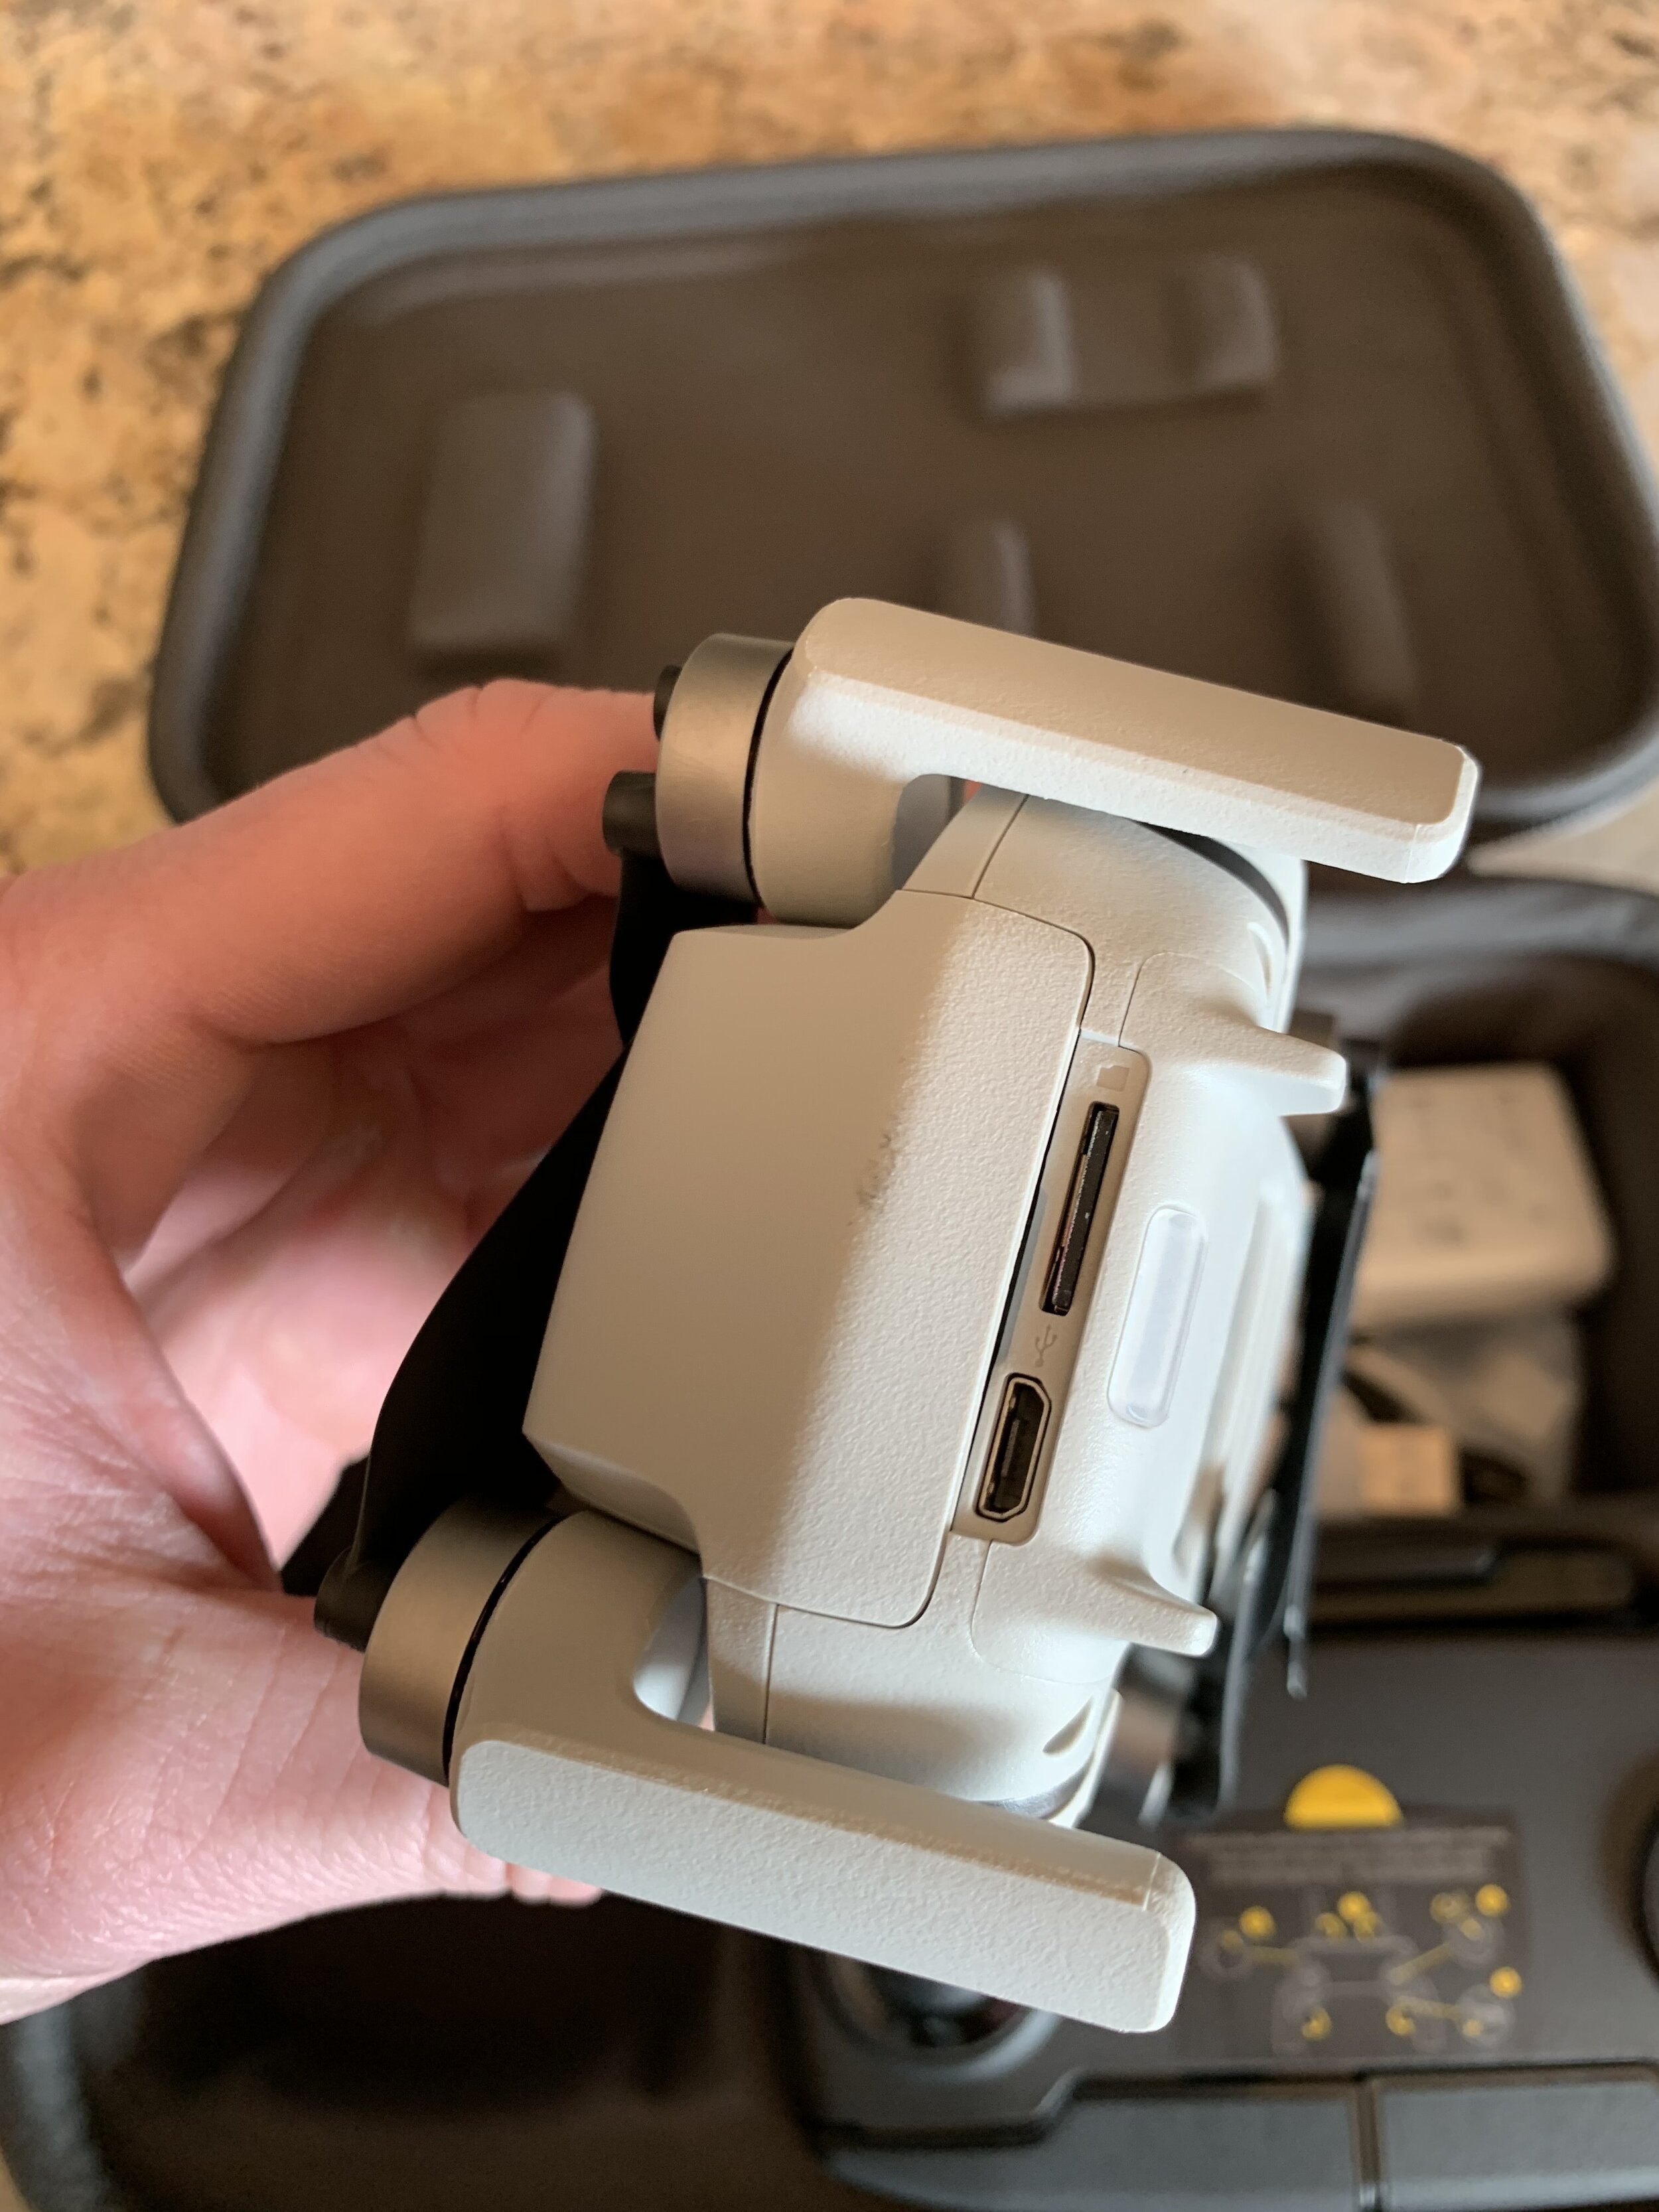
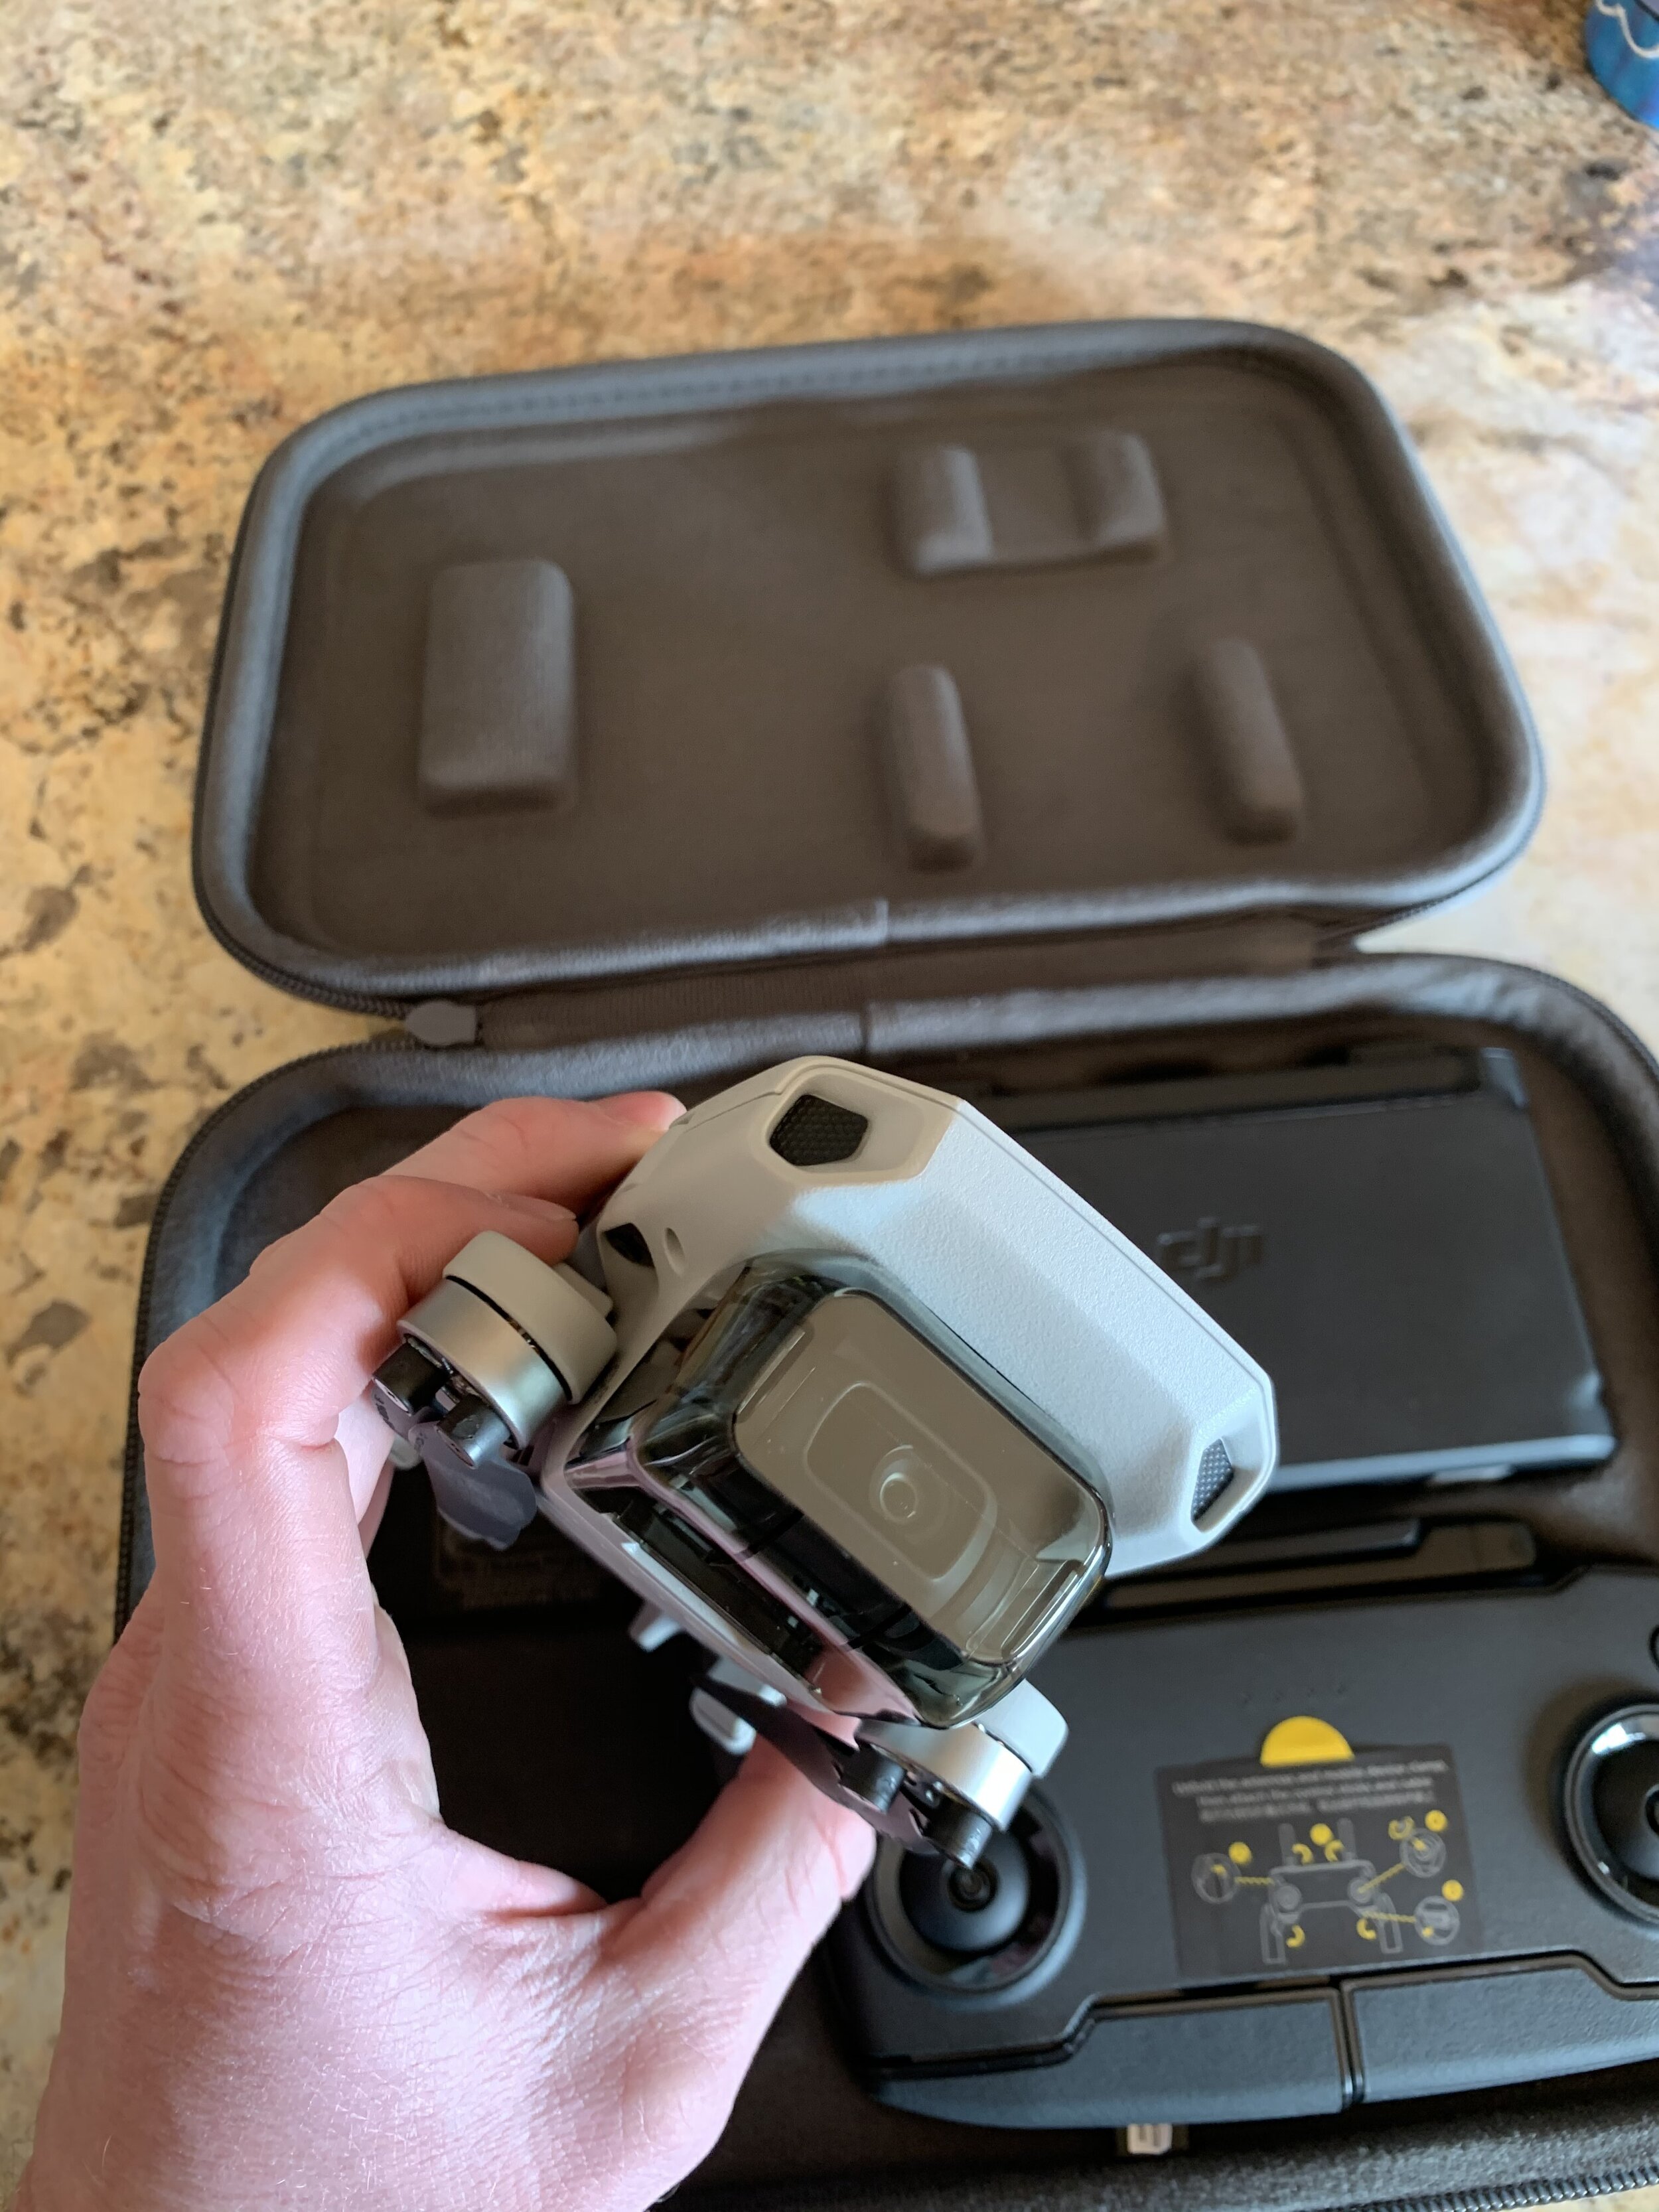
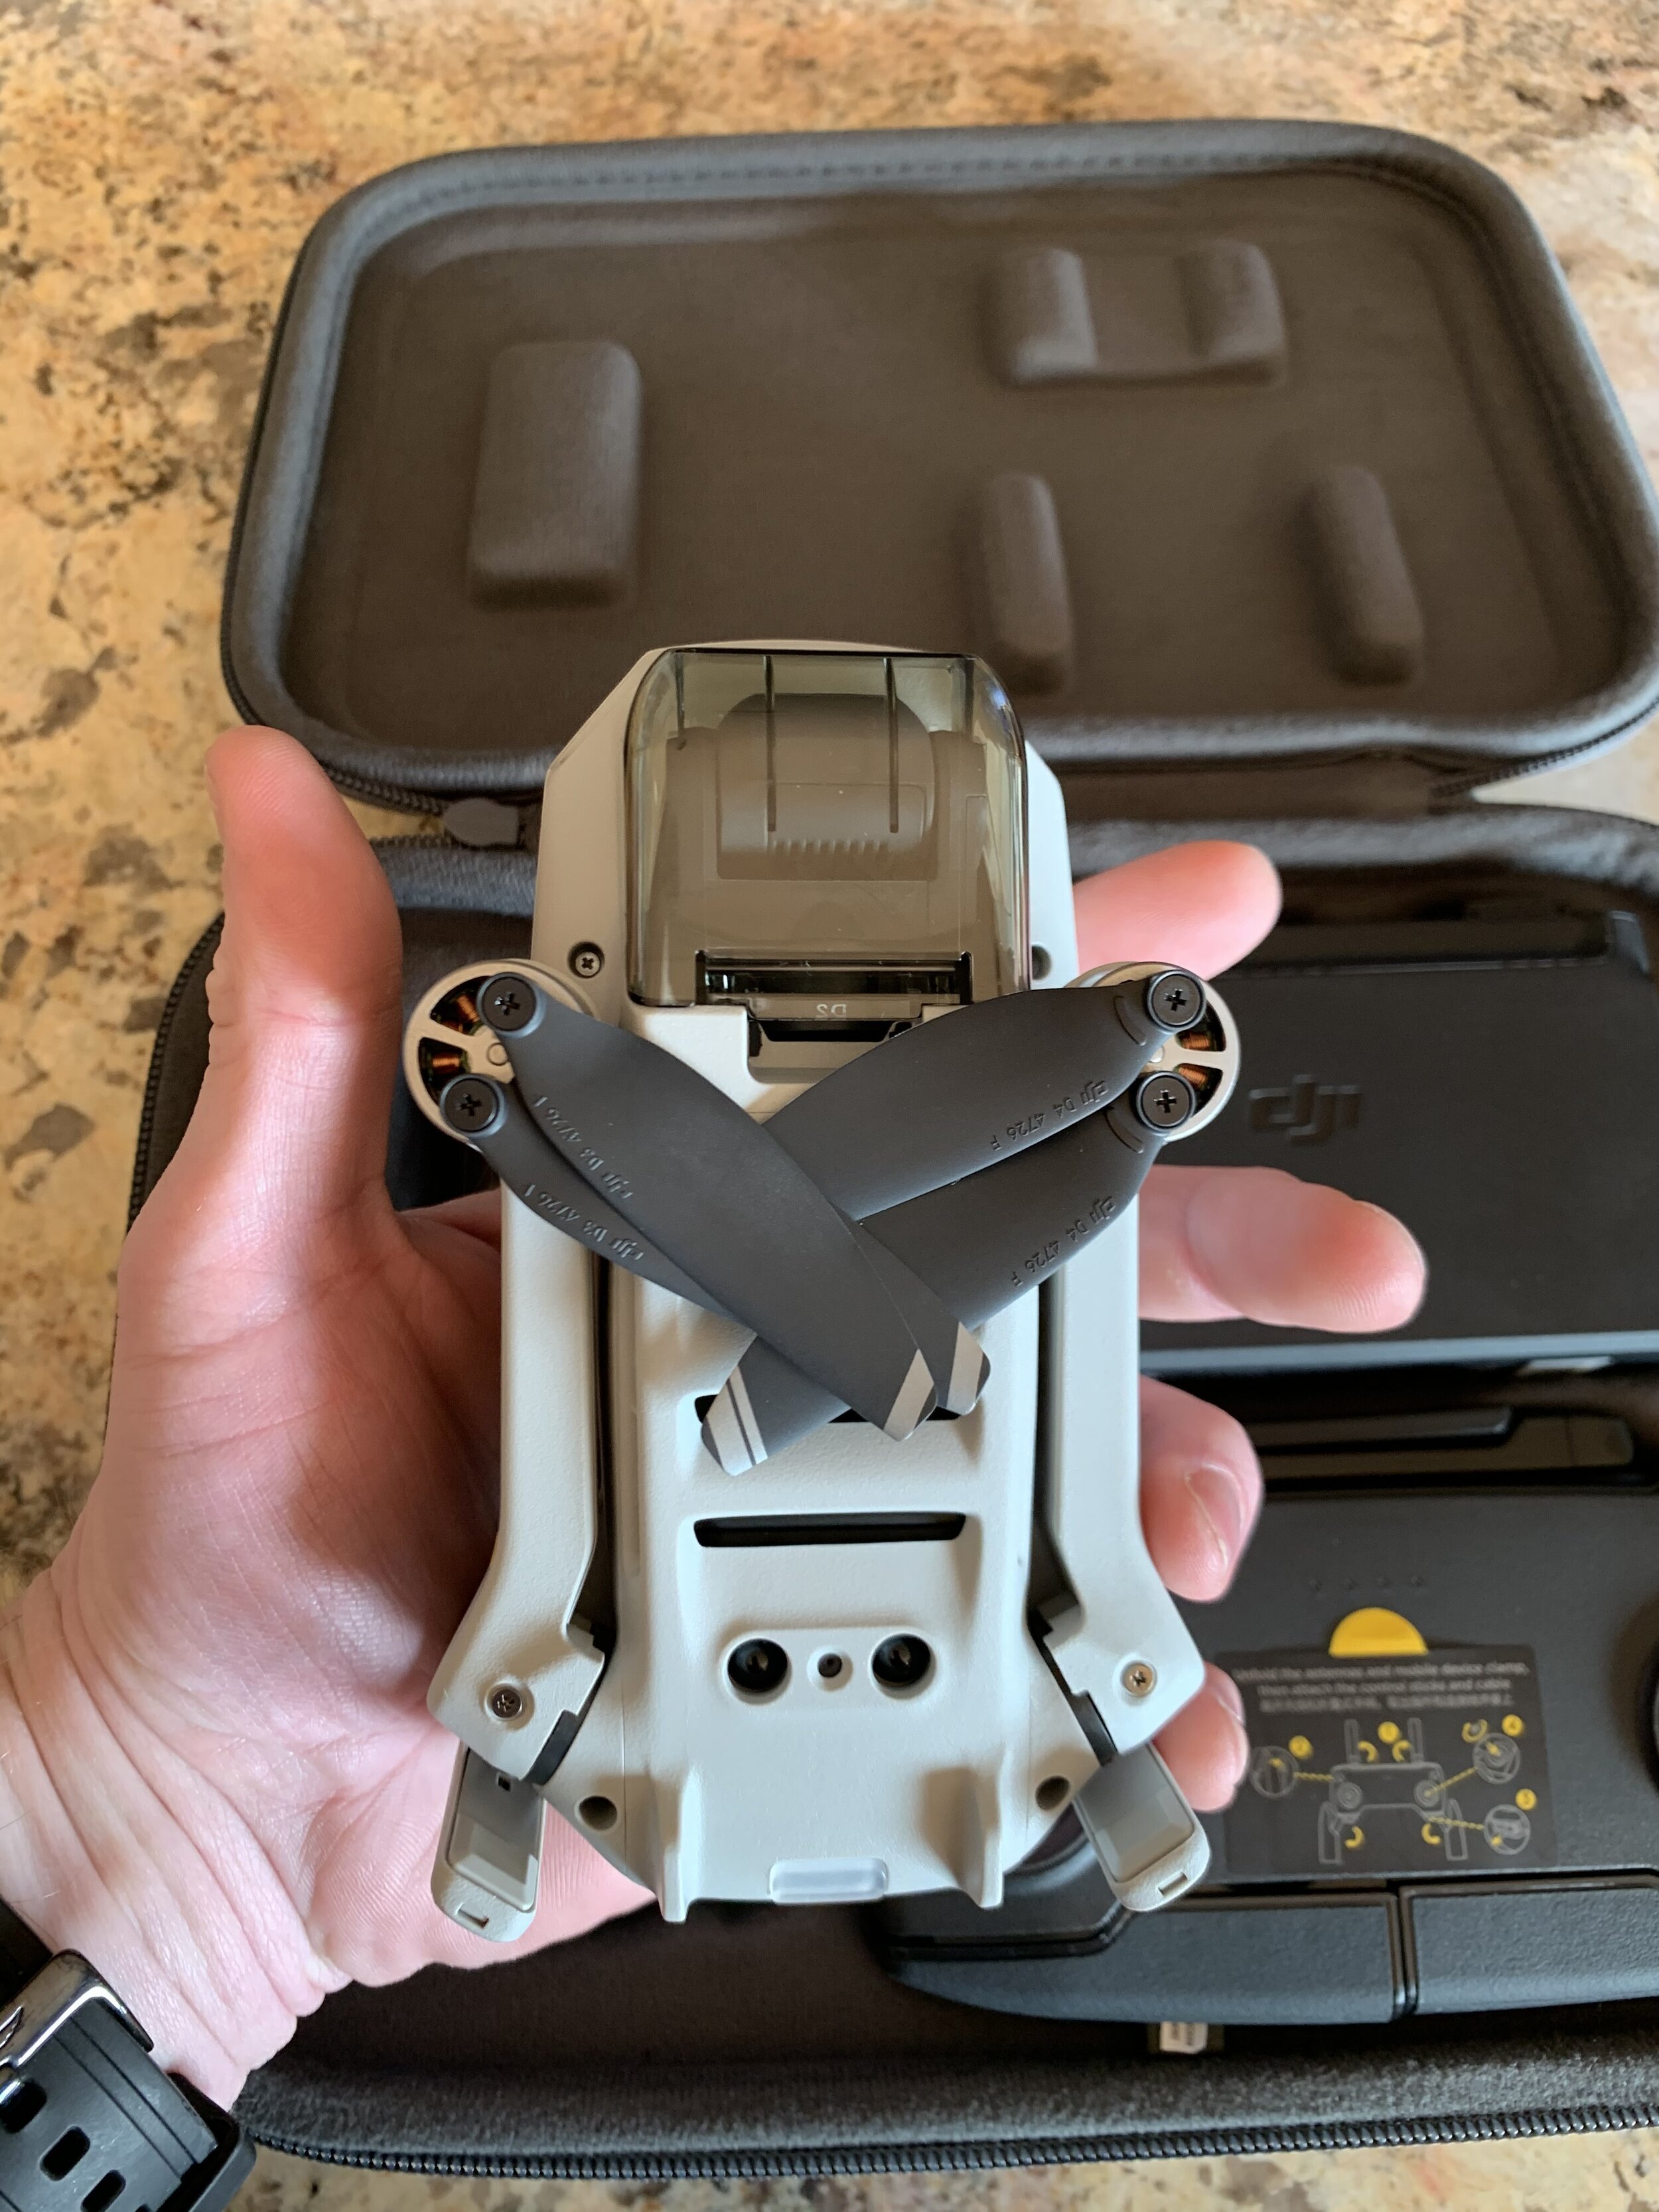
No protection for the SD Card - As you can see from the picture, the SD card is completely exposed to the elements. With the Spark, a flap was used to keep the SD card and mini USB protected. I am a little confused about this decision, but that is nothing a little electrical tape can’t handle.
Build Quality - I have to keep in mind the 249g marketing angle before I write this portion because ultimately, that was DJI’s Goal. Build a drone under 250 grams, so users do not have to register the drone with the FAA. Feels cheap, looks cheap and at $399-$499 is cheap.
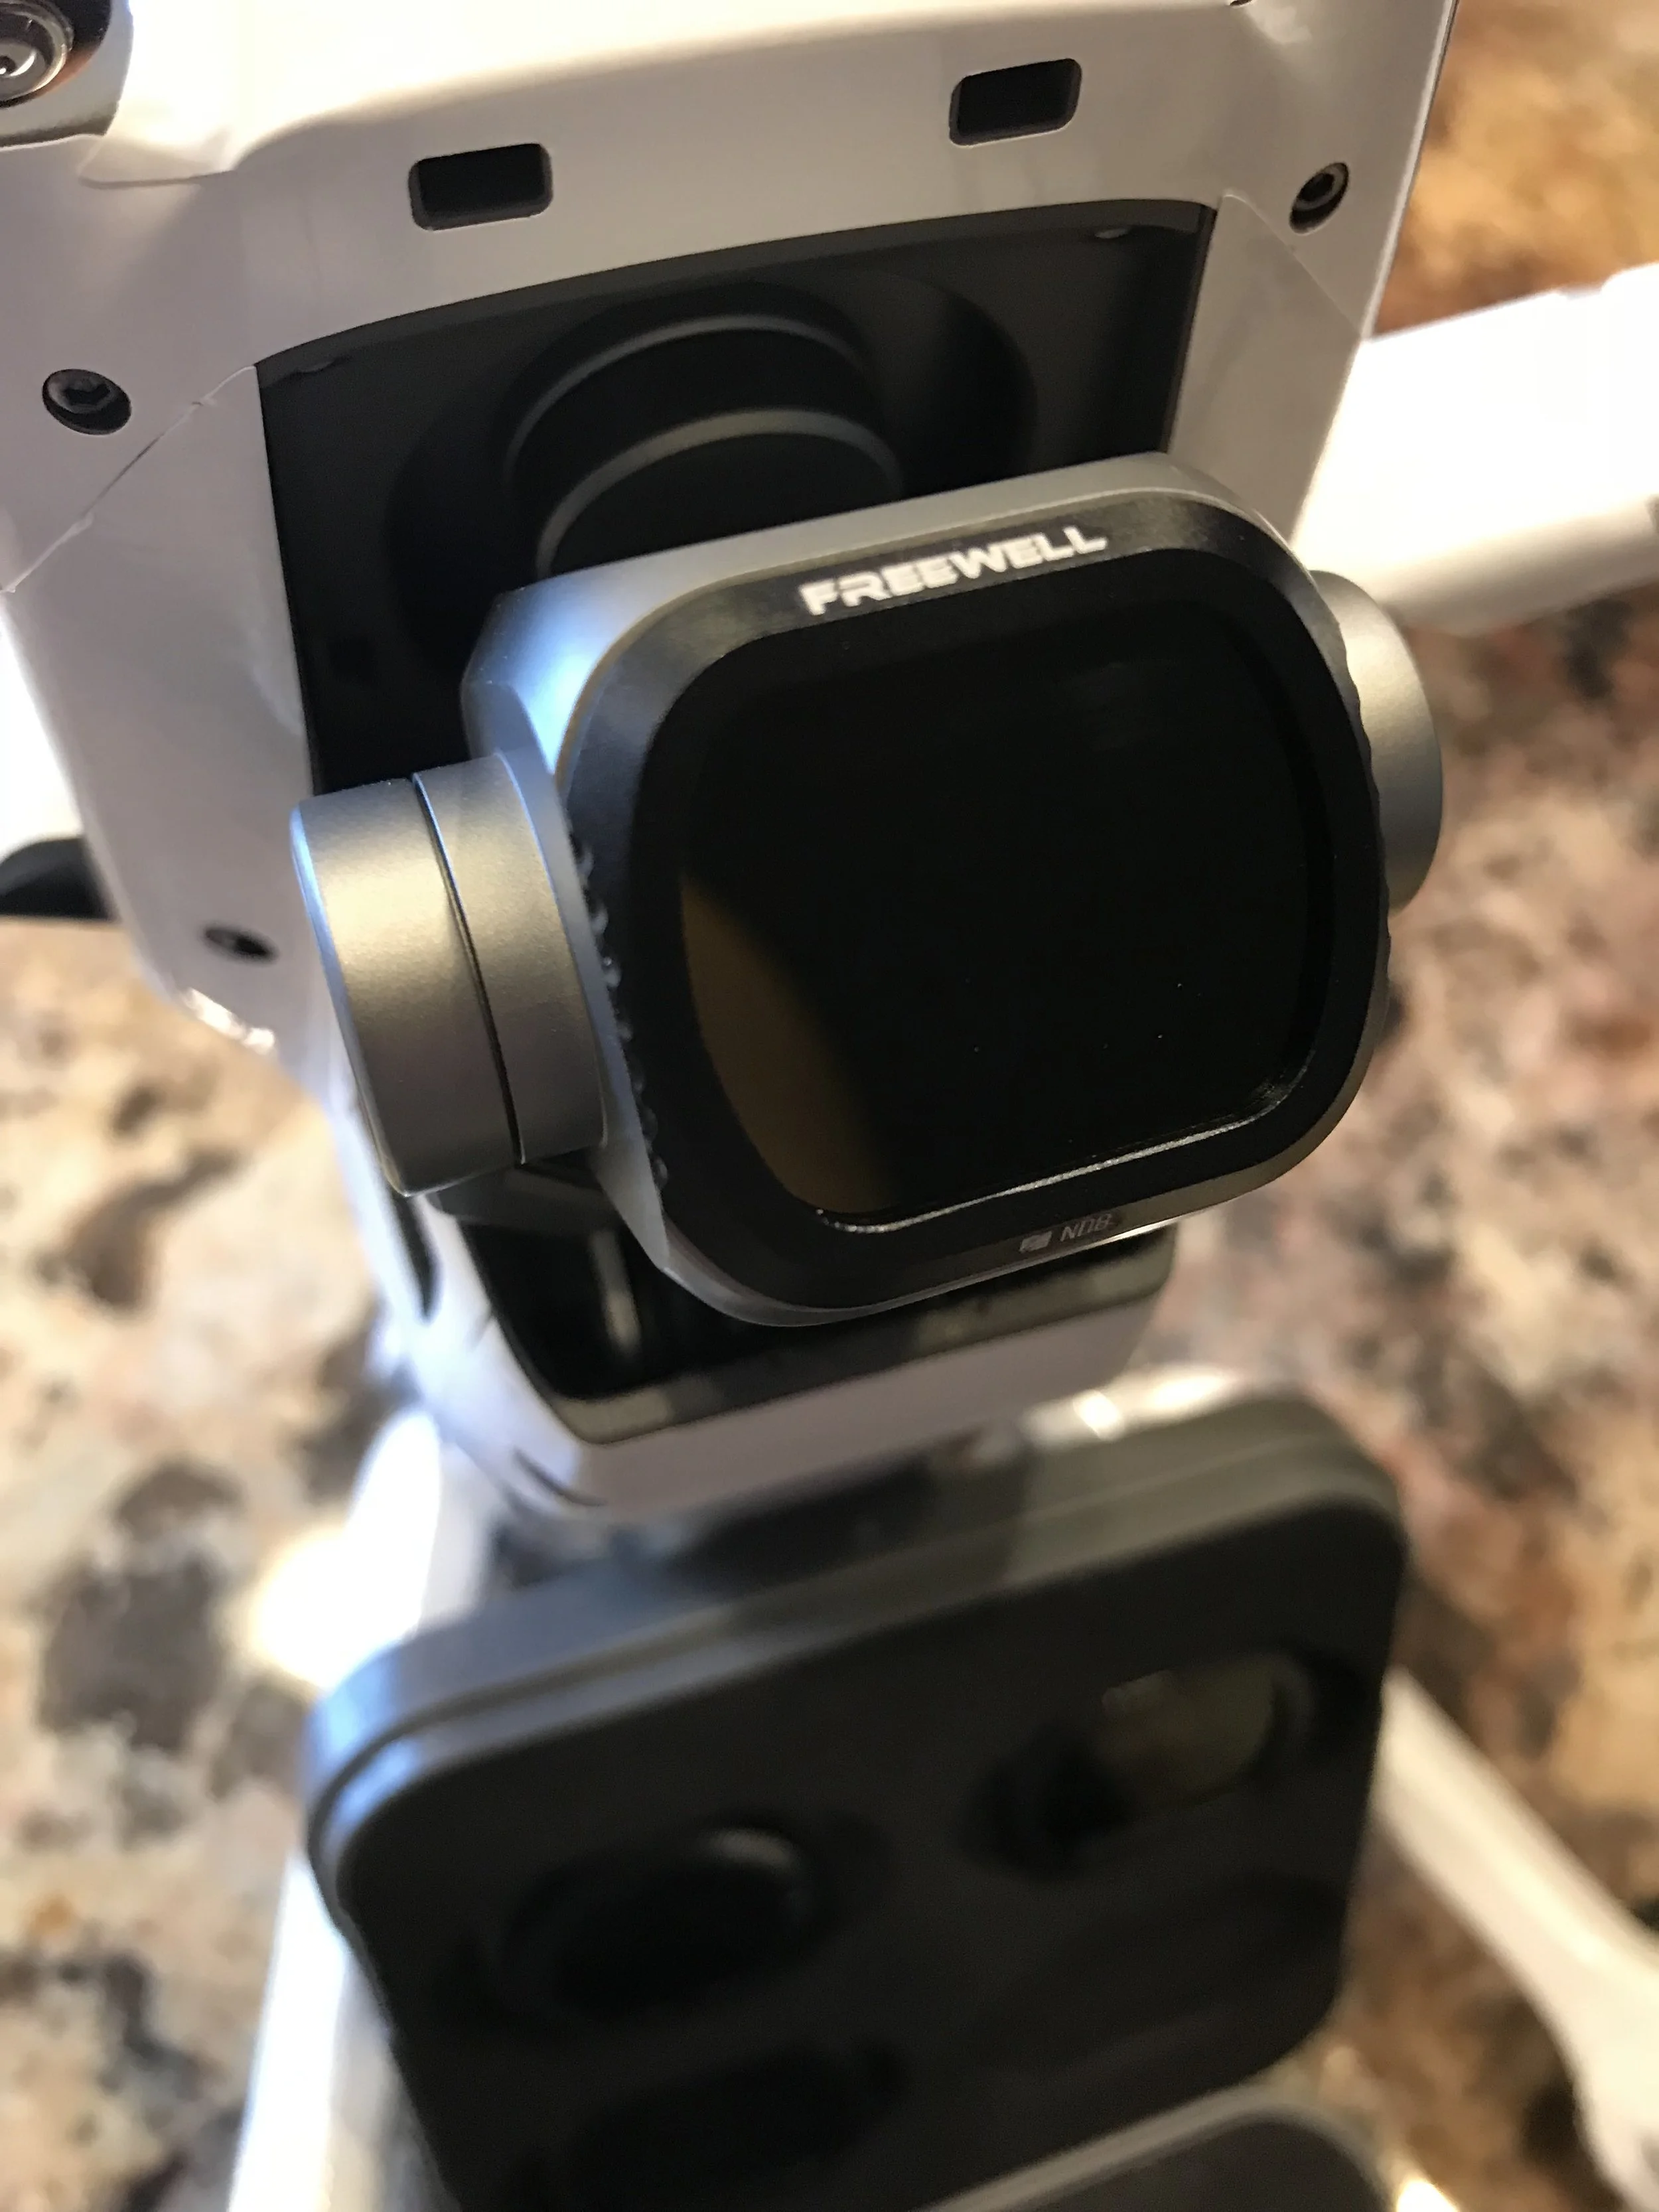
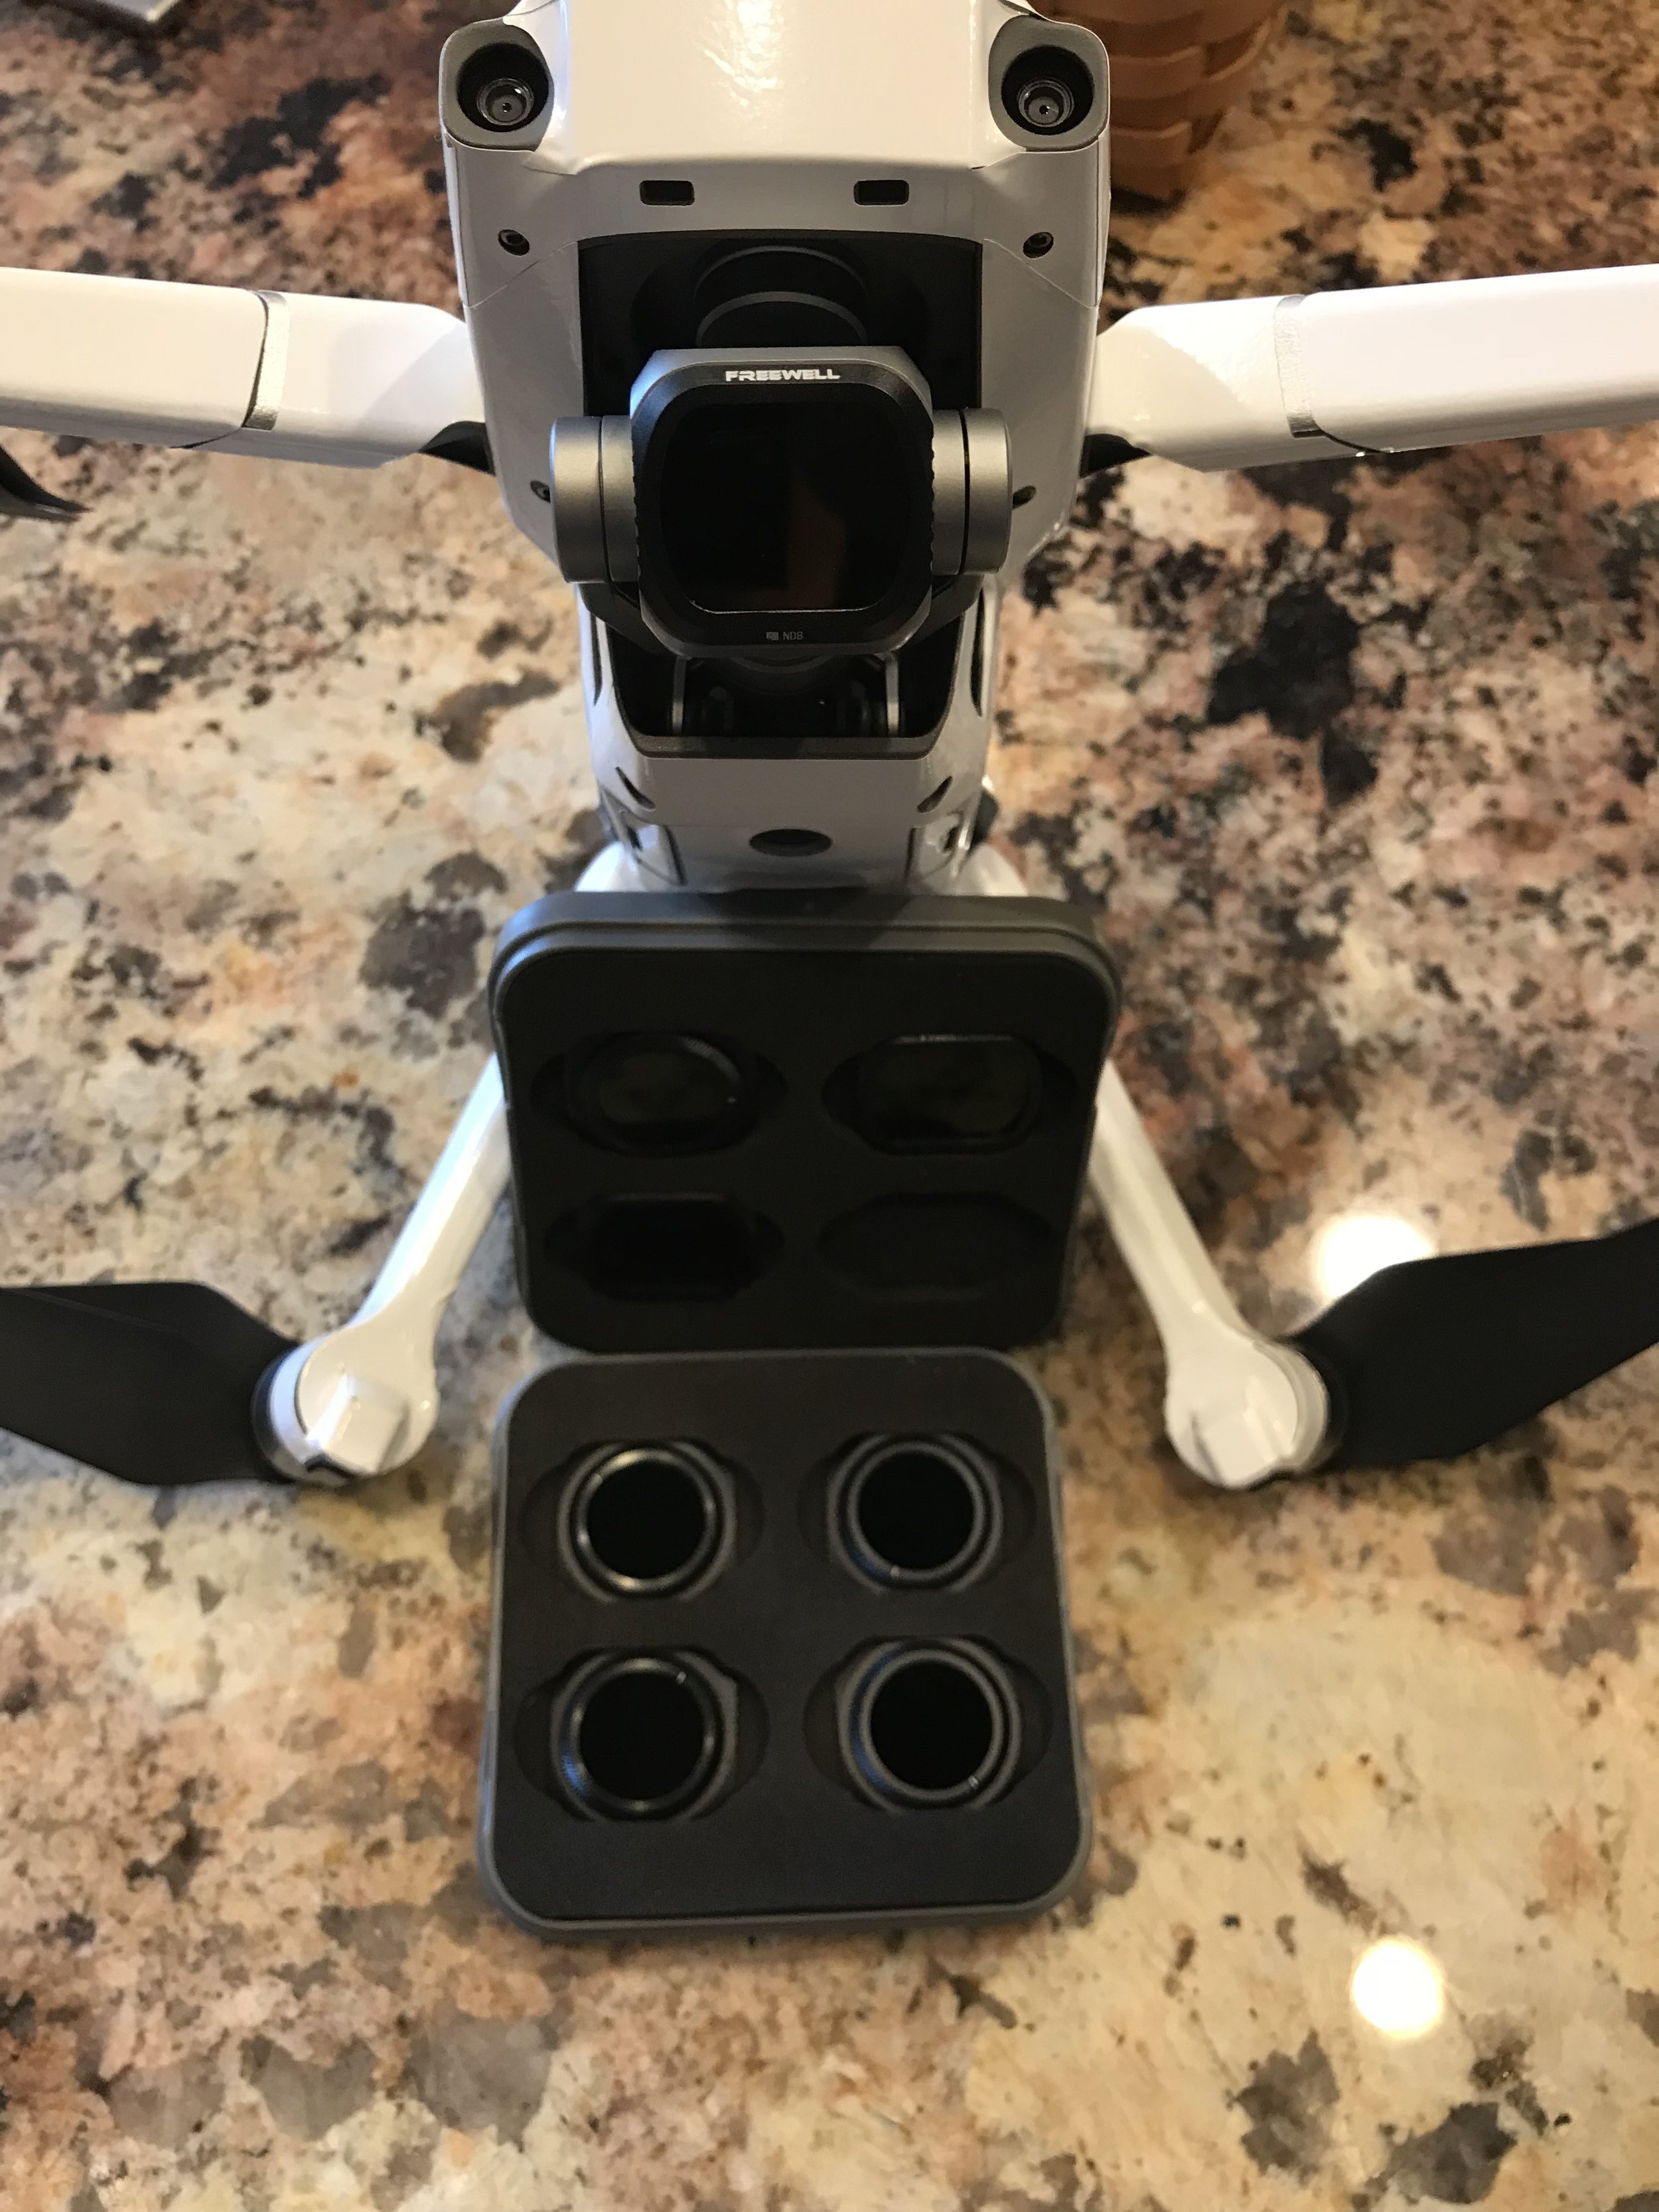
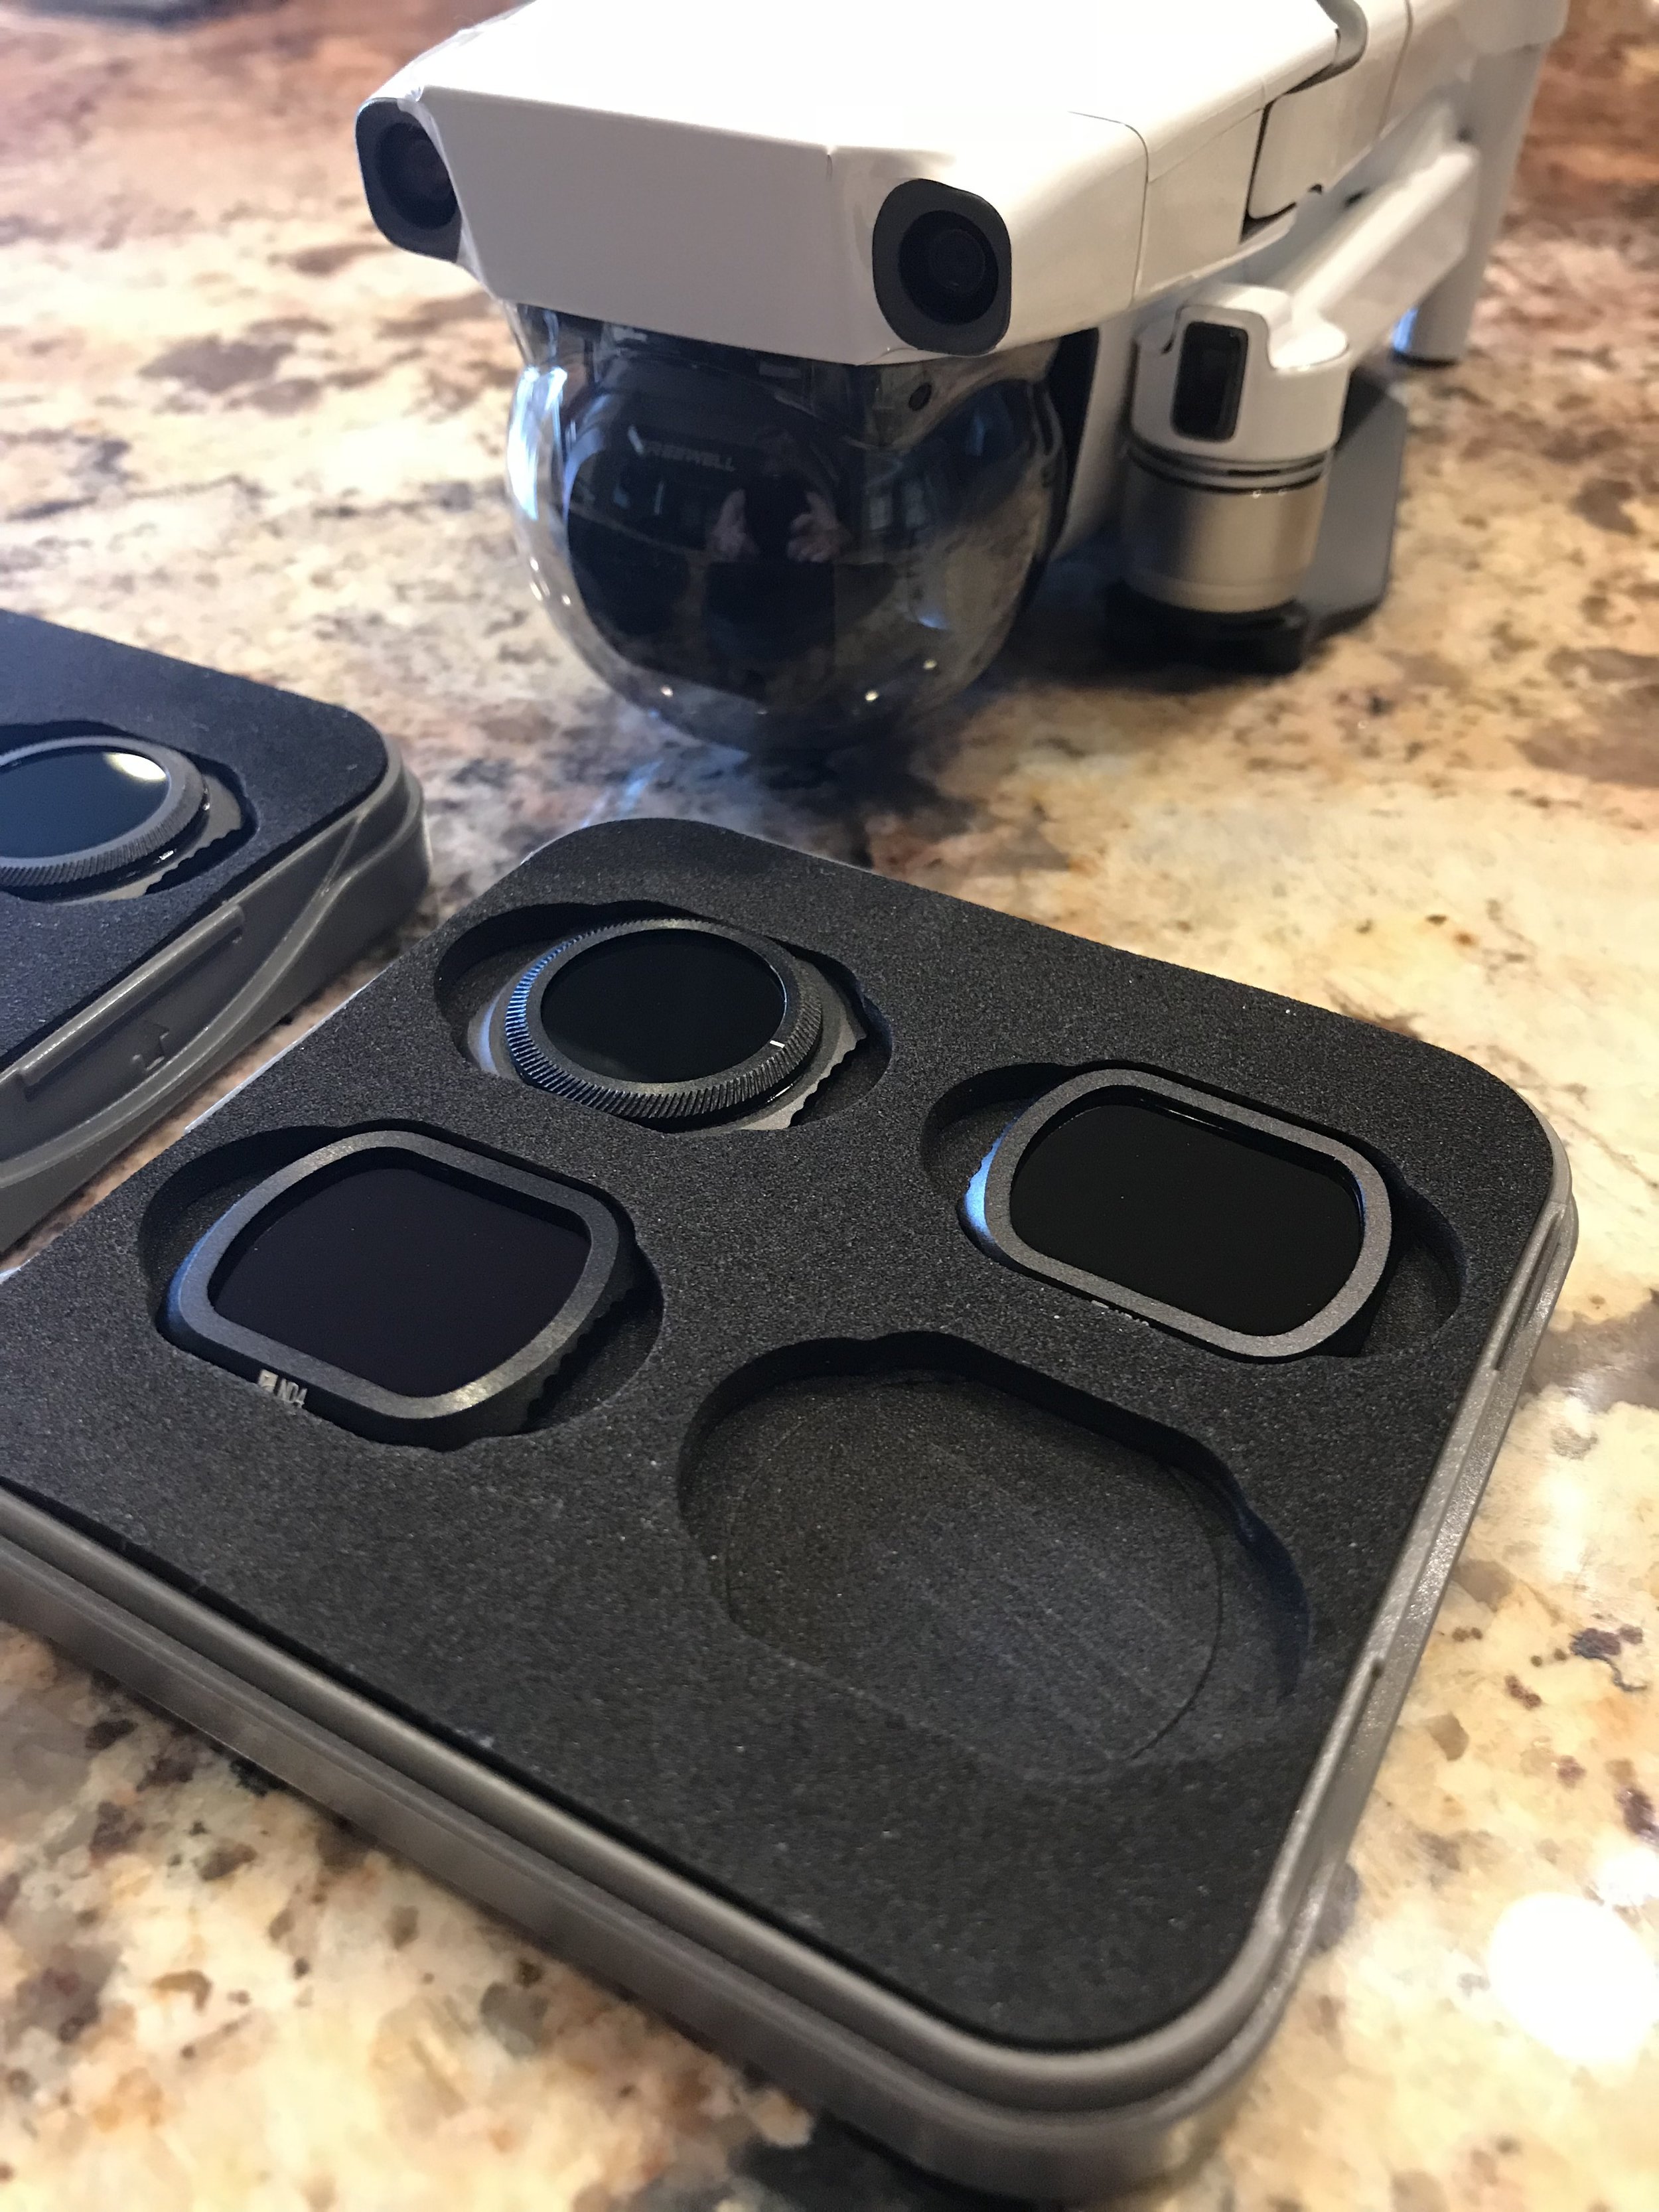
Unsure about the Video - DJI has marketed the Spark as 1080p while the Mini can achieve 2.7k. I do not believe this as of now. Looking at the files from the Mini on a smart device, tablet, computer desktop screen, and a UHD/4k TV, the video seems relatively the same. A significant difference in color, too. I’ll get a video with some clips together soon. None of my flights included an on board ND or CP filter, which, by the way, would increase the take-off weight above 249 grams.
Ground Clearance - Uh... This doesn’t exist. Please be aware you’ll need to take off and land from your hand or a completely flat surface. If you attempt to take off in any height of grass, the props will be ruined.
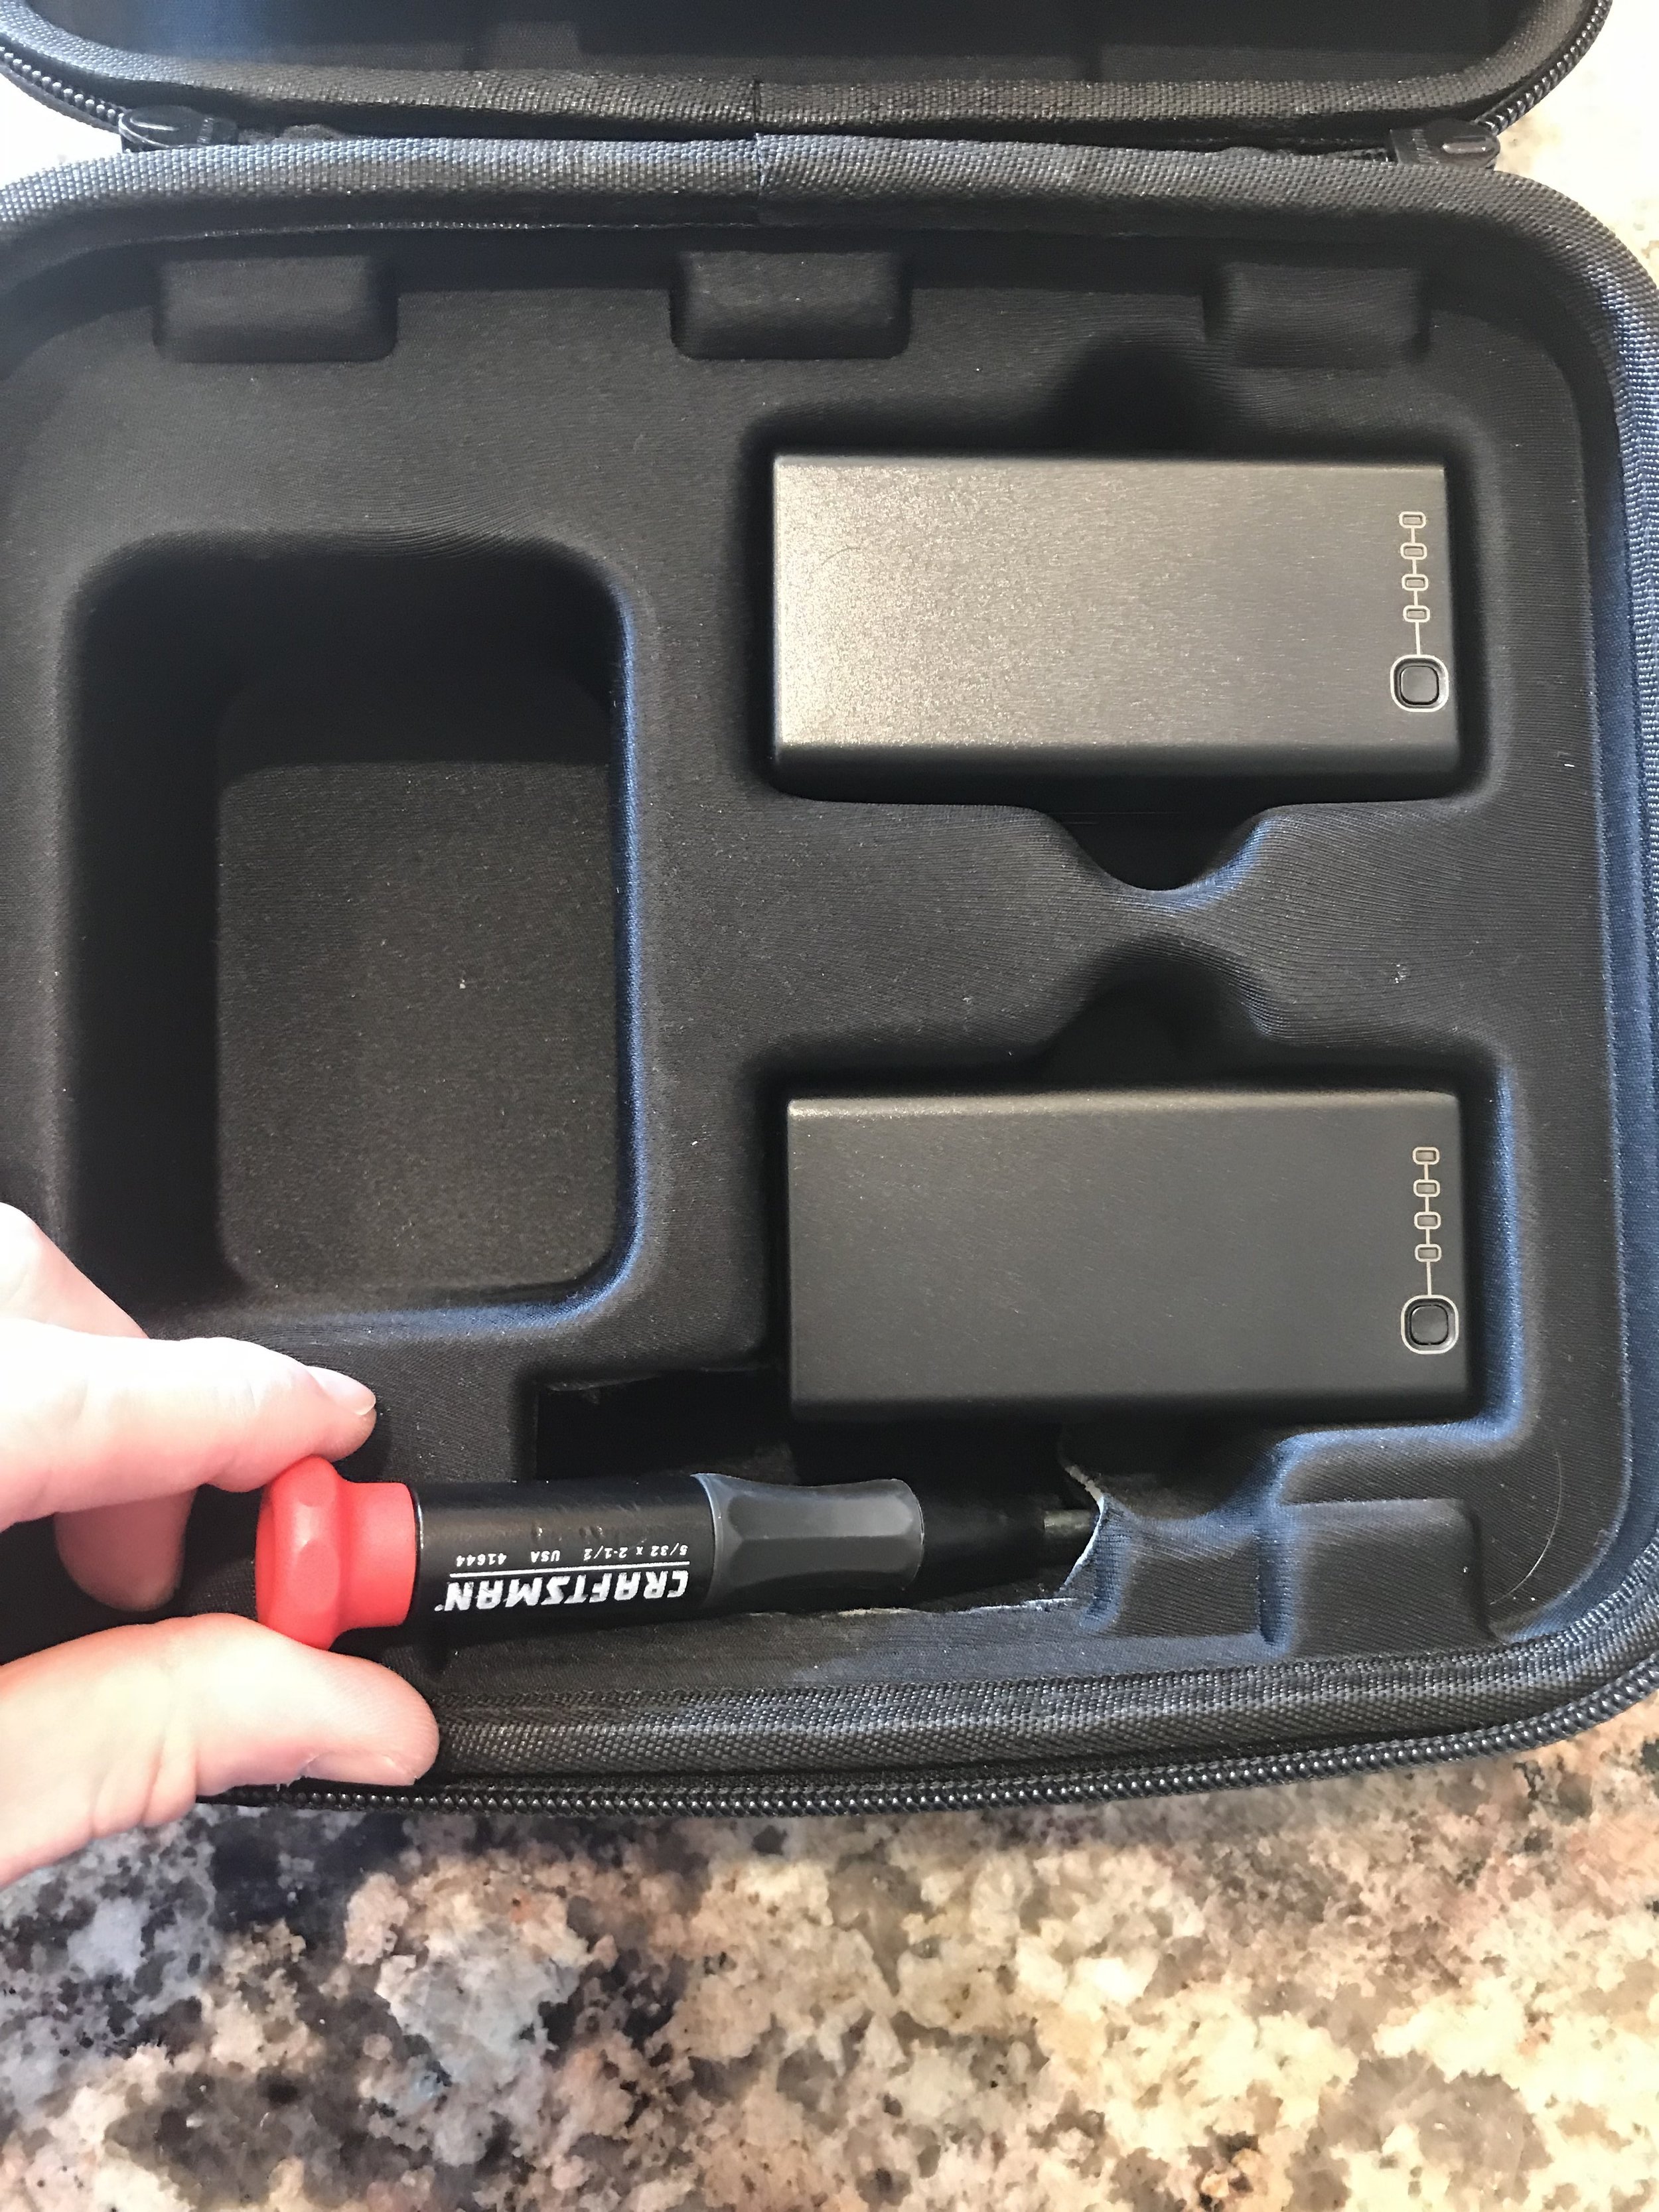
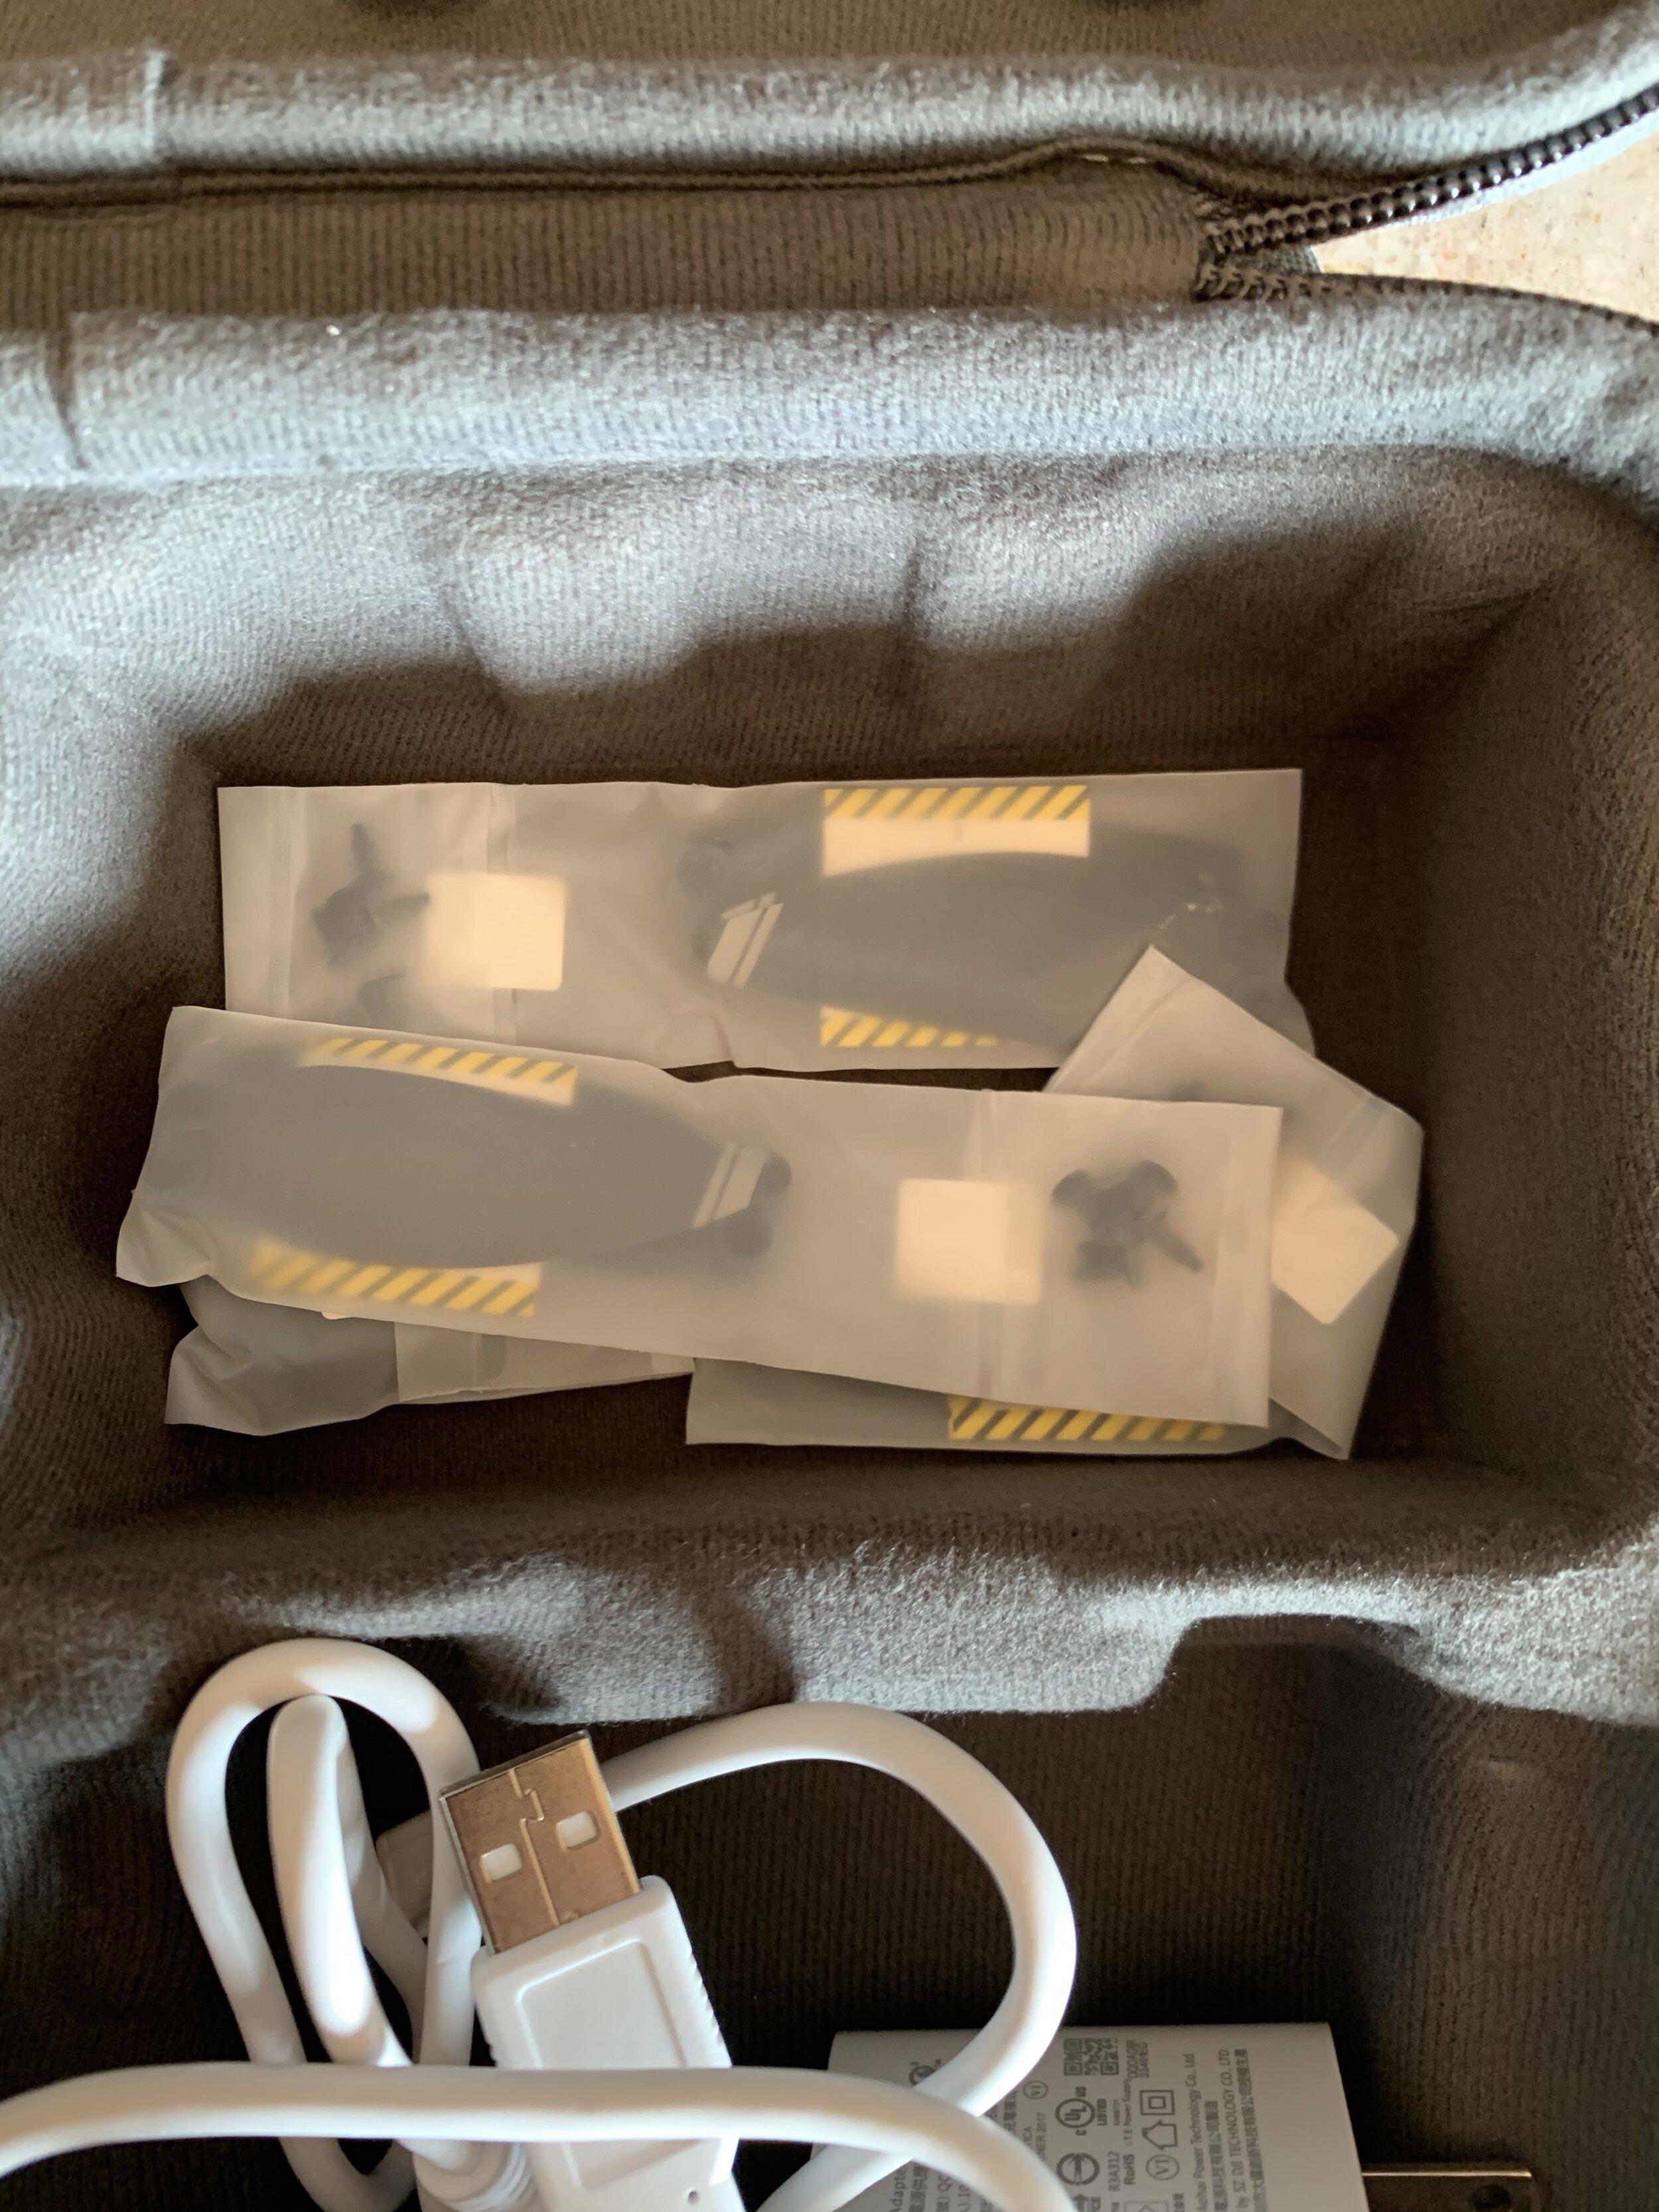
Prop Replacement - I get it. The design is all about weight, but at the same time, if you lose the little screwdriver that is included, you’re SOL (shit outta luck). For some reason, DJI went back to the dark ages and decided a Phillips head screw would be better to hold the props to the motor instead of the spring-loaded props we’ve had since the Mavic Pro came out.
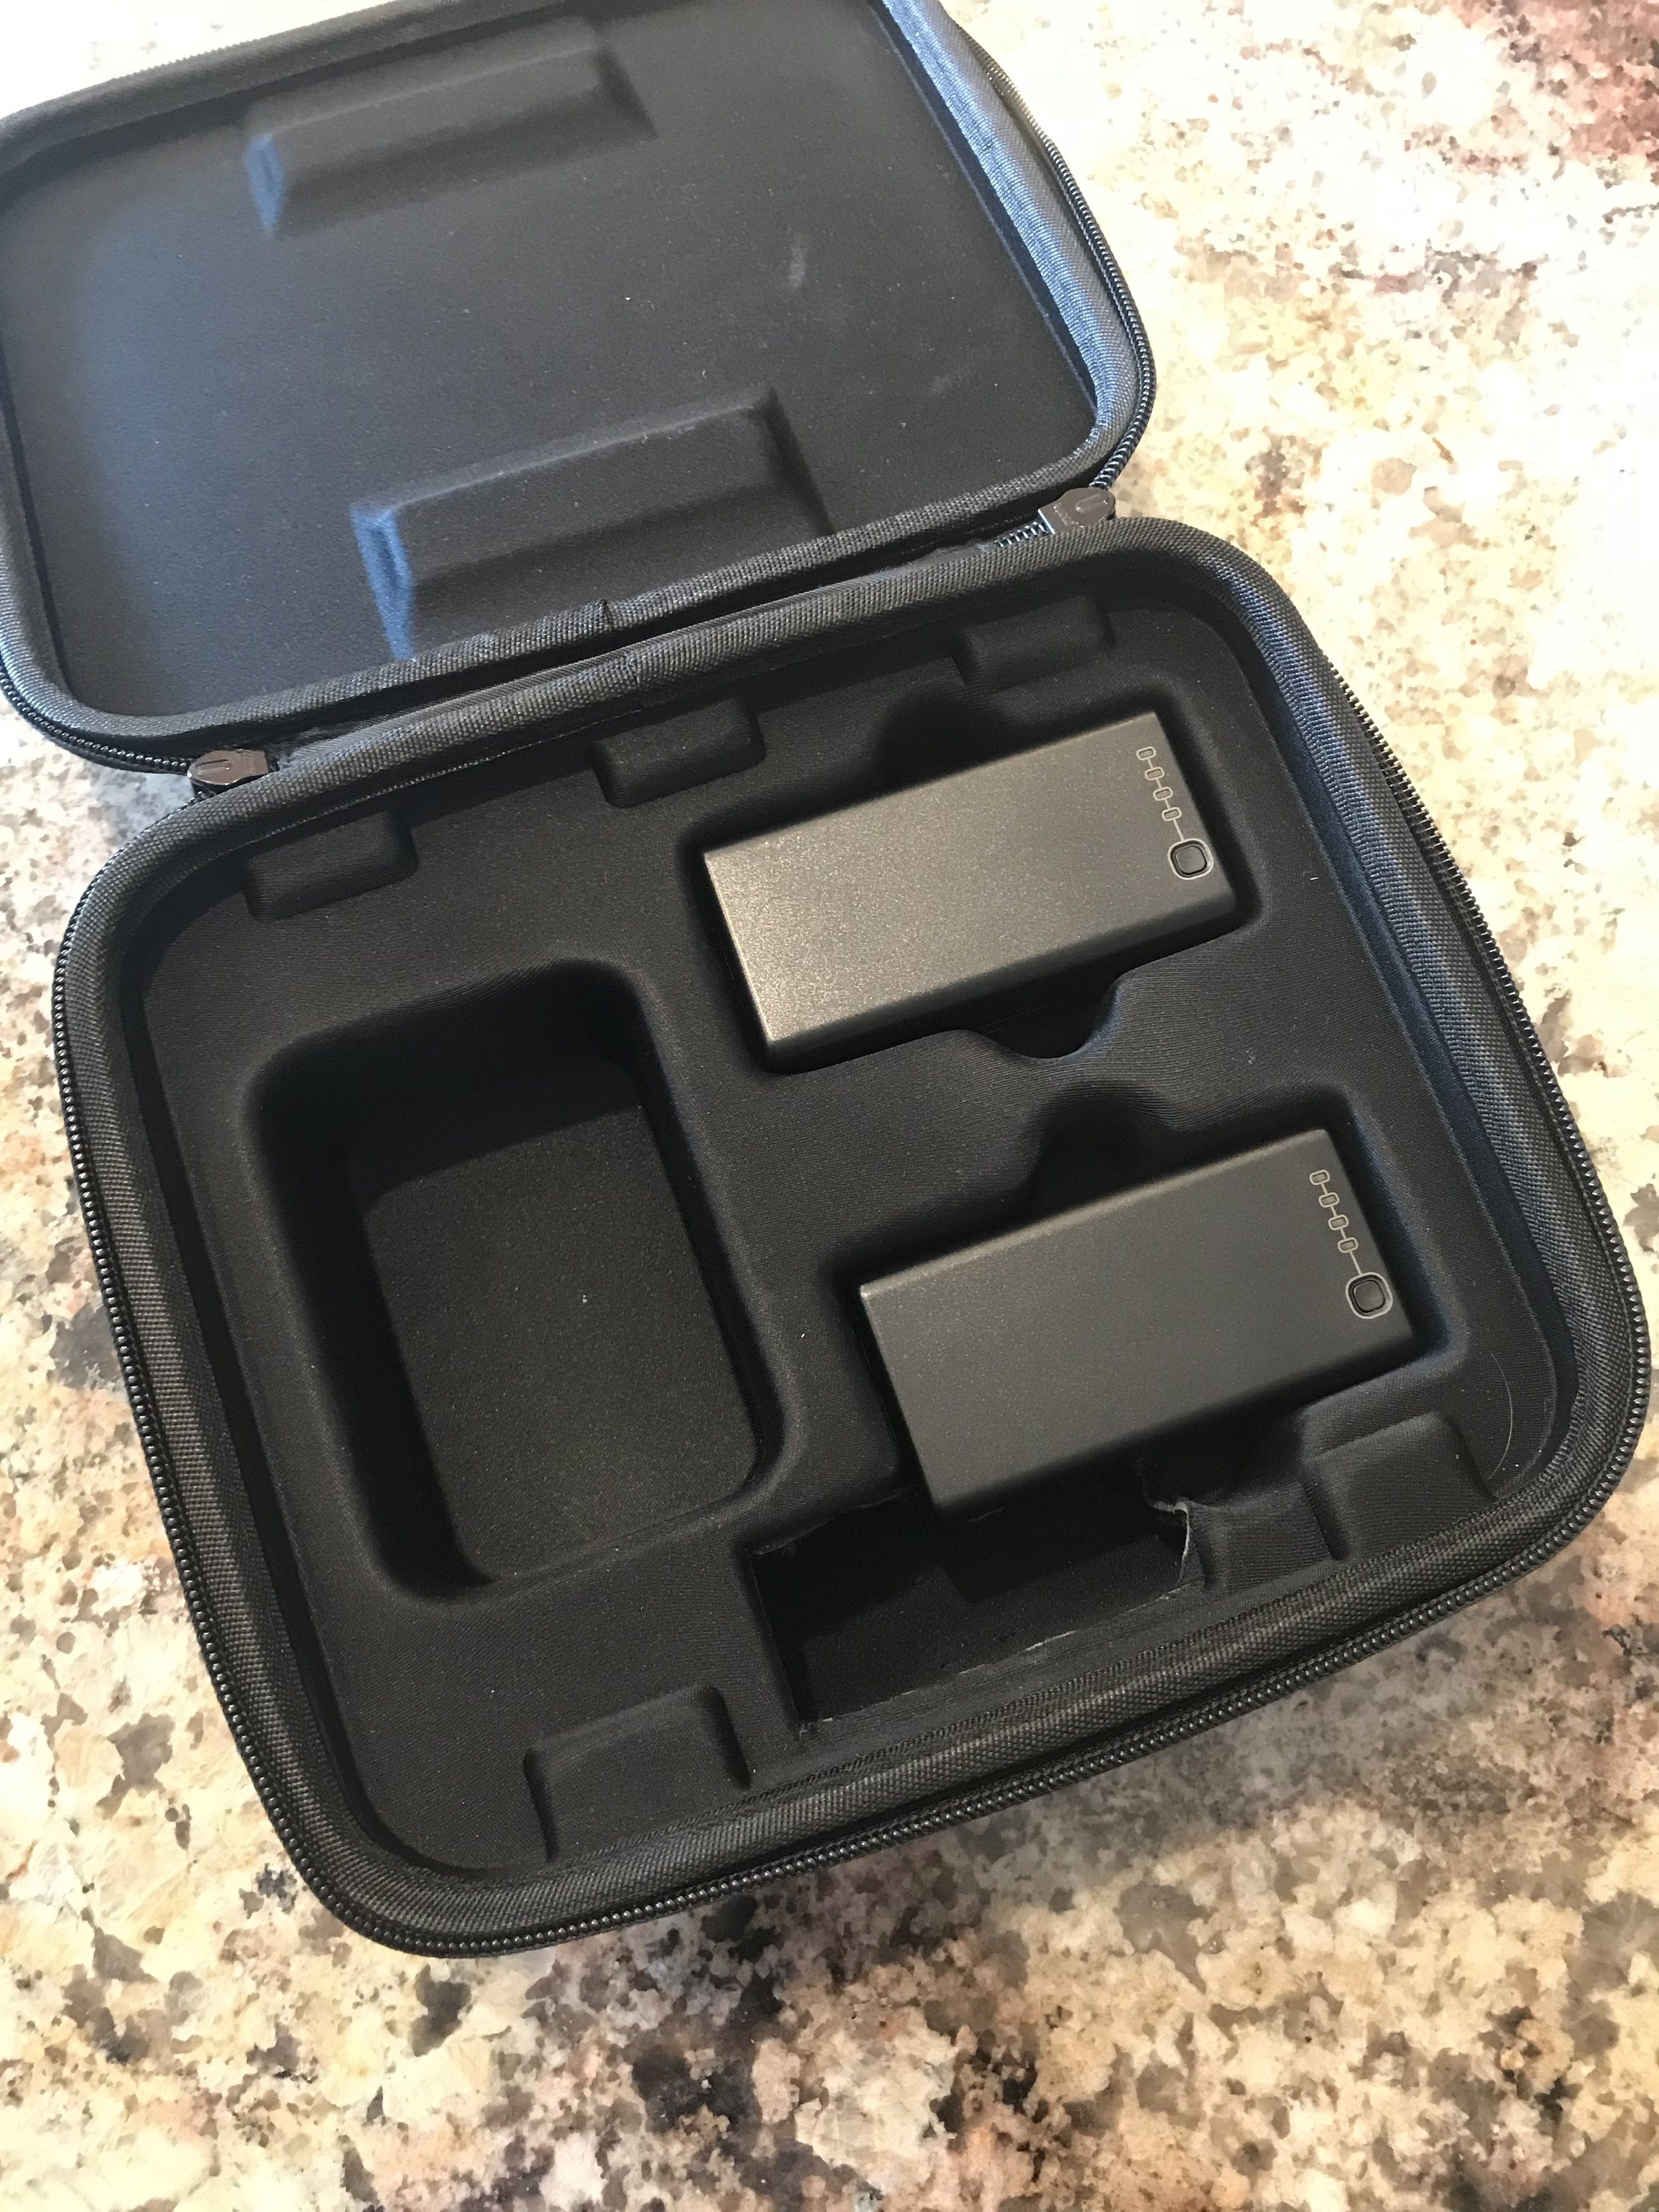
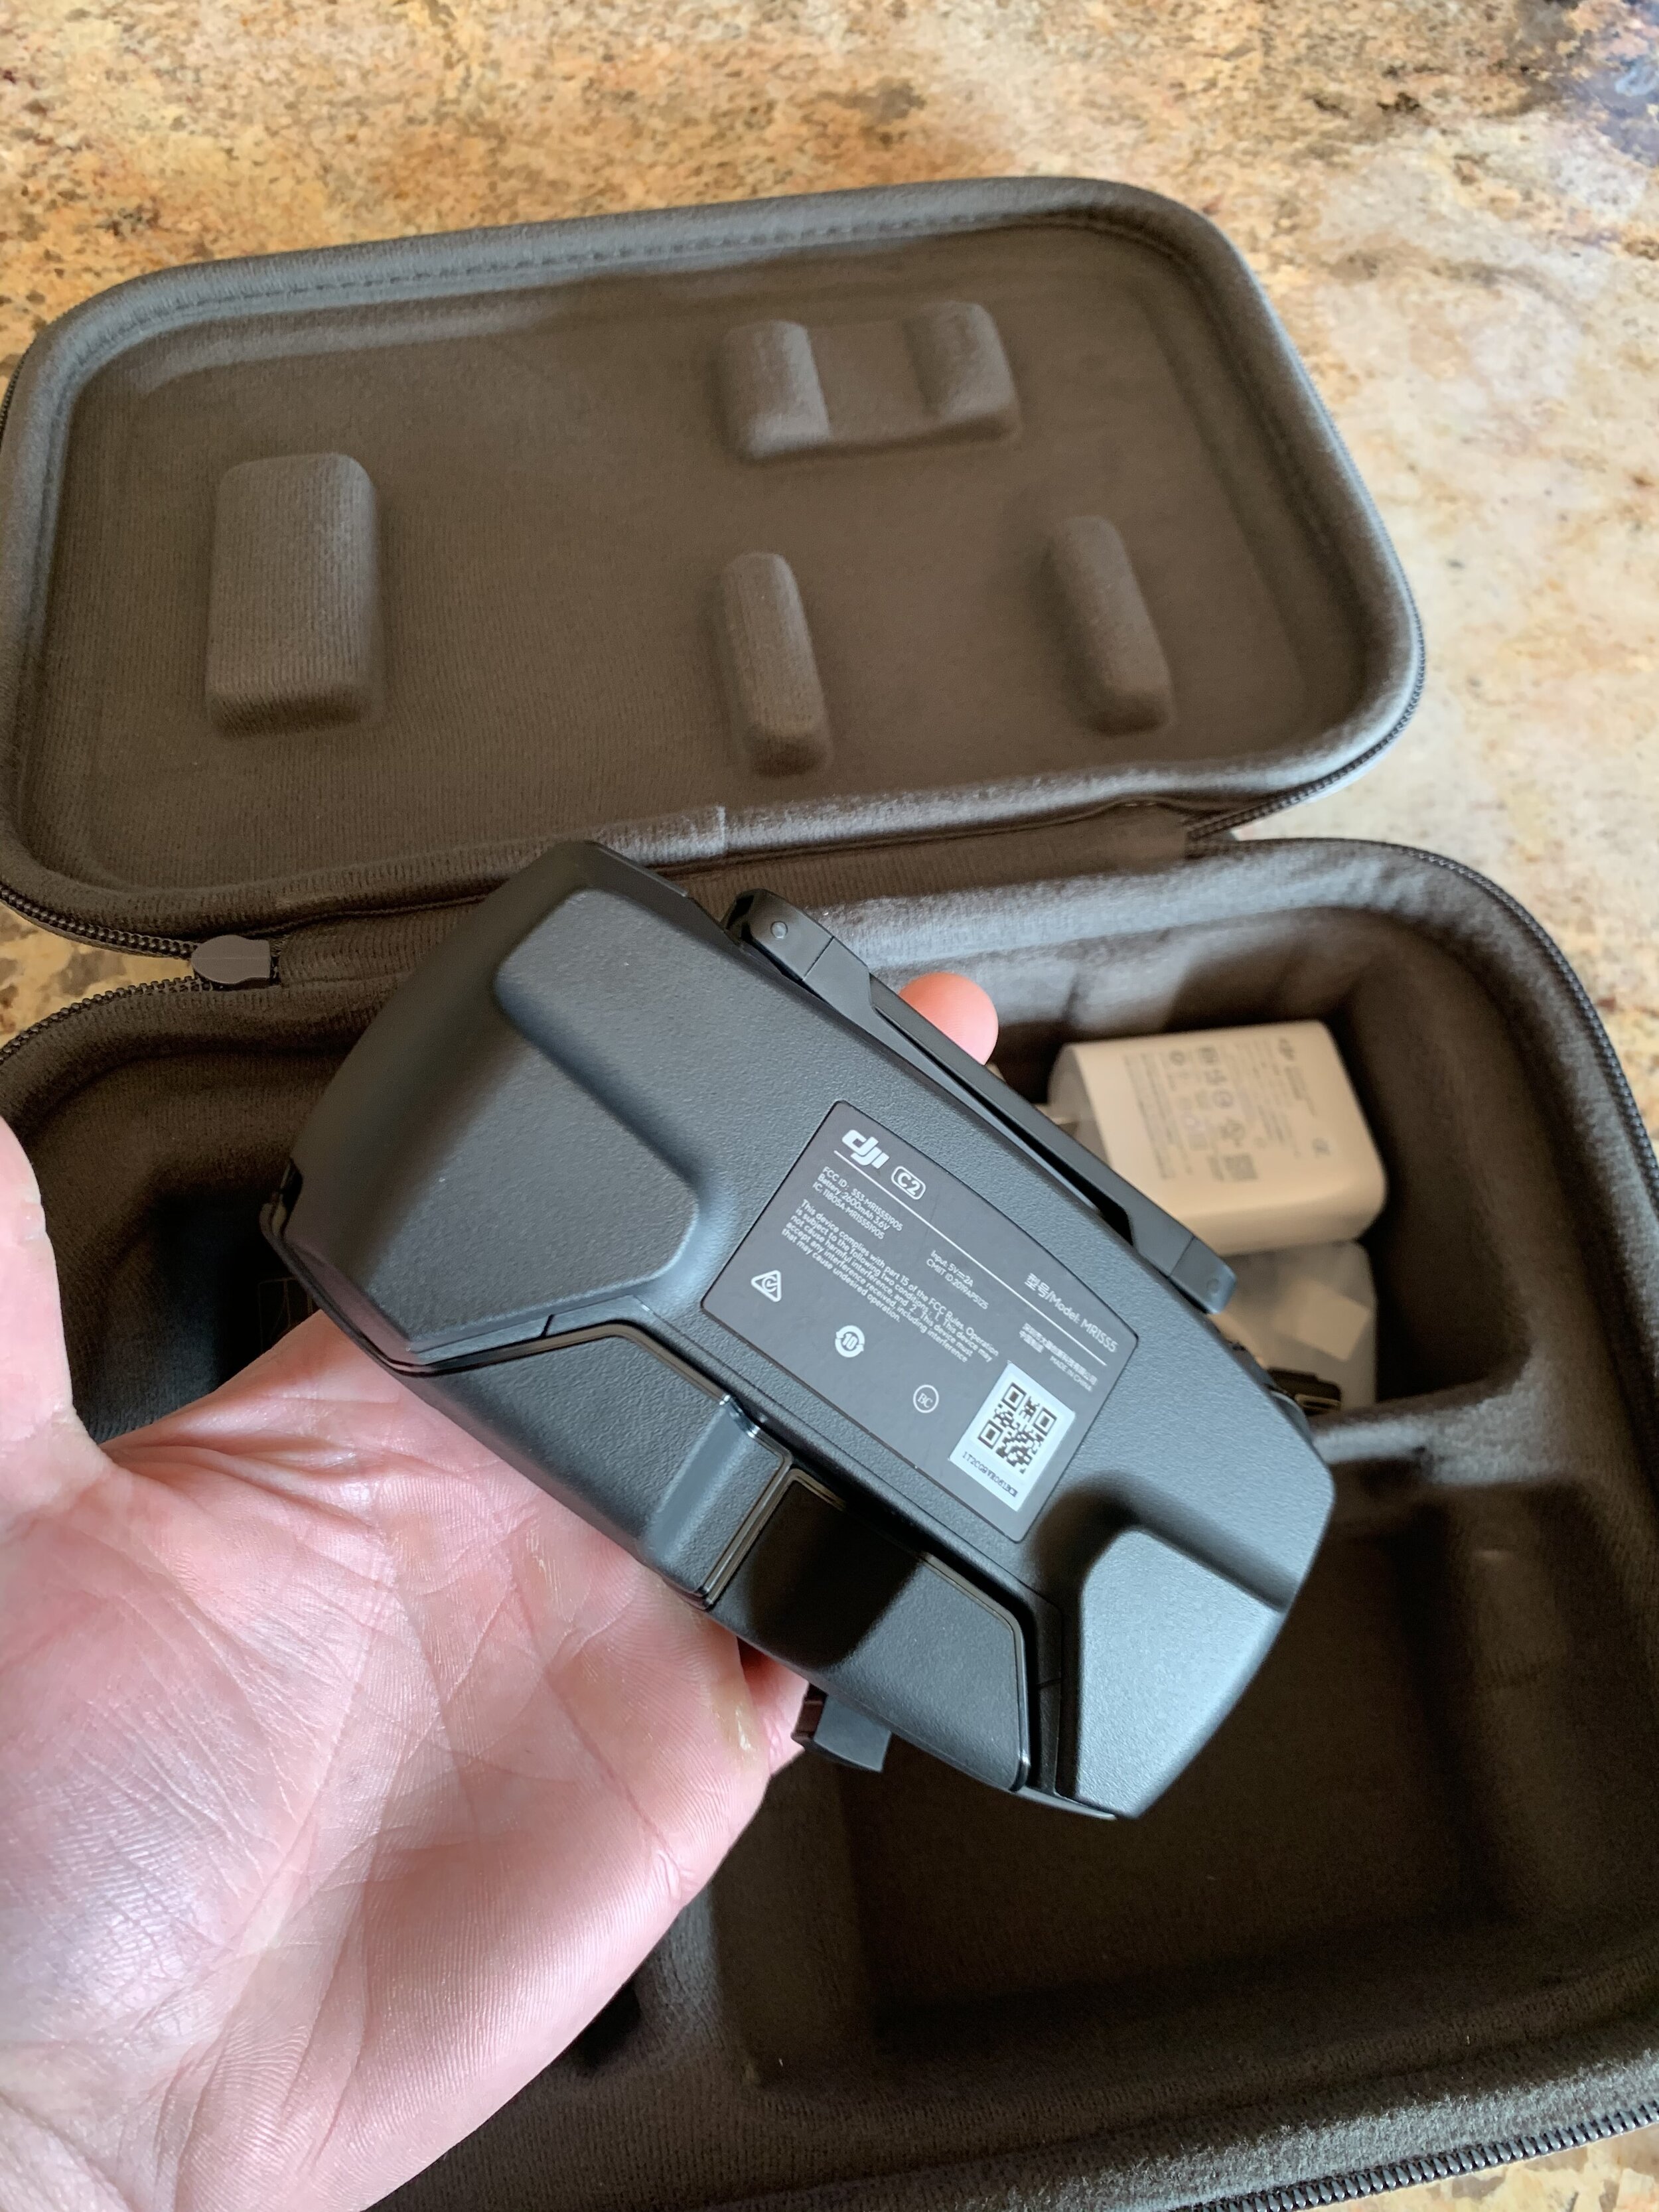
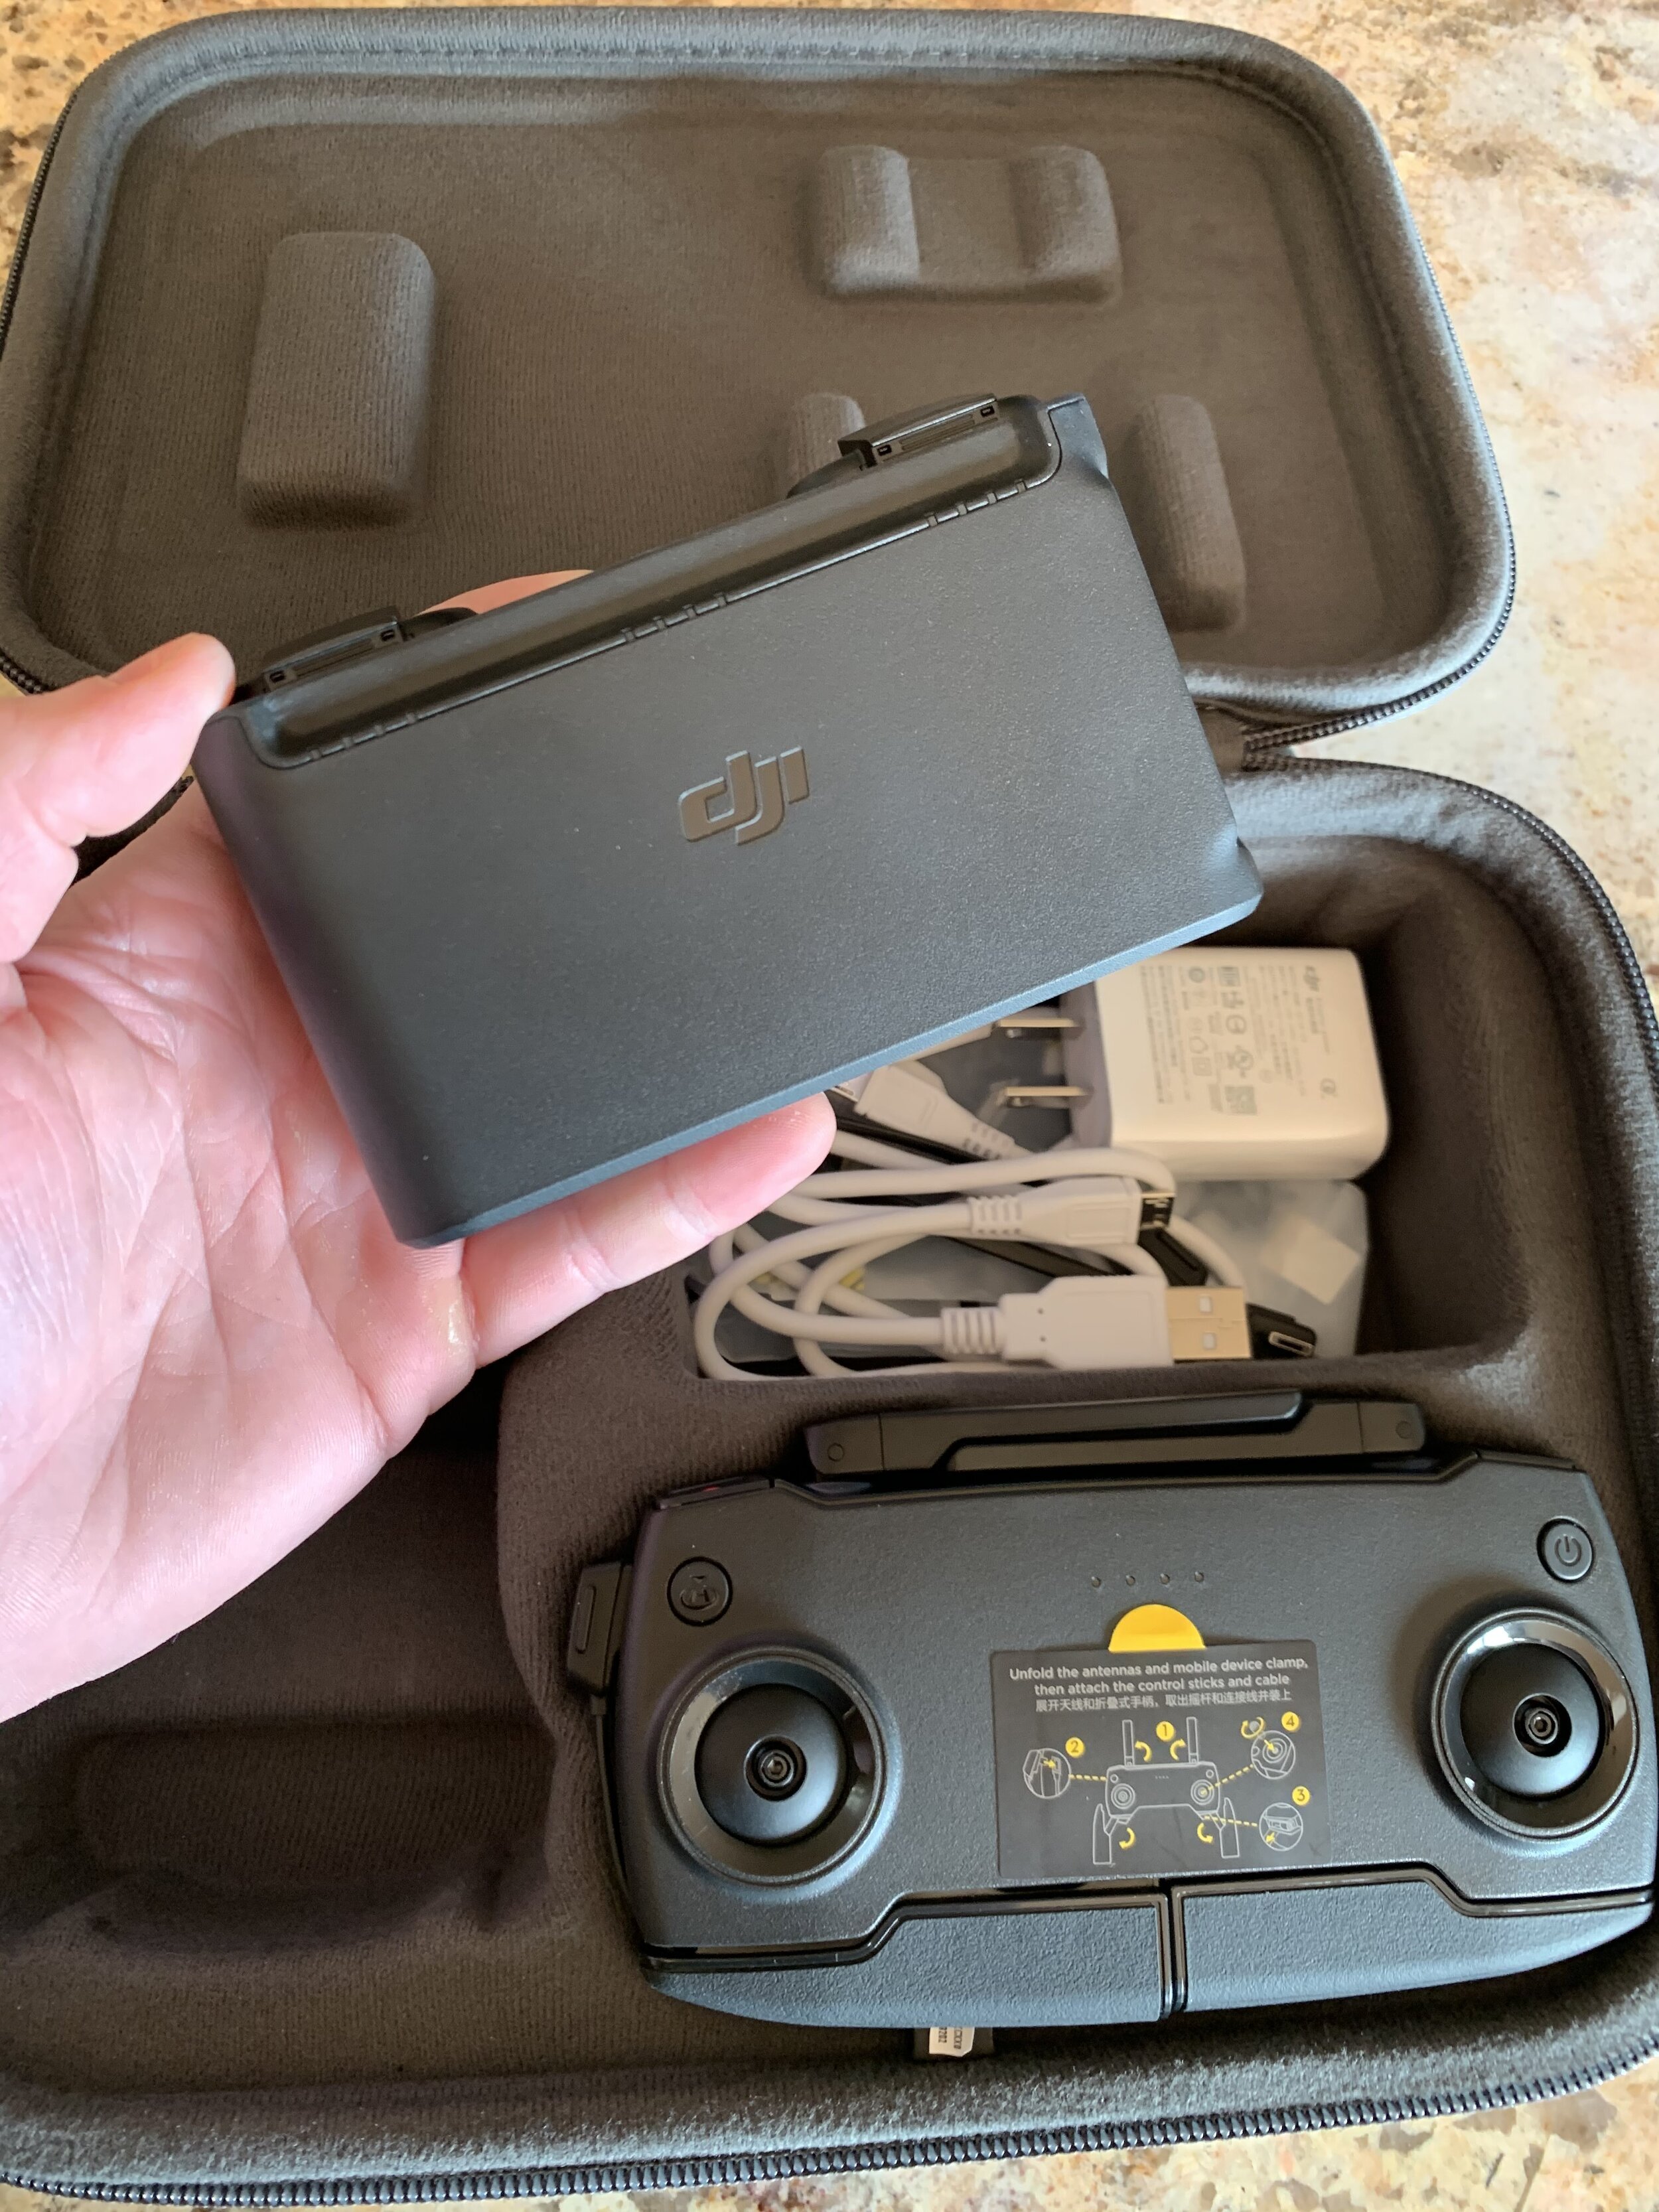
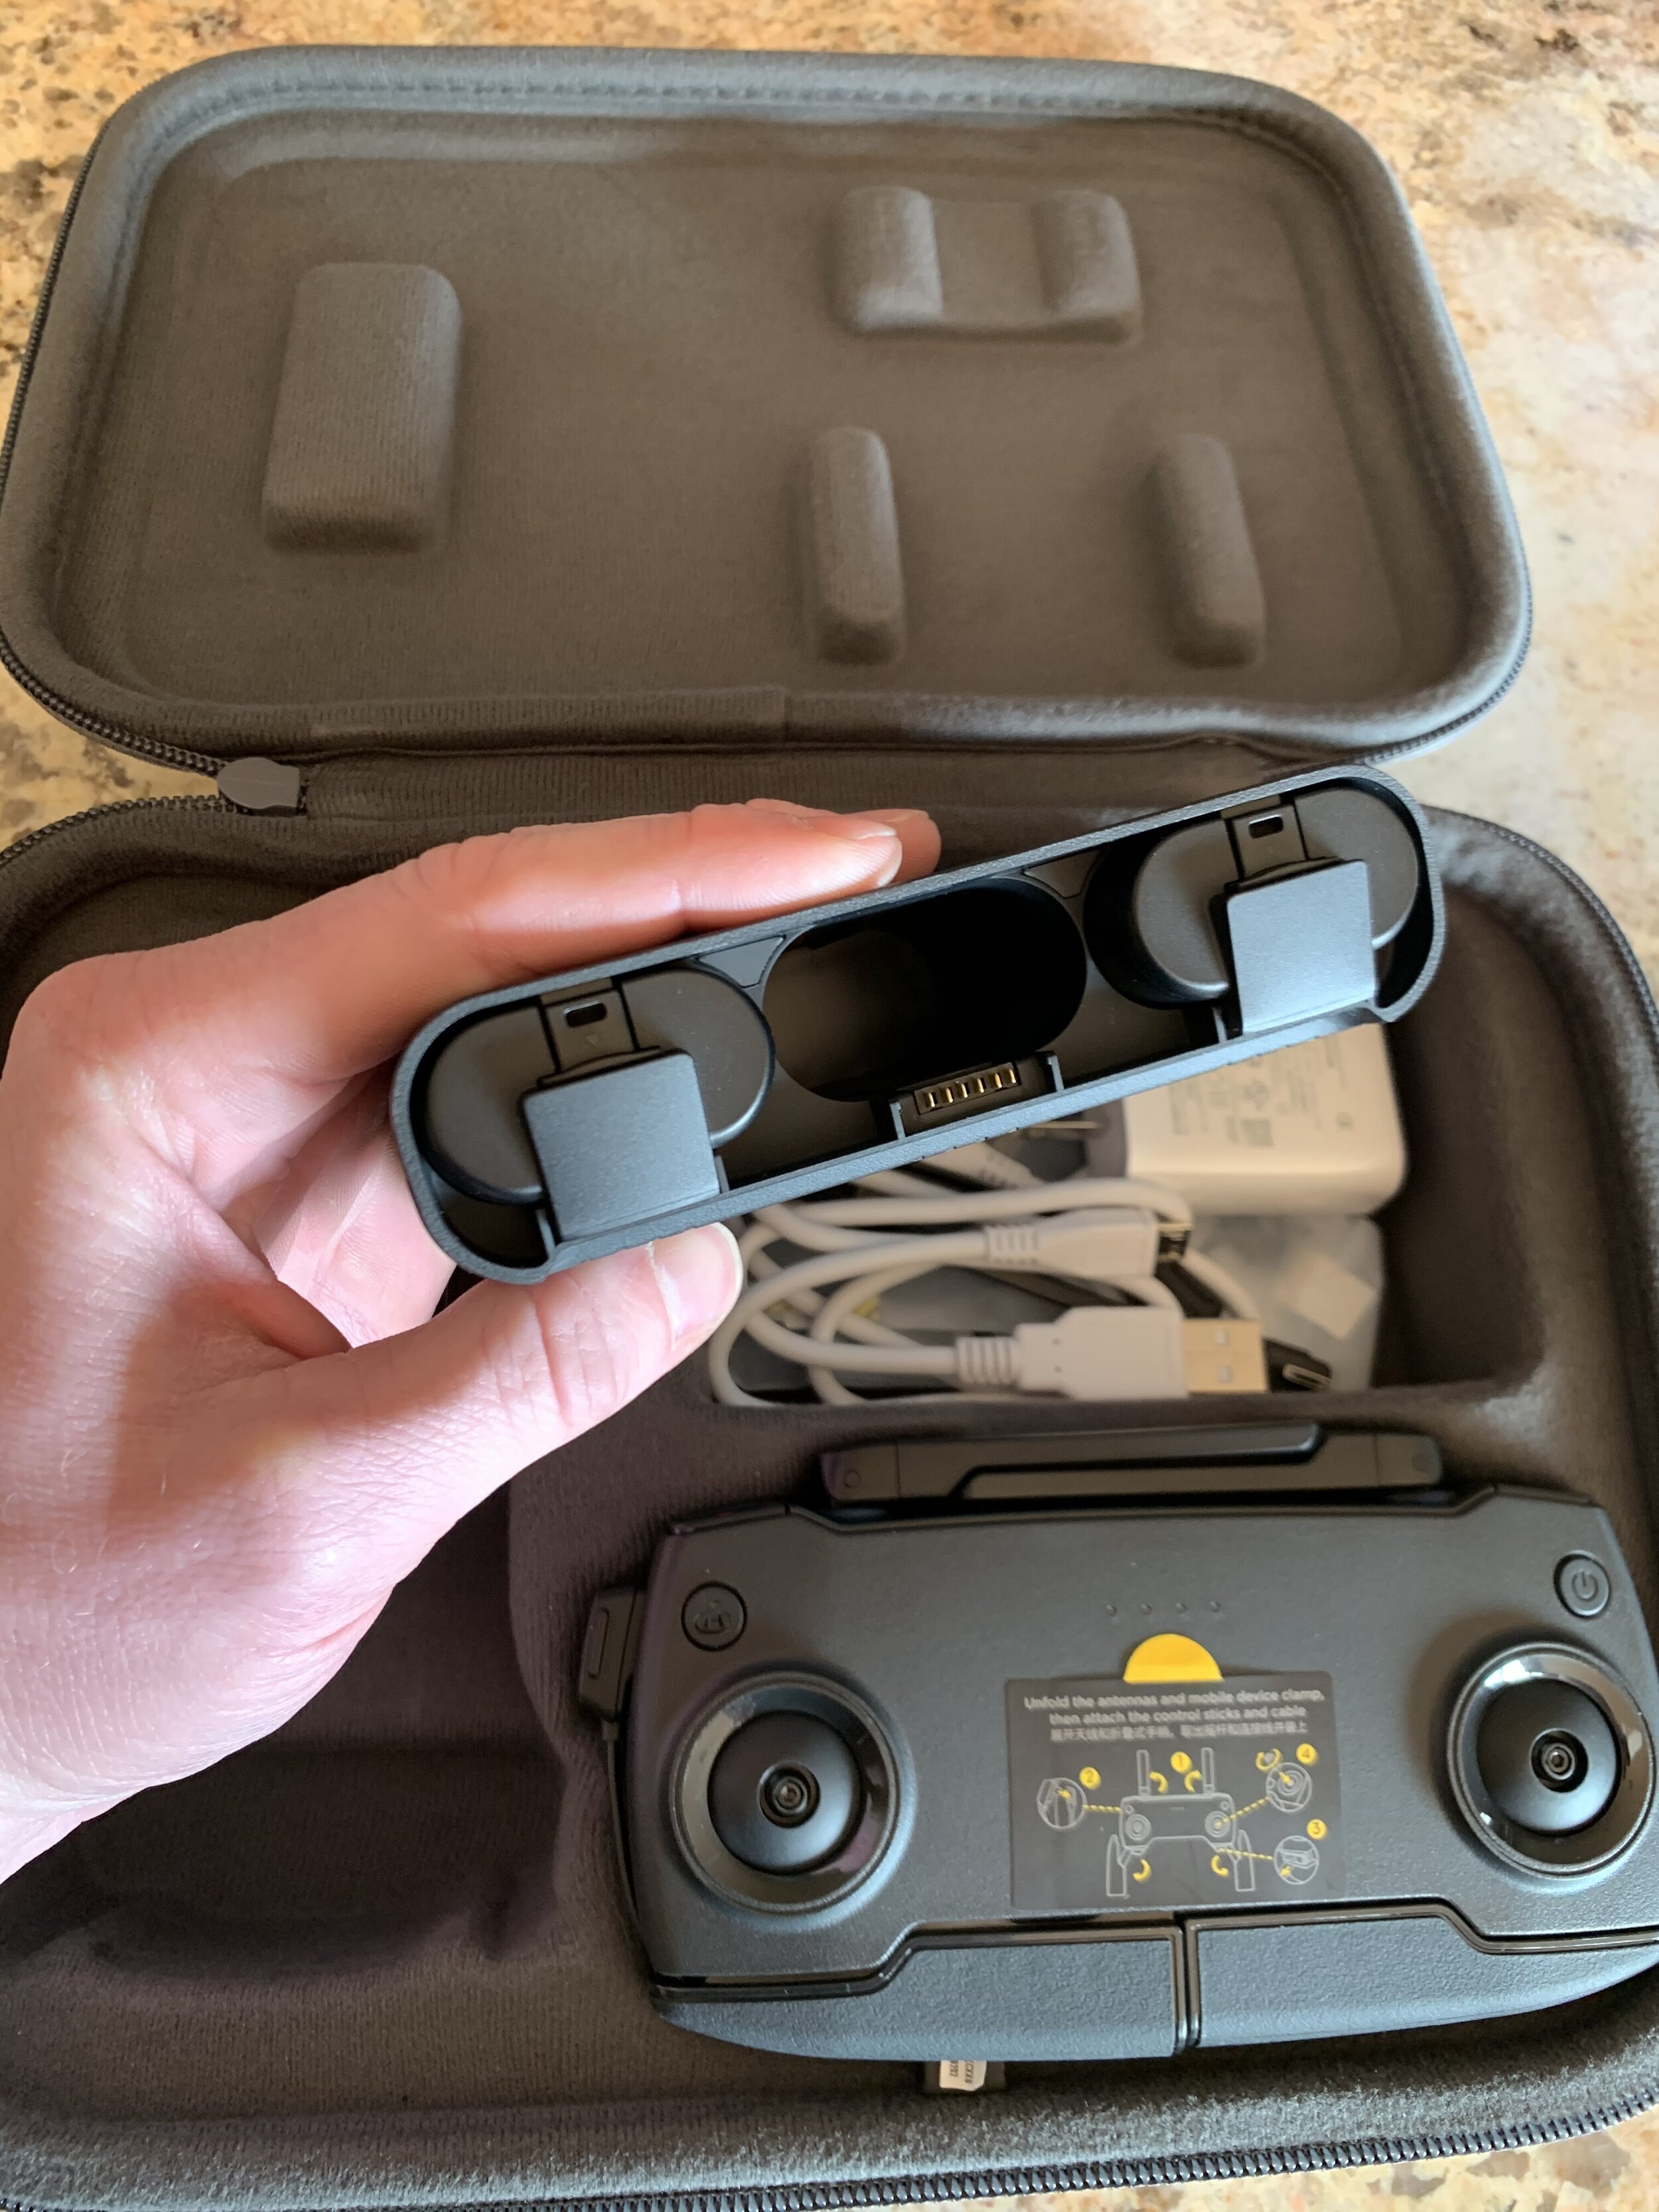
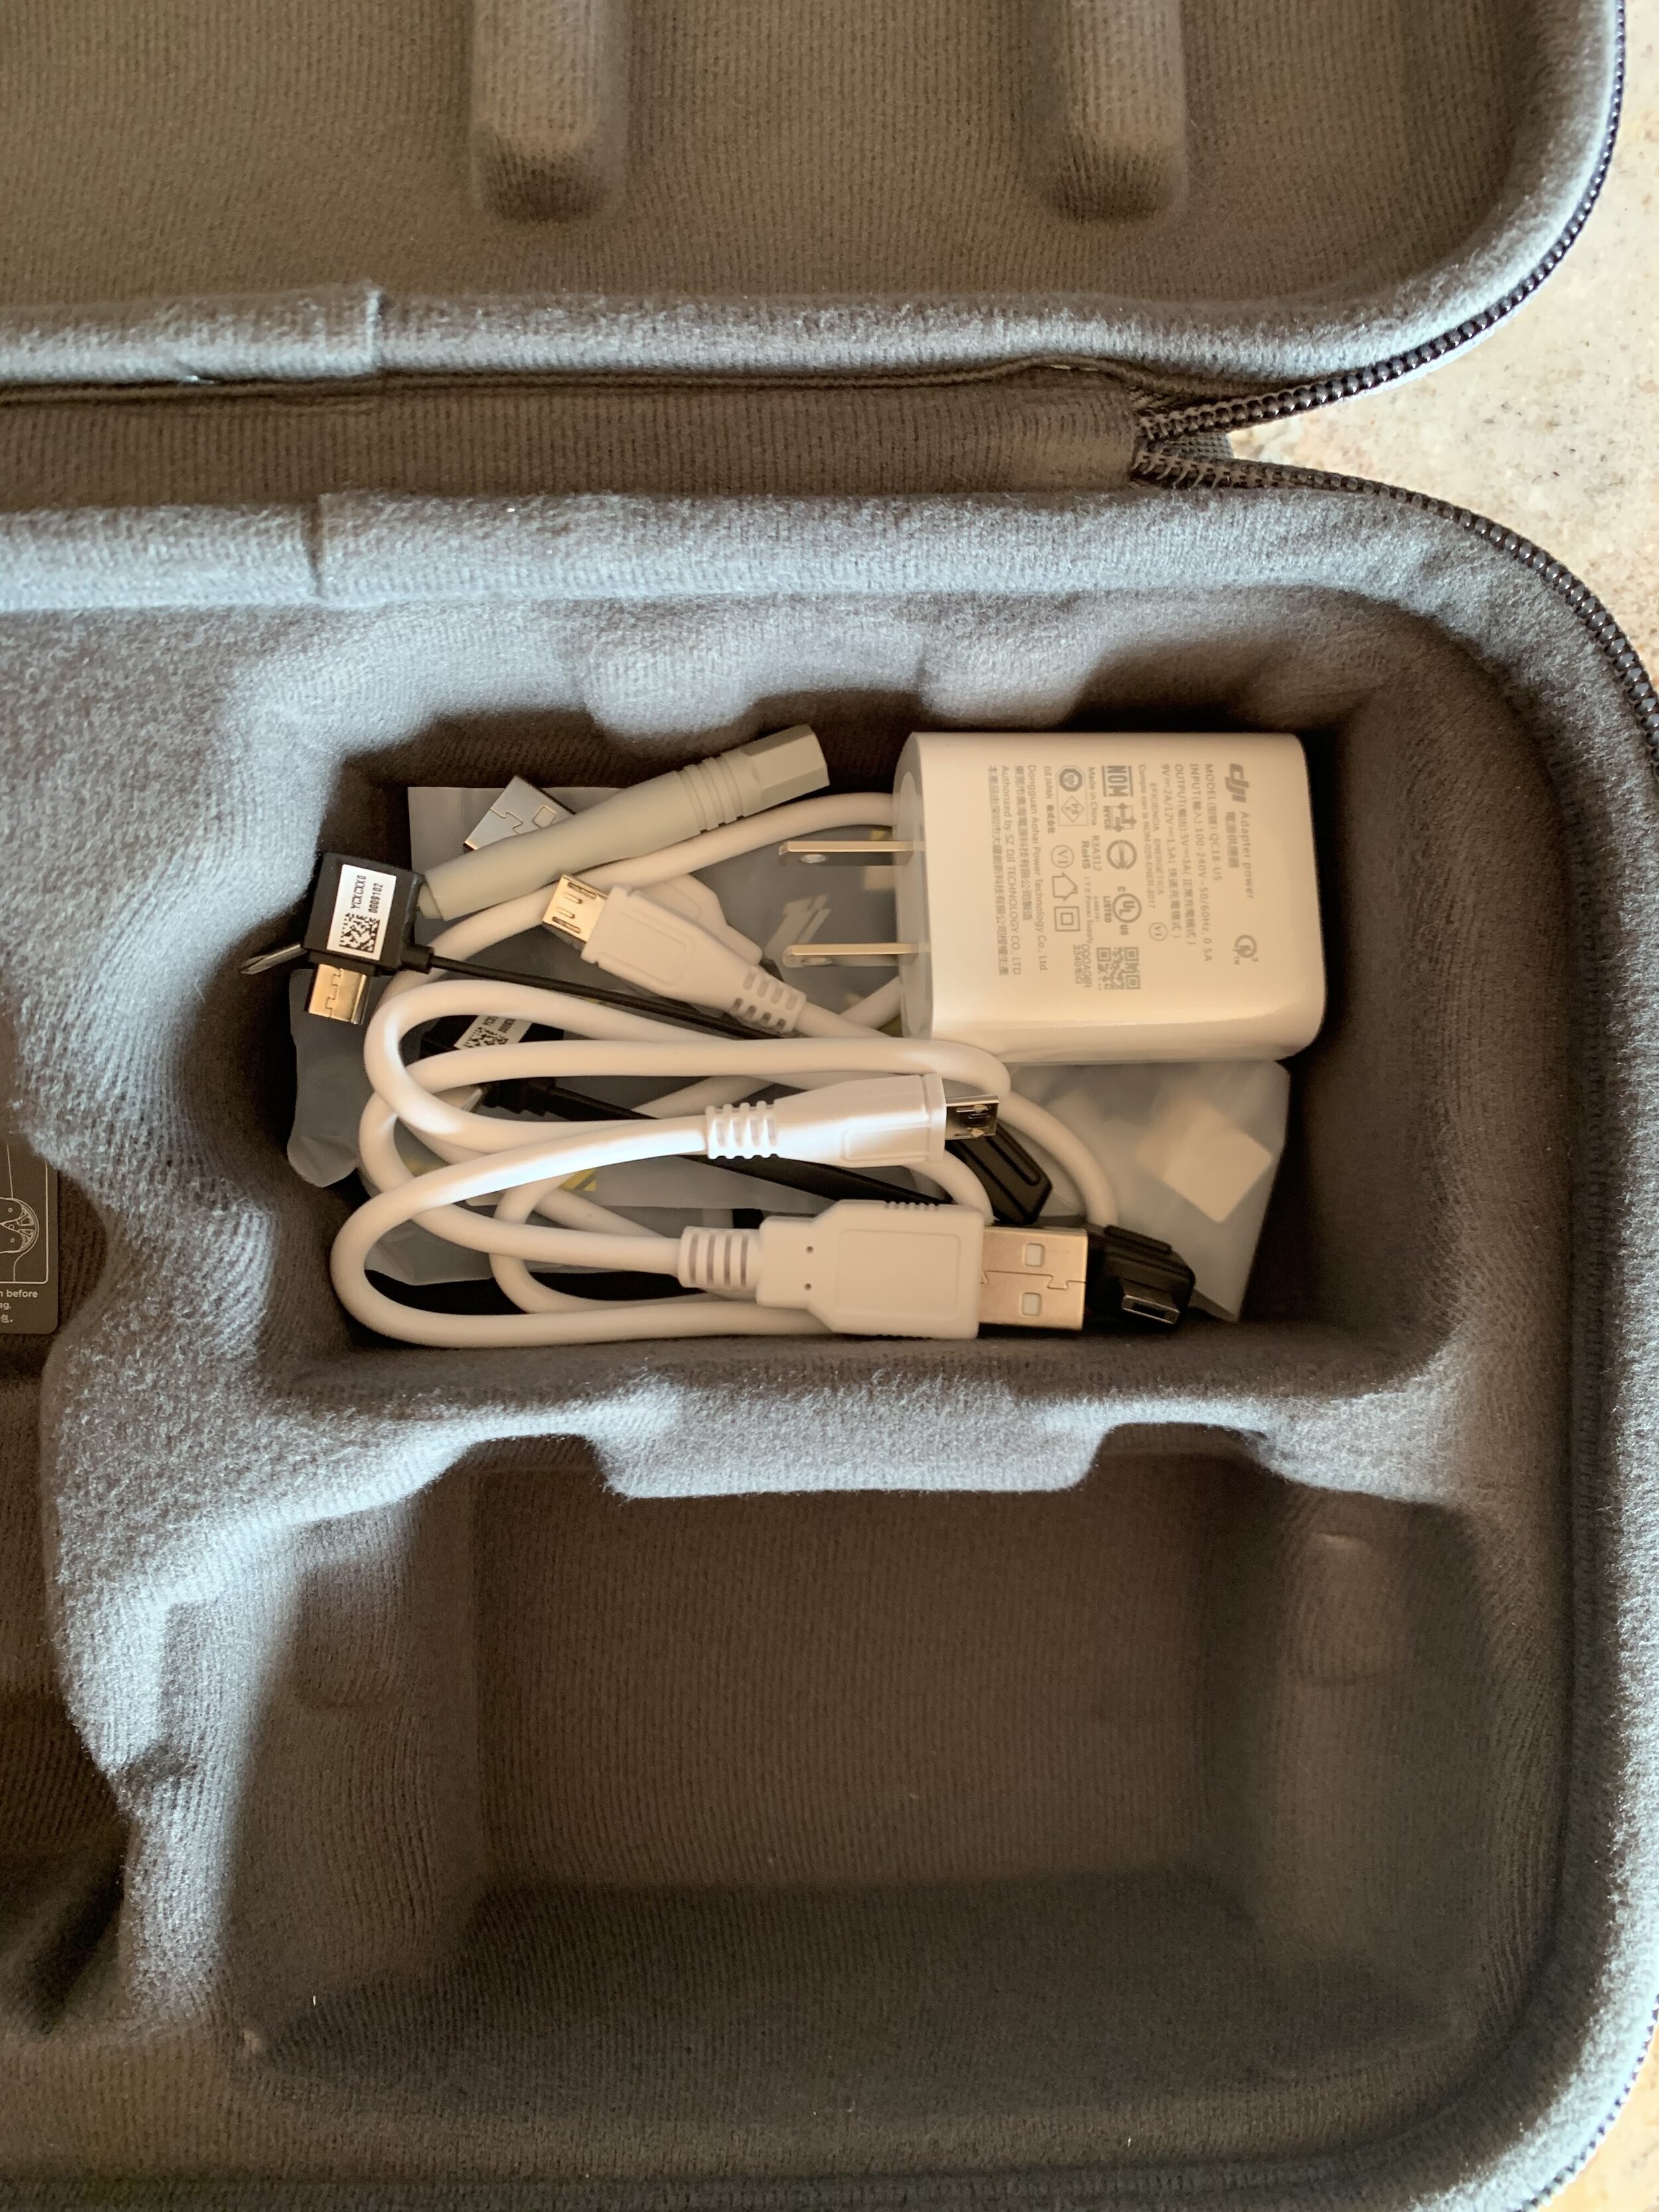
Battery Charging System - Too complicated, there are wires everywhere, and honestly, it’s garbage compared to the Spark’s. If you watched my IG stories when unboxing the drone, I went over this. The batteries do not charge simultaneously with the remote controller. Besides, each battery is charged independently instead of all together as with the Spark.
Side by Side Camera Specs of the DJI MAVIC Mini and Spark (Mini specs in bold)
Camera
Sensor - 1/2.3” CMOS
1/2.3” CMOS
ISO Range - 100-1600 Photo
100-3200 (manual mode)
Video Resolution - 1920x1080 30p MP4
2.7k 2720x1530 25/30p
Remote Controller Transmission
FCC: 1.2 mi (2 km)
FCC: 4 km
Intelligent Flight Battery (Aircraft)
1480 mAh capacity - 11.4 Volts - LiPo 3s - 95 grams
2400 mAh capacity - 7.2 Volts - Li-ion 2s - 100 grams

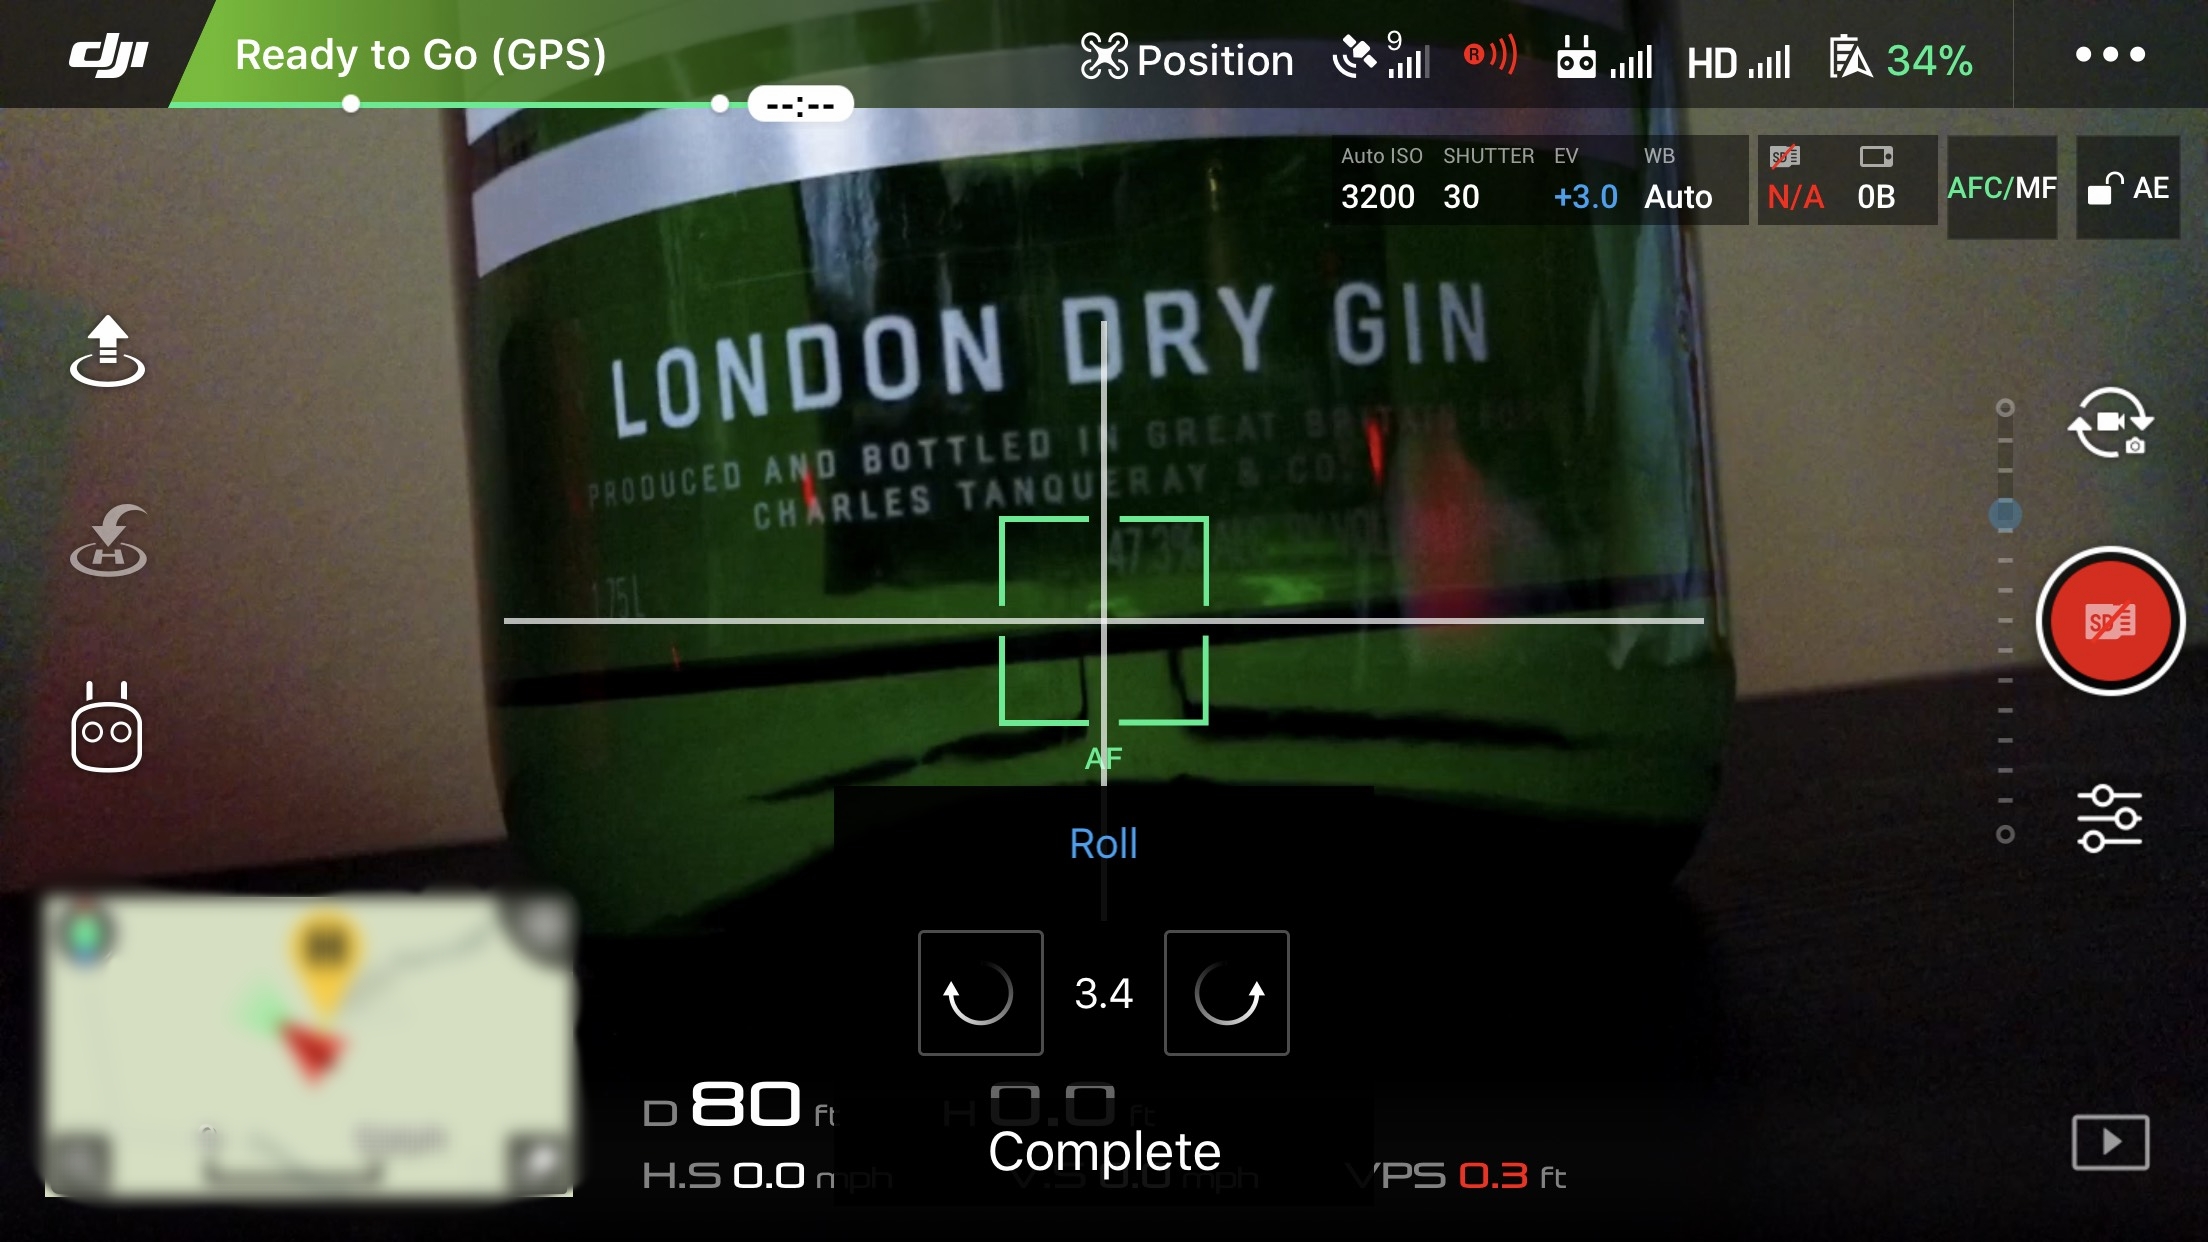
Sample JPG From Mavic Mini
As you can see from the list above, these are the core traits that define each drone. DJI has doubled the battery capacity and moved from LiPo to LI-Ion. Each drone’s cameras are close; the difference is the processor, which makes the 2.7k video possible. The only attribute I can honestly say has a noticeable difference is the range, I have yet to see anyone get 4 km, but I have been able to achieve 1 km. I’m not sure how DJI’s R&D works, but I doubt 4 km will be able to be replicated, ever.
Can the MAVIC Mini Hold up in Wind?
In short, not much, however, the little drone can withstand maybe up to 10 mph winds and 15 mph gusts. While filming on a windy day, many shots needed to be recreated because the wind gusts would throw off the tracking. One time, the drone had a lot of trouble coming back (into the wind) to land. Always consider how much more wind there can be at higher altitudes. At the time, I was only 200 feet AGL, so I didn’t think much of it. But the heavy gusts going against the drone definitely gave me an uneasy feeling above water.
MAVIC Mini vs. Spark Which is Better?
This is dependent on your end goal. If you want something to keep up with your IG life and don’t care much for file quality as IG compresses anyway, this may be for you. If you’re a professional searching for a new backup drone to add to your toolbox, the Mini is not it. It’s cool, but it’s not production cool.
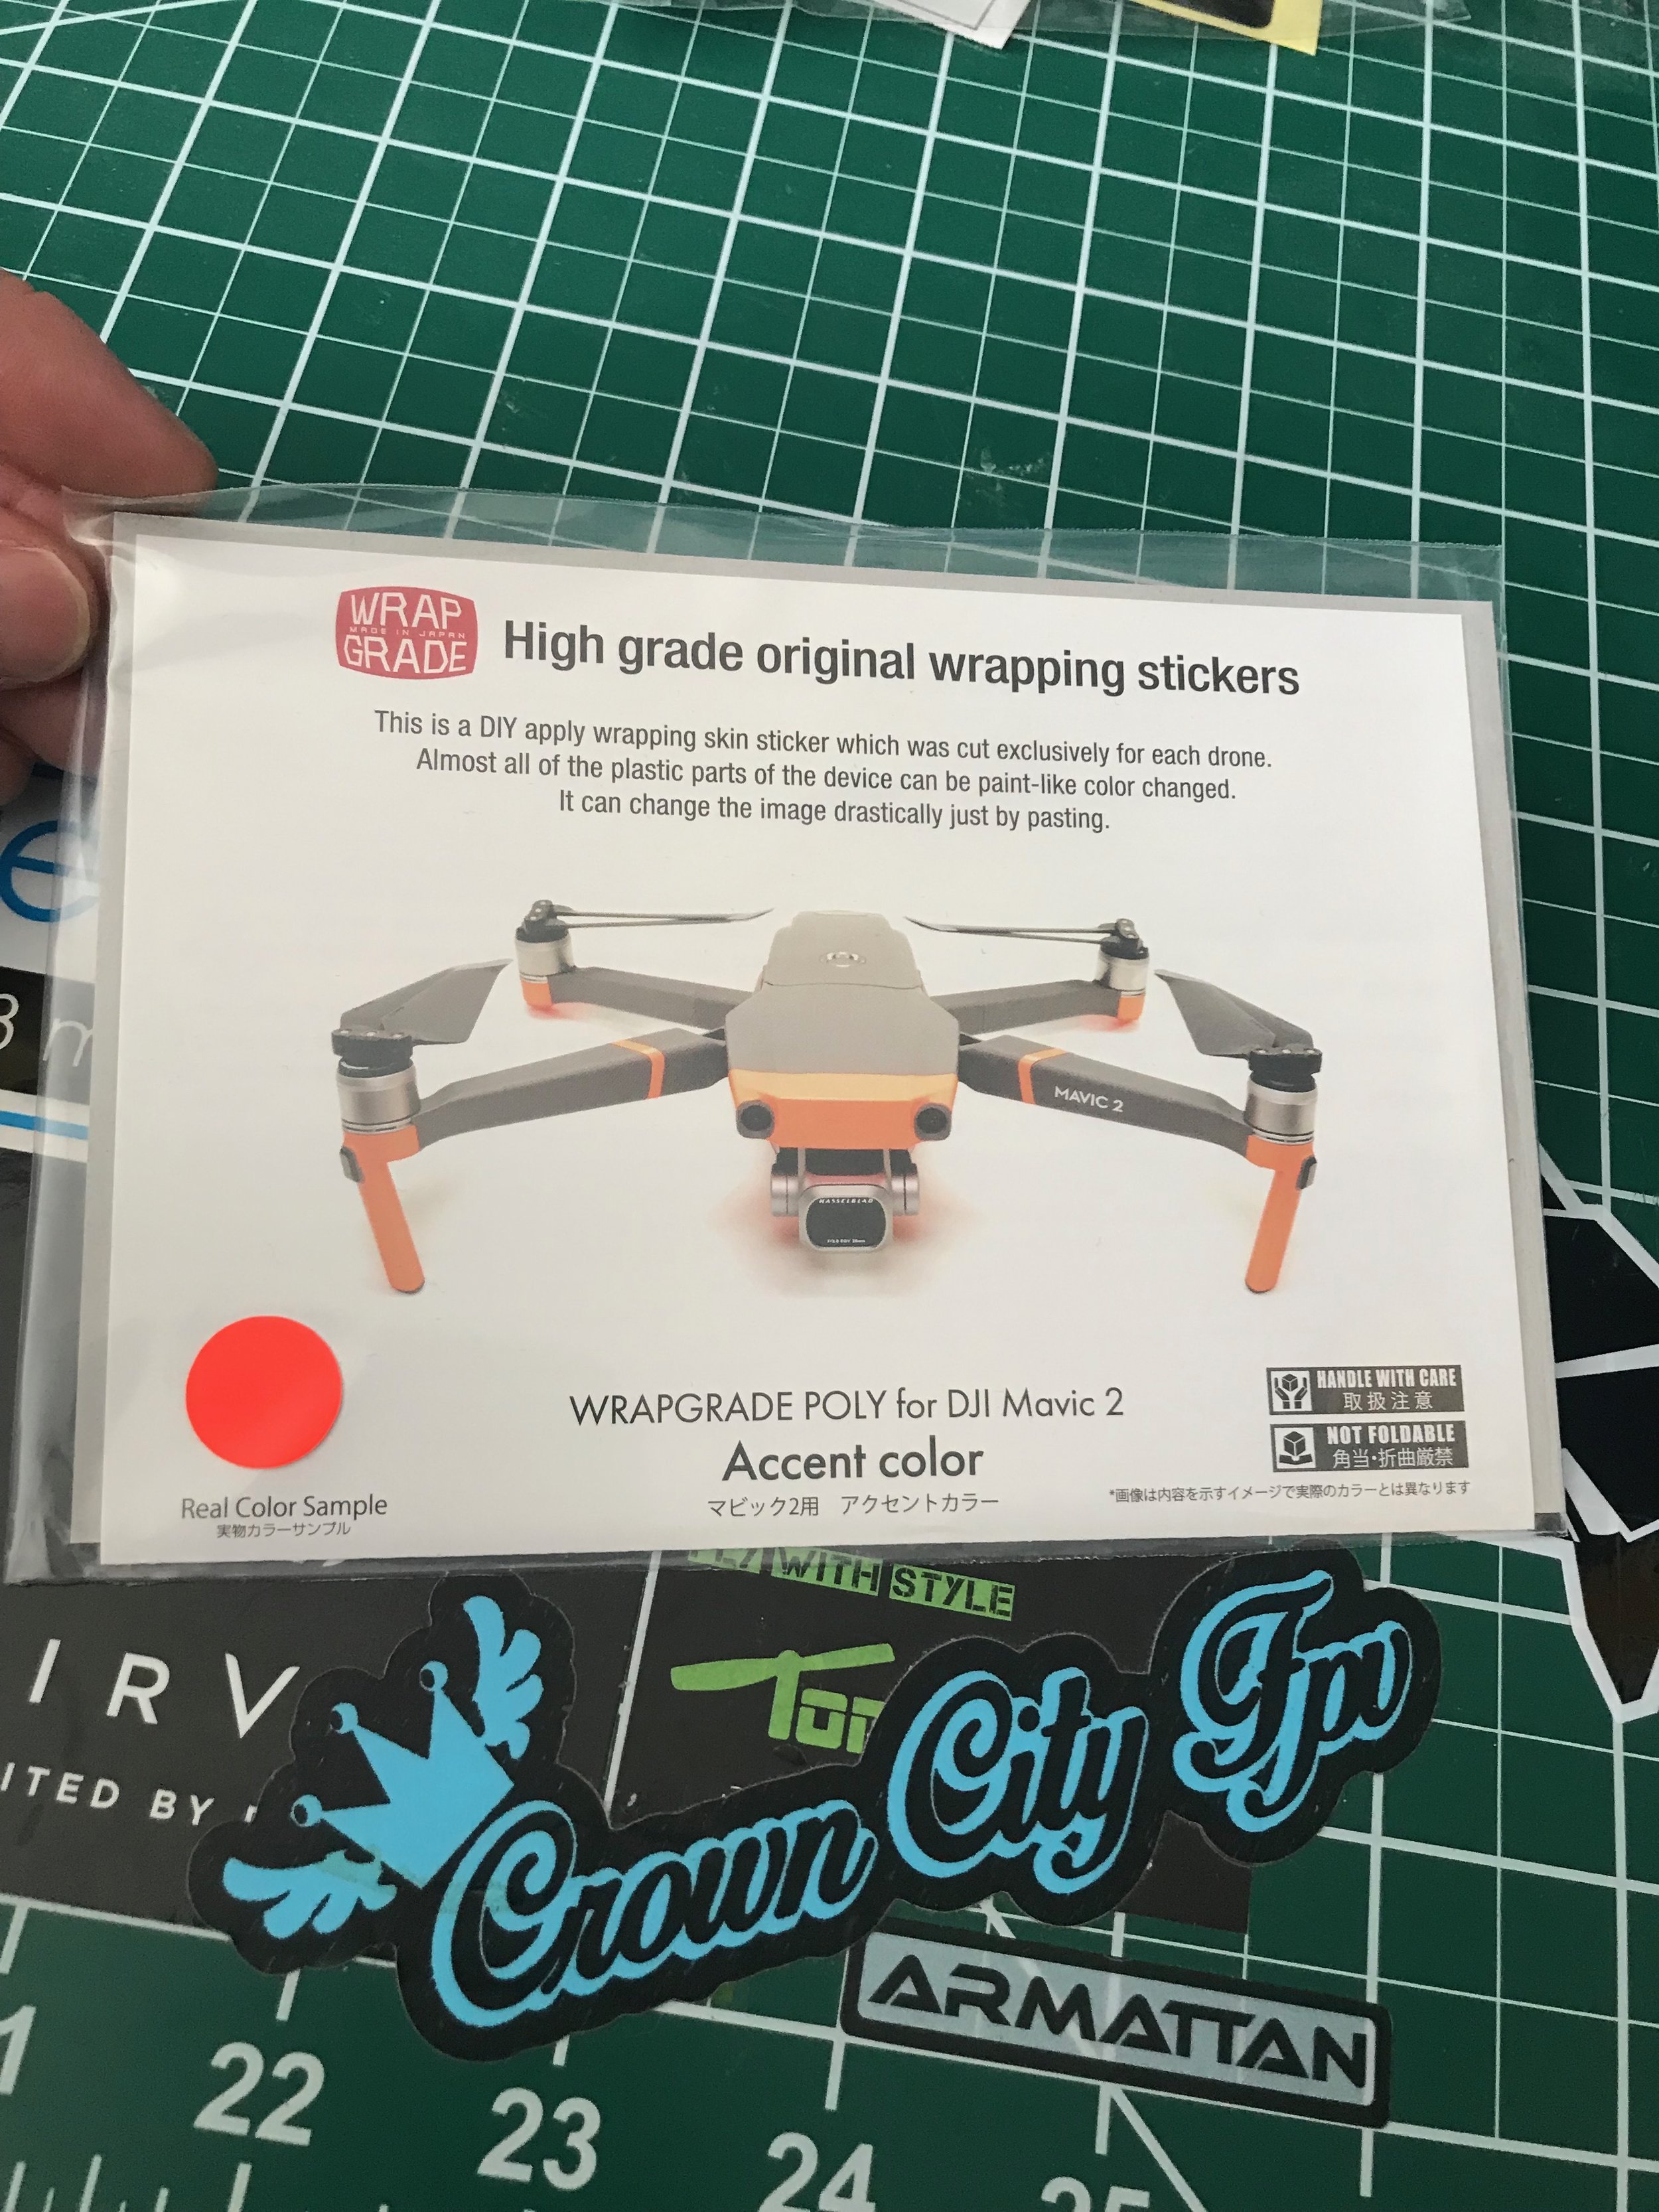
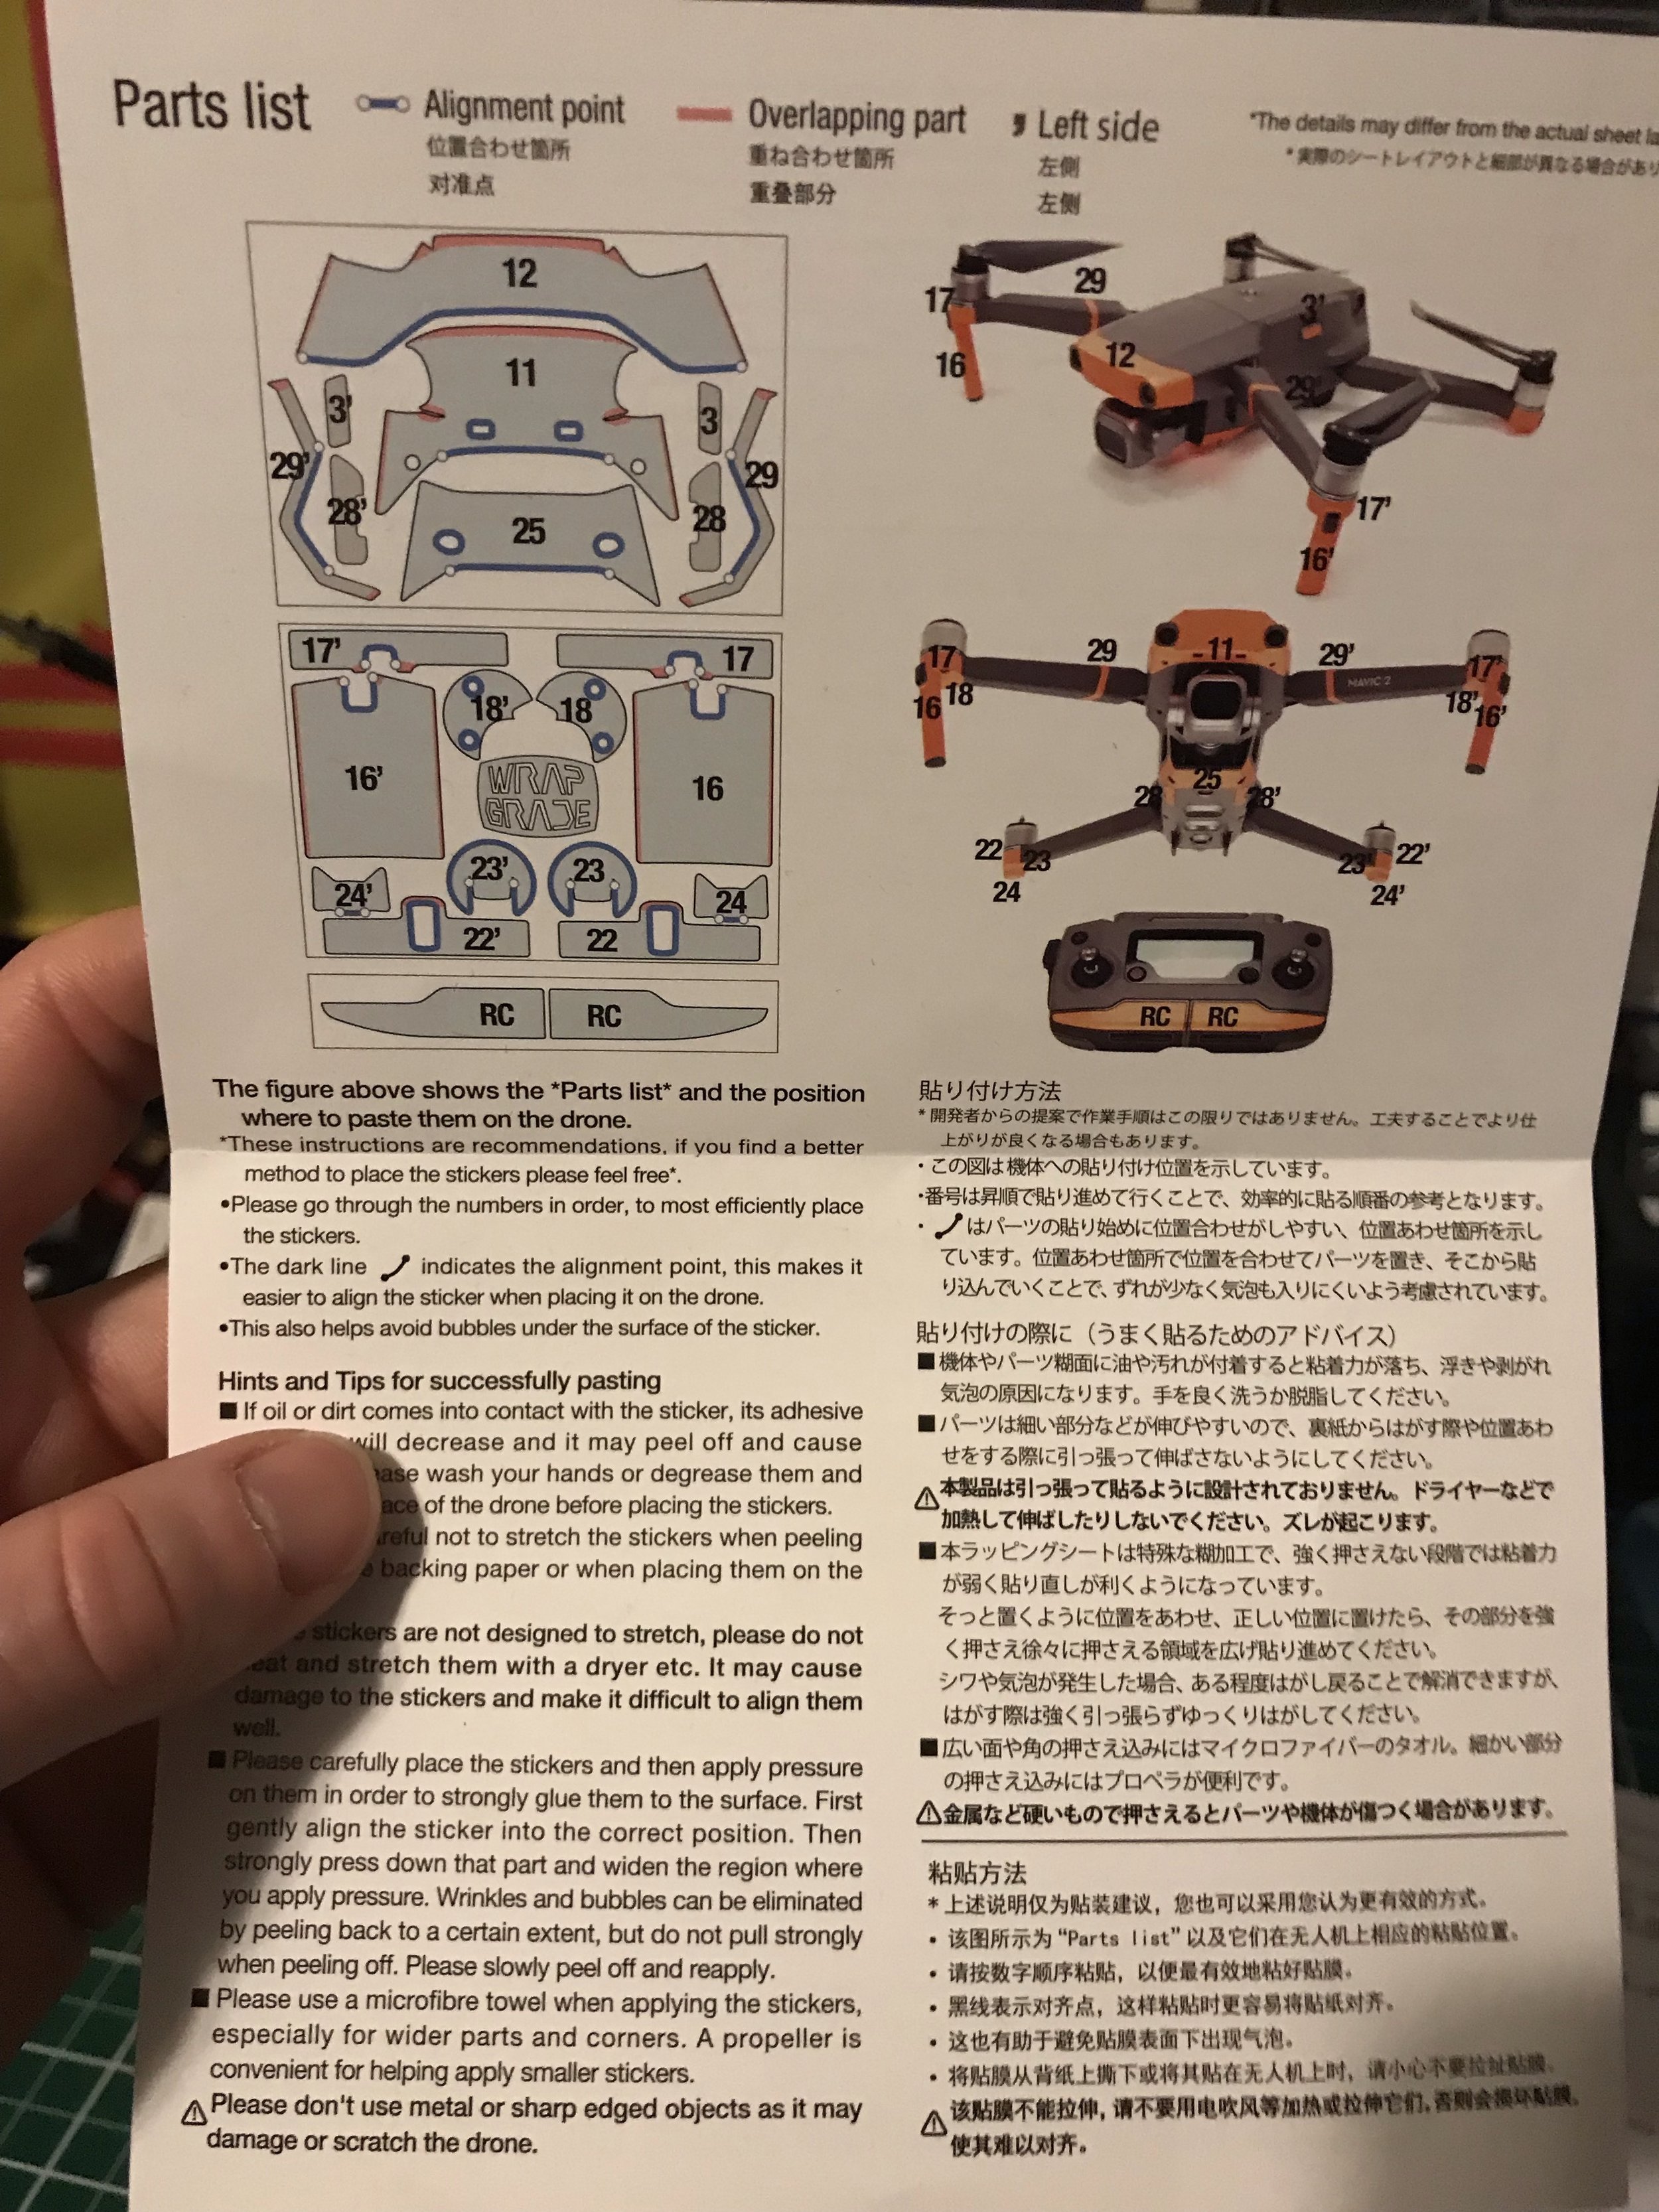
Some of you aren’t going to like this, but the Spark is my choice over the two. My main reasoning for this is build quality. Based on the demographics of the Spark and Mini users, there is a significant trend these users could be new to drones. This is absolutely fine, and these are entry-level systems, to begin with. In my opinion, the Spark is built better, far more durable, better in the wind, and more colorful. If you’re looking for a Mini wrap, Wrapgrade Japan will have some available.
Let’s also discuss the cost for a moment. Used fly more Spark packages are going for $200-300 on Facebook Marketplace and the forums. So for half the price, you could purchase a Spark kit; however, you won’t have the alleged 2.7k video or superior flight time duration. My suggestion is to find one close to $200 and buy more batteries with the leftover cash. Also, now is the time to buy because people are selling things to fund future Holiday purchases. If you’re considering buying something, feel free to send me the link and I can let you know if I think the price is fair.
Final Considerations about the Mini
Overall, the drone is cool but more delicate than I’d like. I can see this system being used in the classroom to help new users get a feel for the sticks before hopping onto an I2 or Phantom. Other than entry-level users and educational operators, I don’t see this drone ever being used for commercial purposes. I won’t call this a toy, though because even for how small it is, flying the drone does carry responsibility.
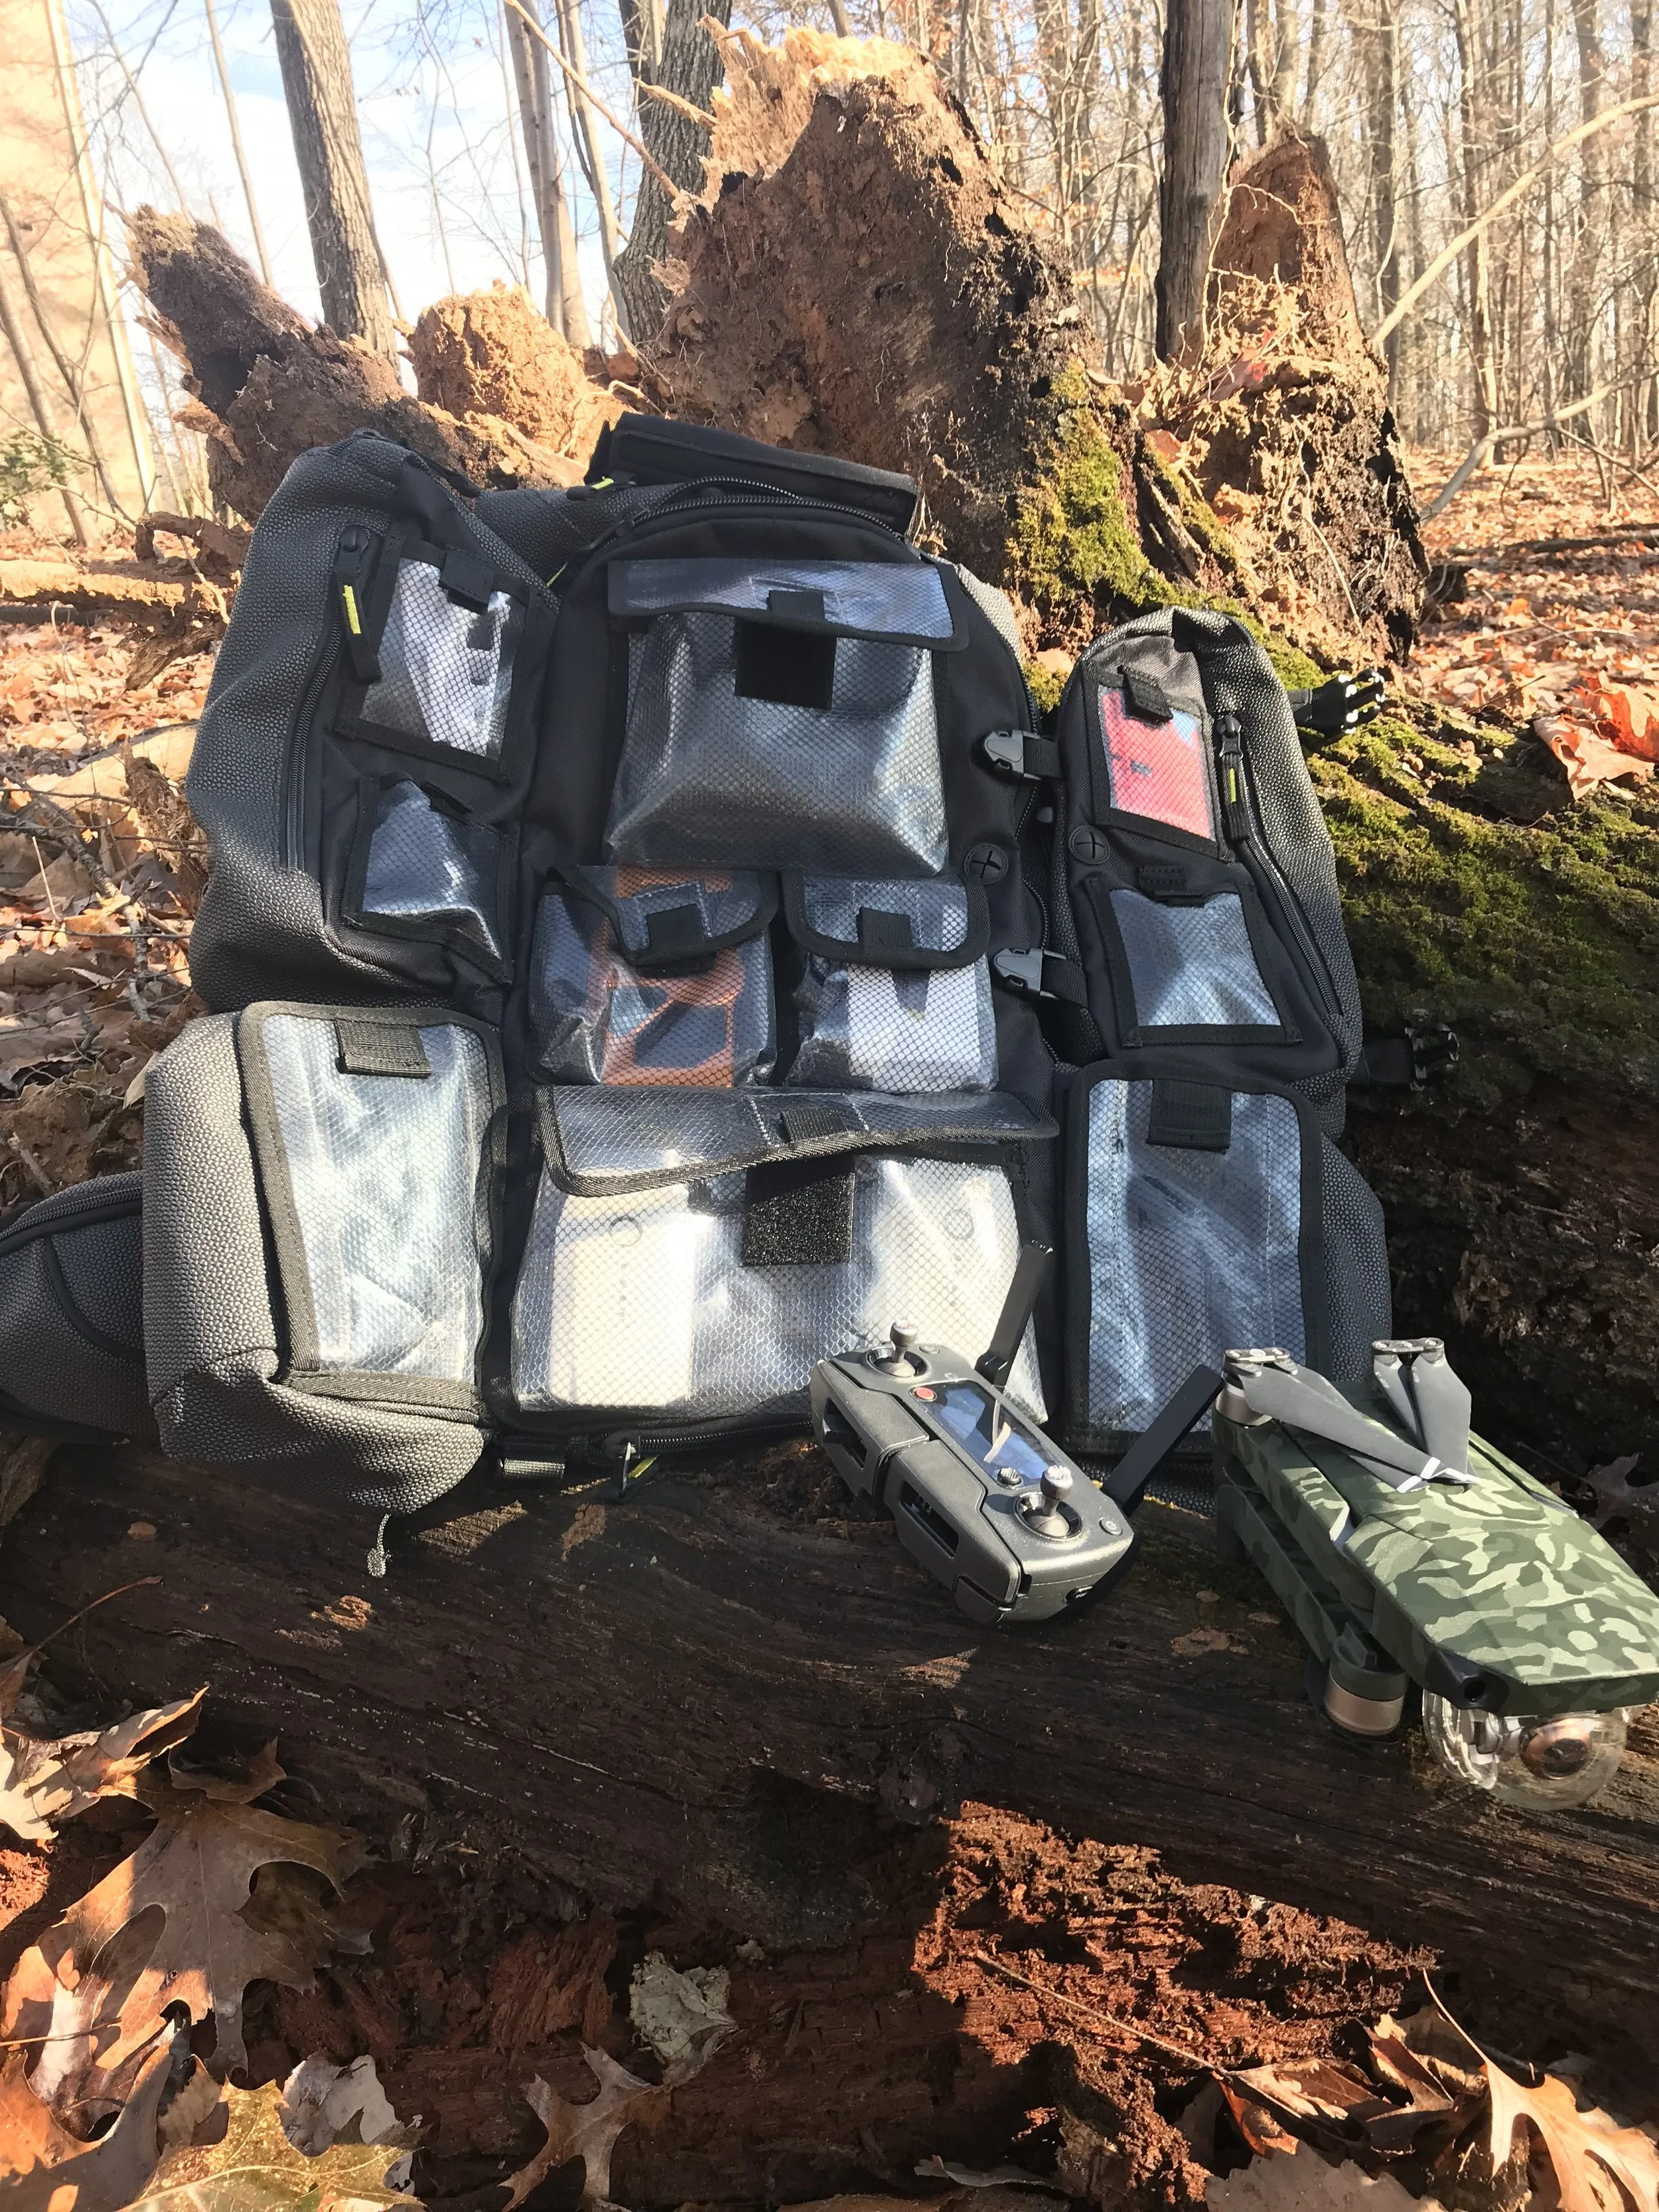
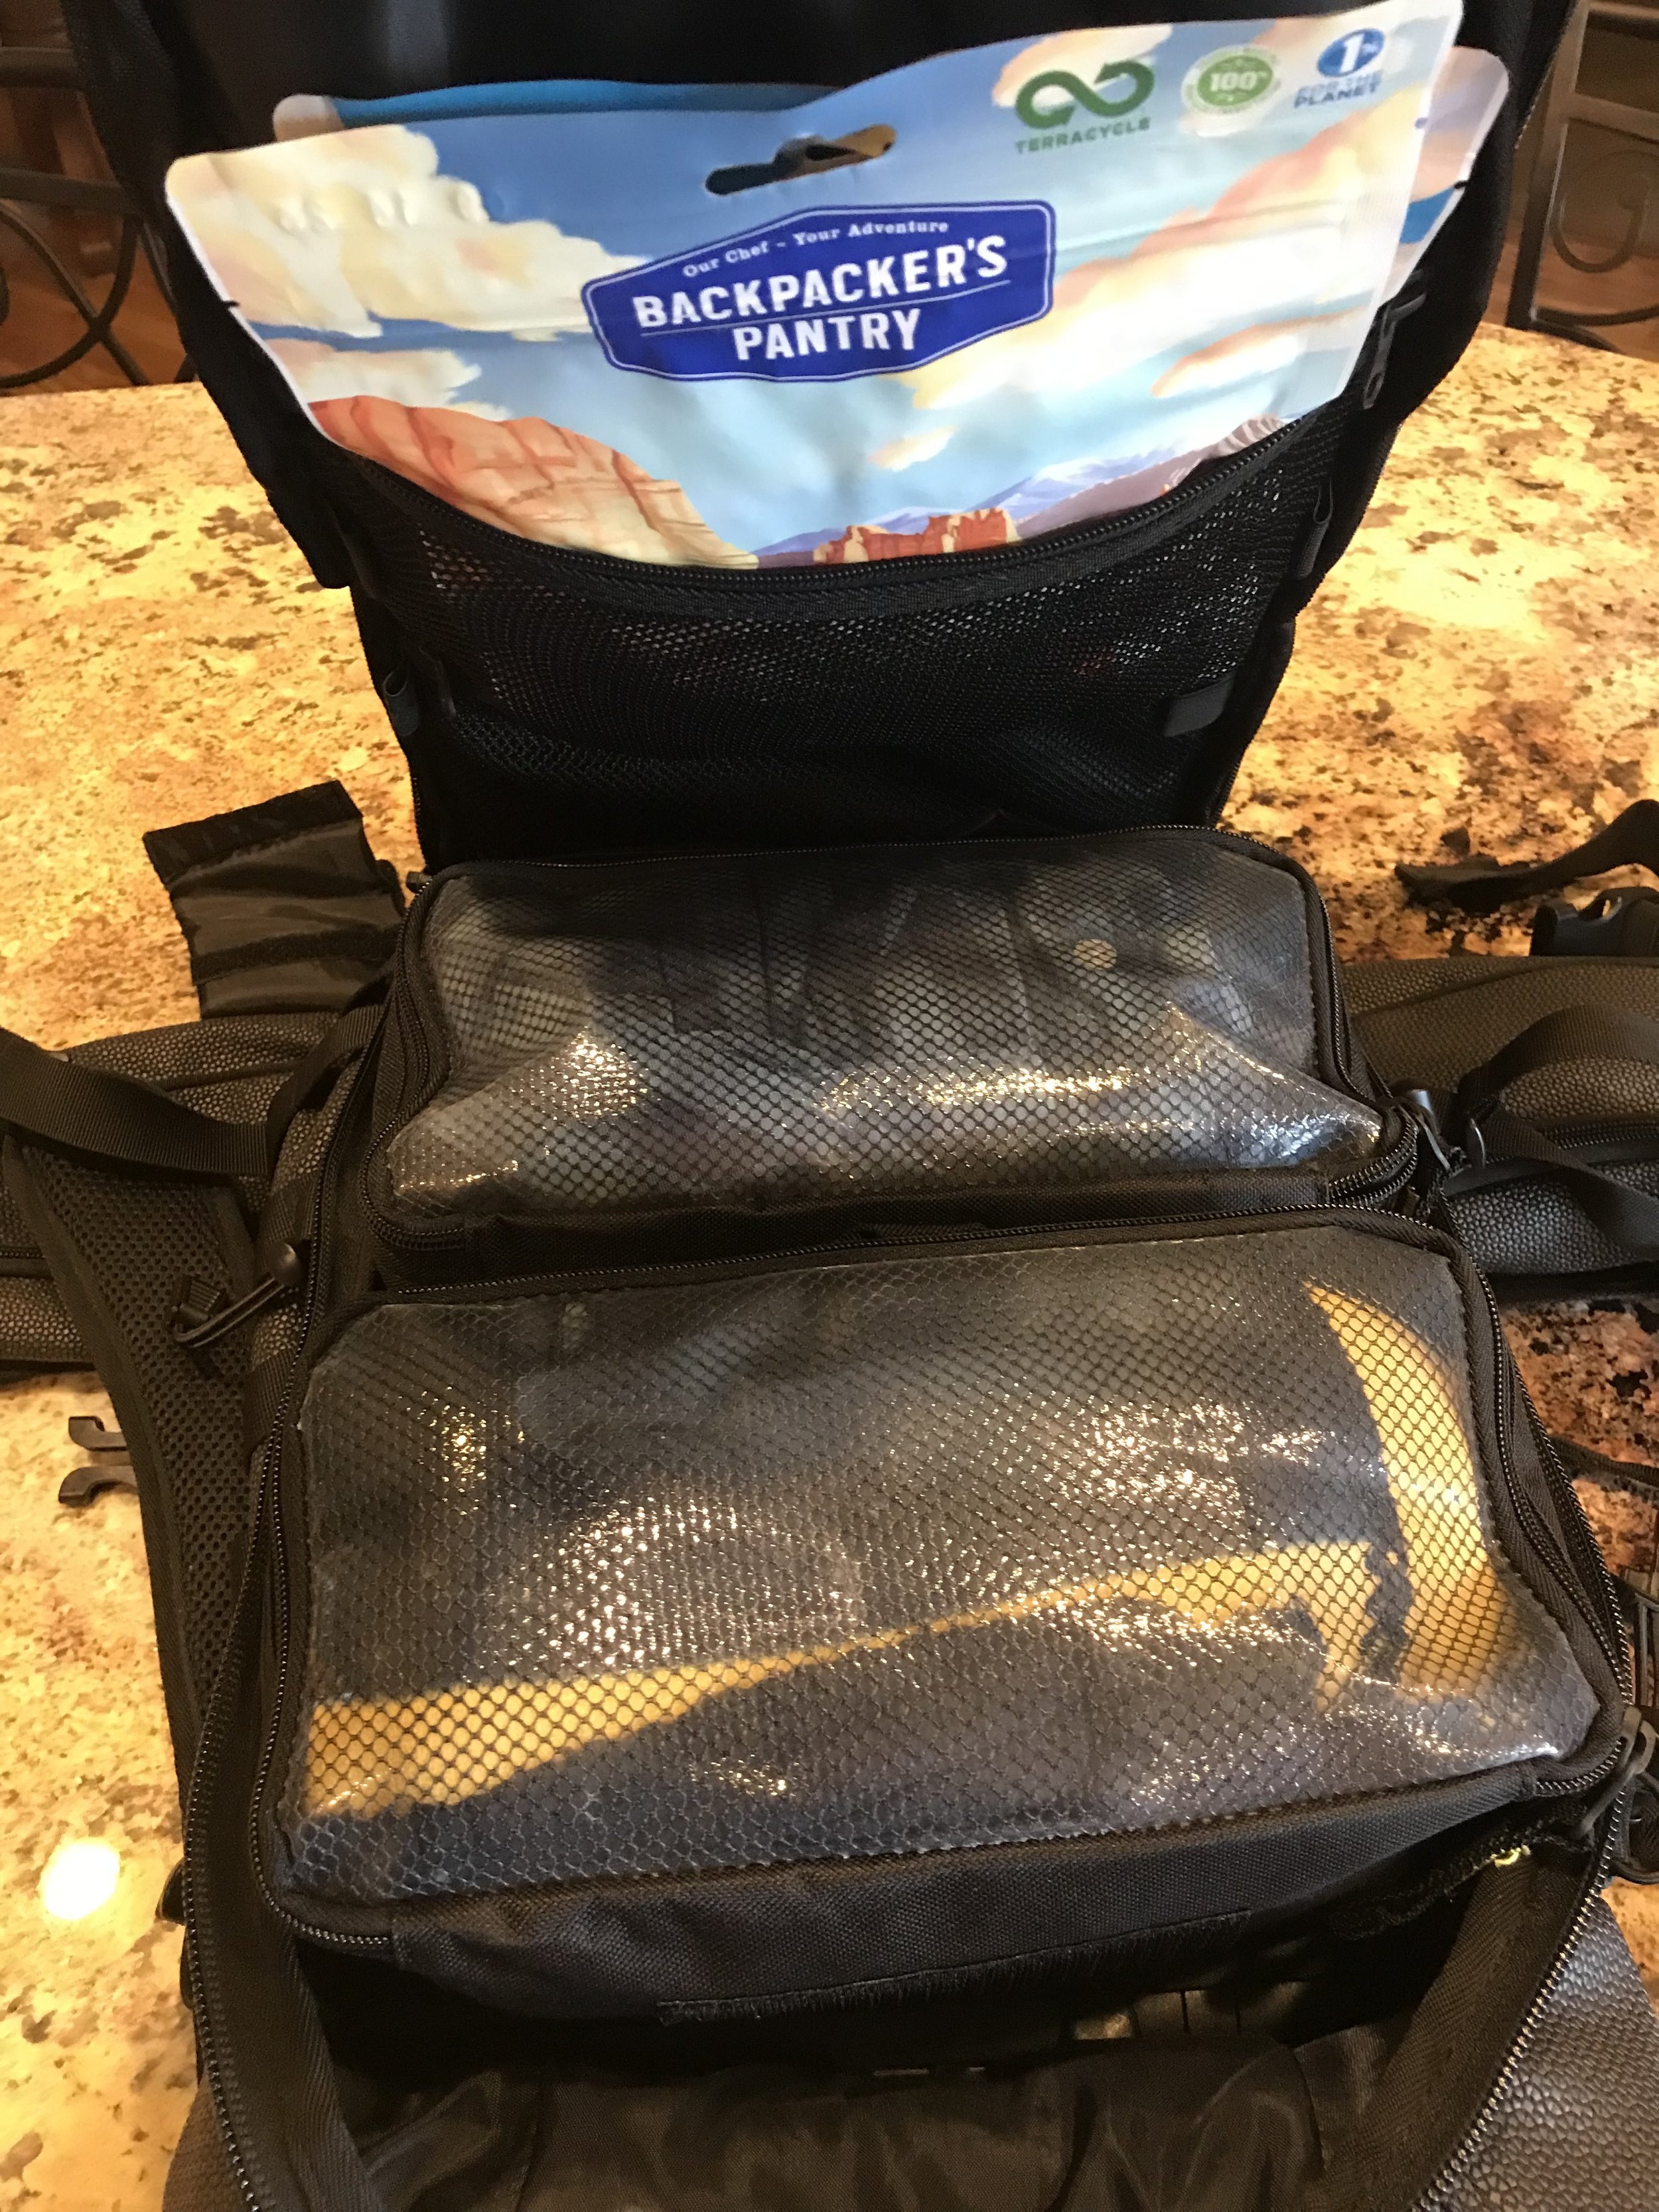
One thing I will mention is that unlike most of the other DJI drones I’ve bought when they’ve first been released, this one does not have any bugs. The Mavic 2 was extraordinarily buggy, but after a few firmware updates, the kinks were worked out. UX is solid with the Mini, and I give it an A+ for that category. Many people will find the DJI Mini is a drone to keep around for those we wish had our drones for. Keep one in the car, a backpack or purse, you never know when you’ll want to fly.
Notes
All values included in the post consisted of only my data. During every flight, weather characteristics included temperatures between 35 and 62 degrees Fahrenheit with wind speeds between 10-15 mph. Visibility was never less than 3 NM, with no precipitation and humidity between 35-55% humidity. Batteries were drained to approximately 10-15% each cycle.
Feel free to contact me with any questions you may have.