
I really wanted to upgrade to the DJI Inspire 2, but I have two more semesters of grad school to pay for...obviously, we know what takes priority LOL. Instead of spending the 9k for the package I wanted, I added the Inspire 2's most desirable feature (for me at least) to my Inspire 1 for $250. Anyone that uses the Inspire 1 platform knows when the camera starts moving the remote pilot loses their FPV feed. At this point, I am nearly flying blind and have to navigate the sky only through my POV on the ground. Performing long tracking shots is sometimes stressful because of this. DJI's Inspire 2 does have some characteristics I wish the I1 had including longer flight duration, increased filming capabilities using the X5S, and a separate camera feed for the remote pilot. Standing out to me the most was the implementation of the second camera for FPV flight. I am comfortable with the Inspire 1's flight time and current camera. Furthermore, we only use the Inspire for shots requiring the dual operation. DJI's Phantom 4 Pro is still the main platform we use daily.
Here is a guide with a picture gallery below which lists the steps I took to install the FPV camera.
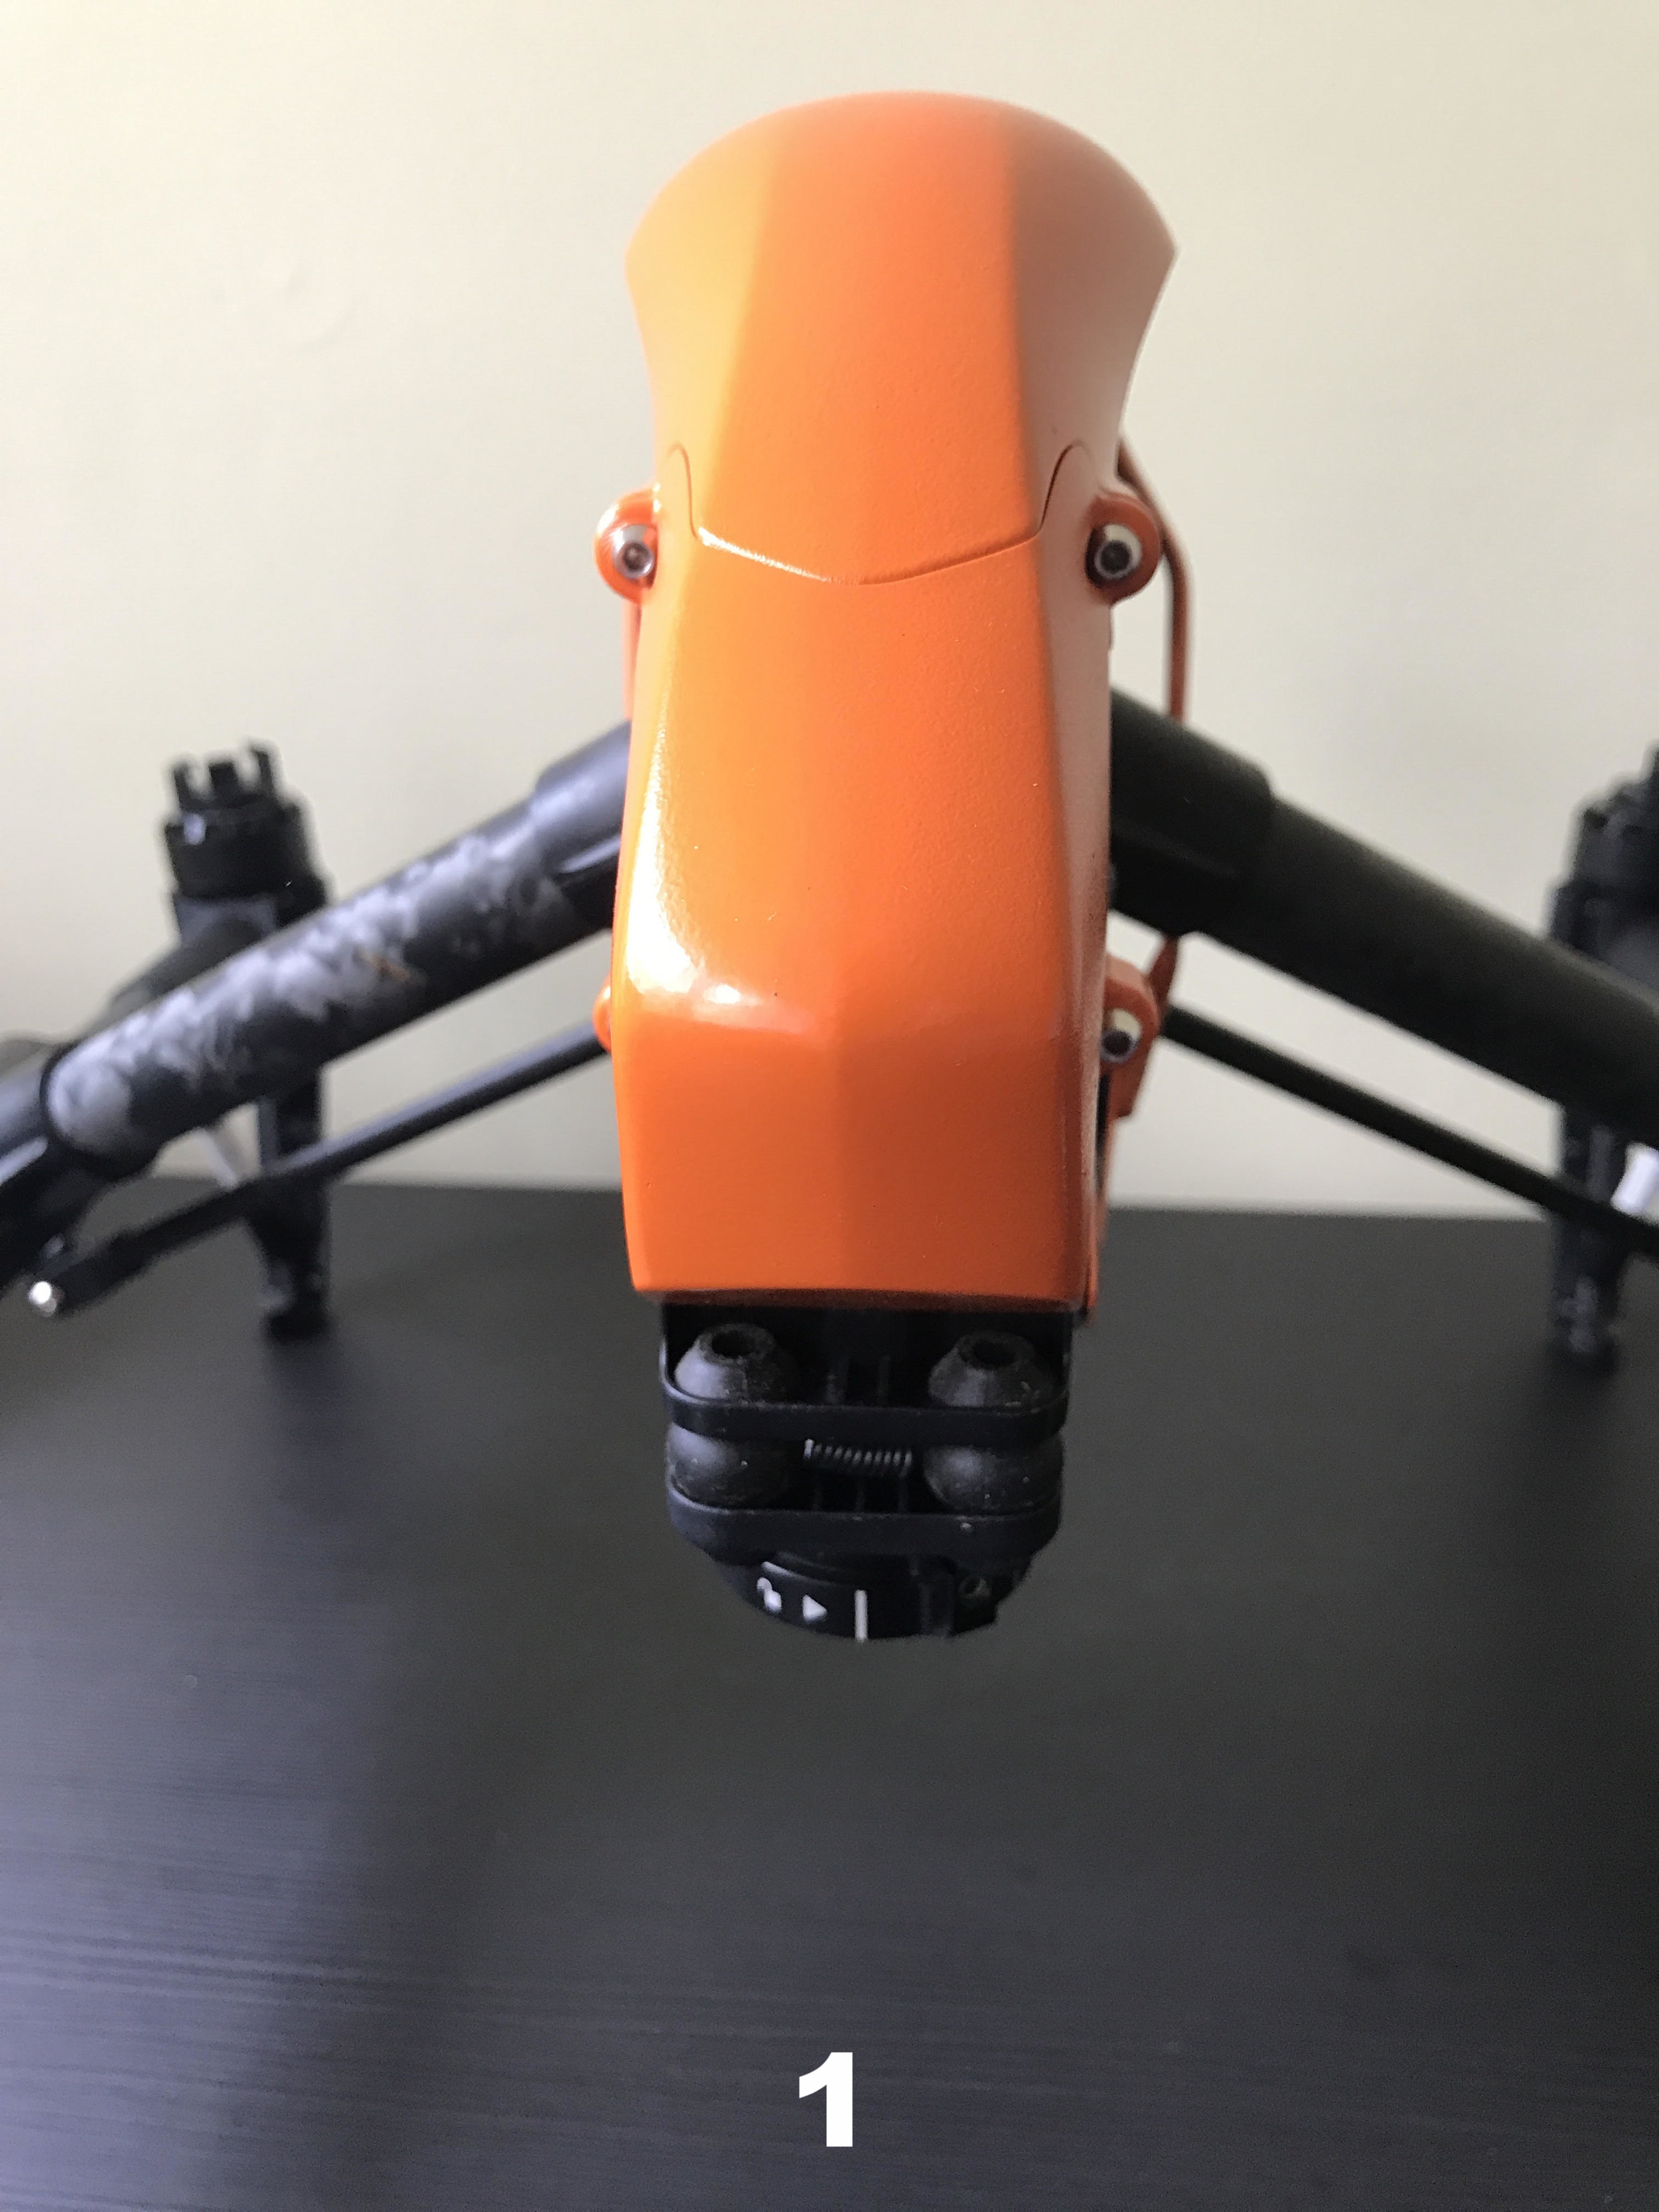
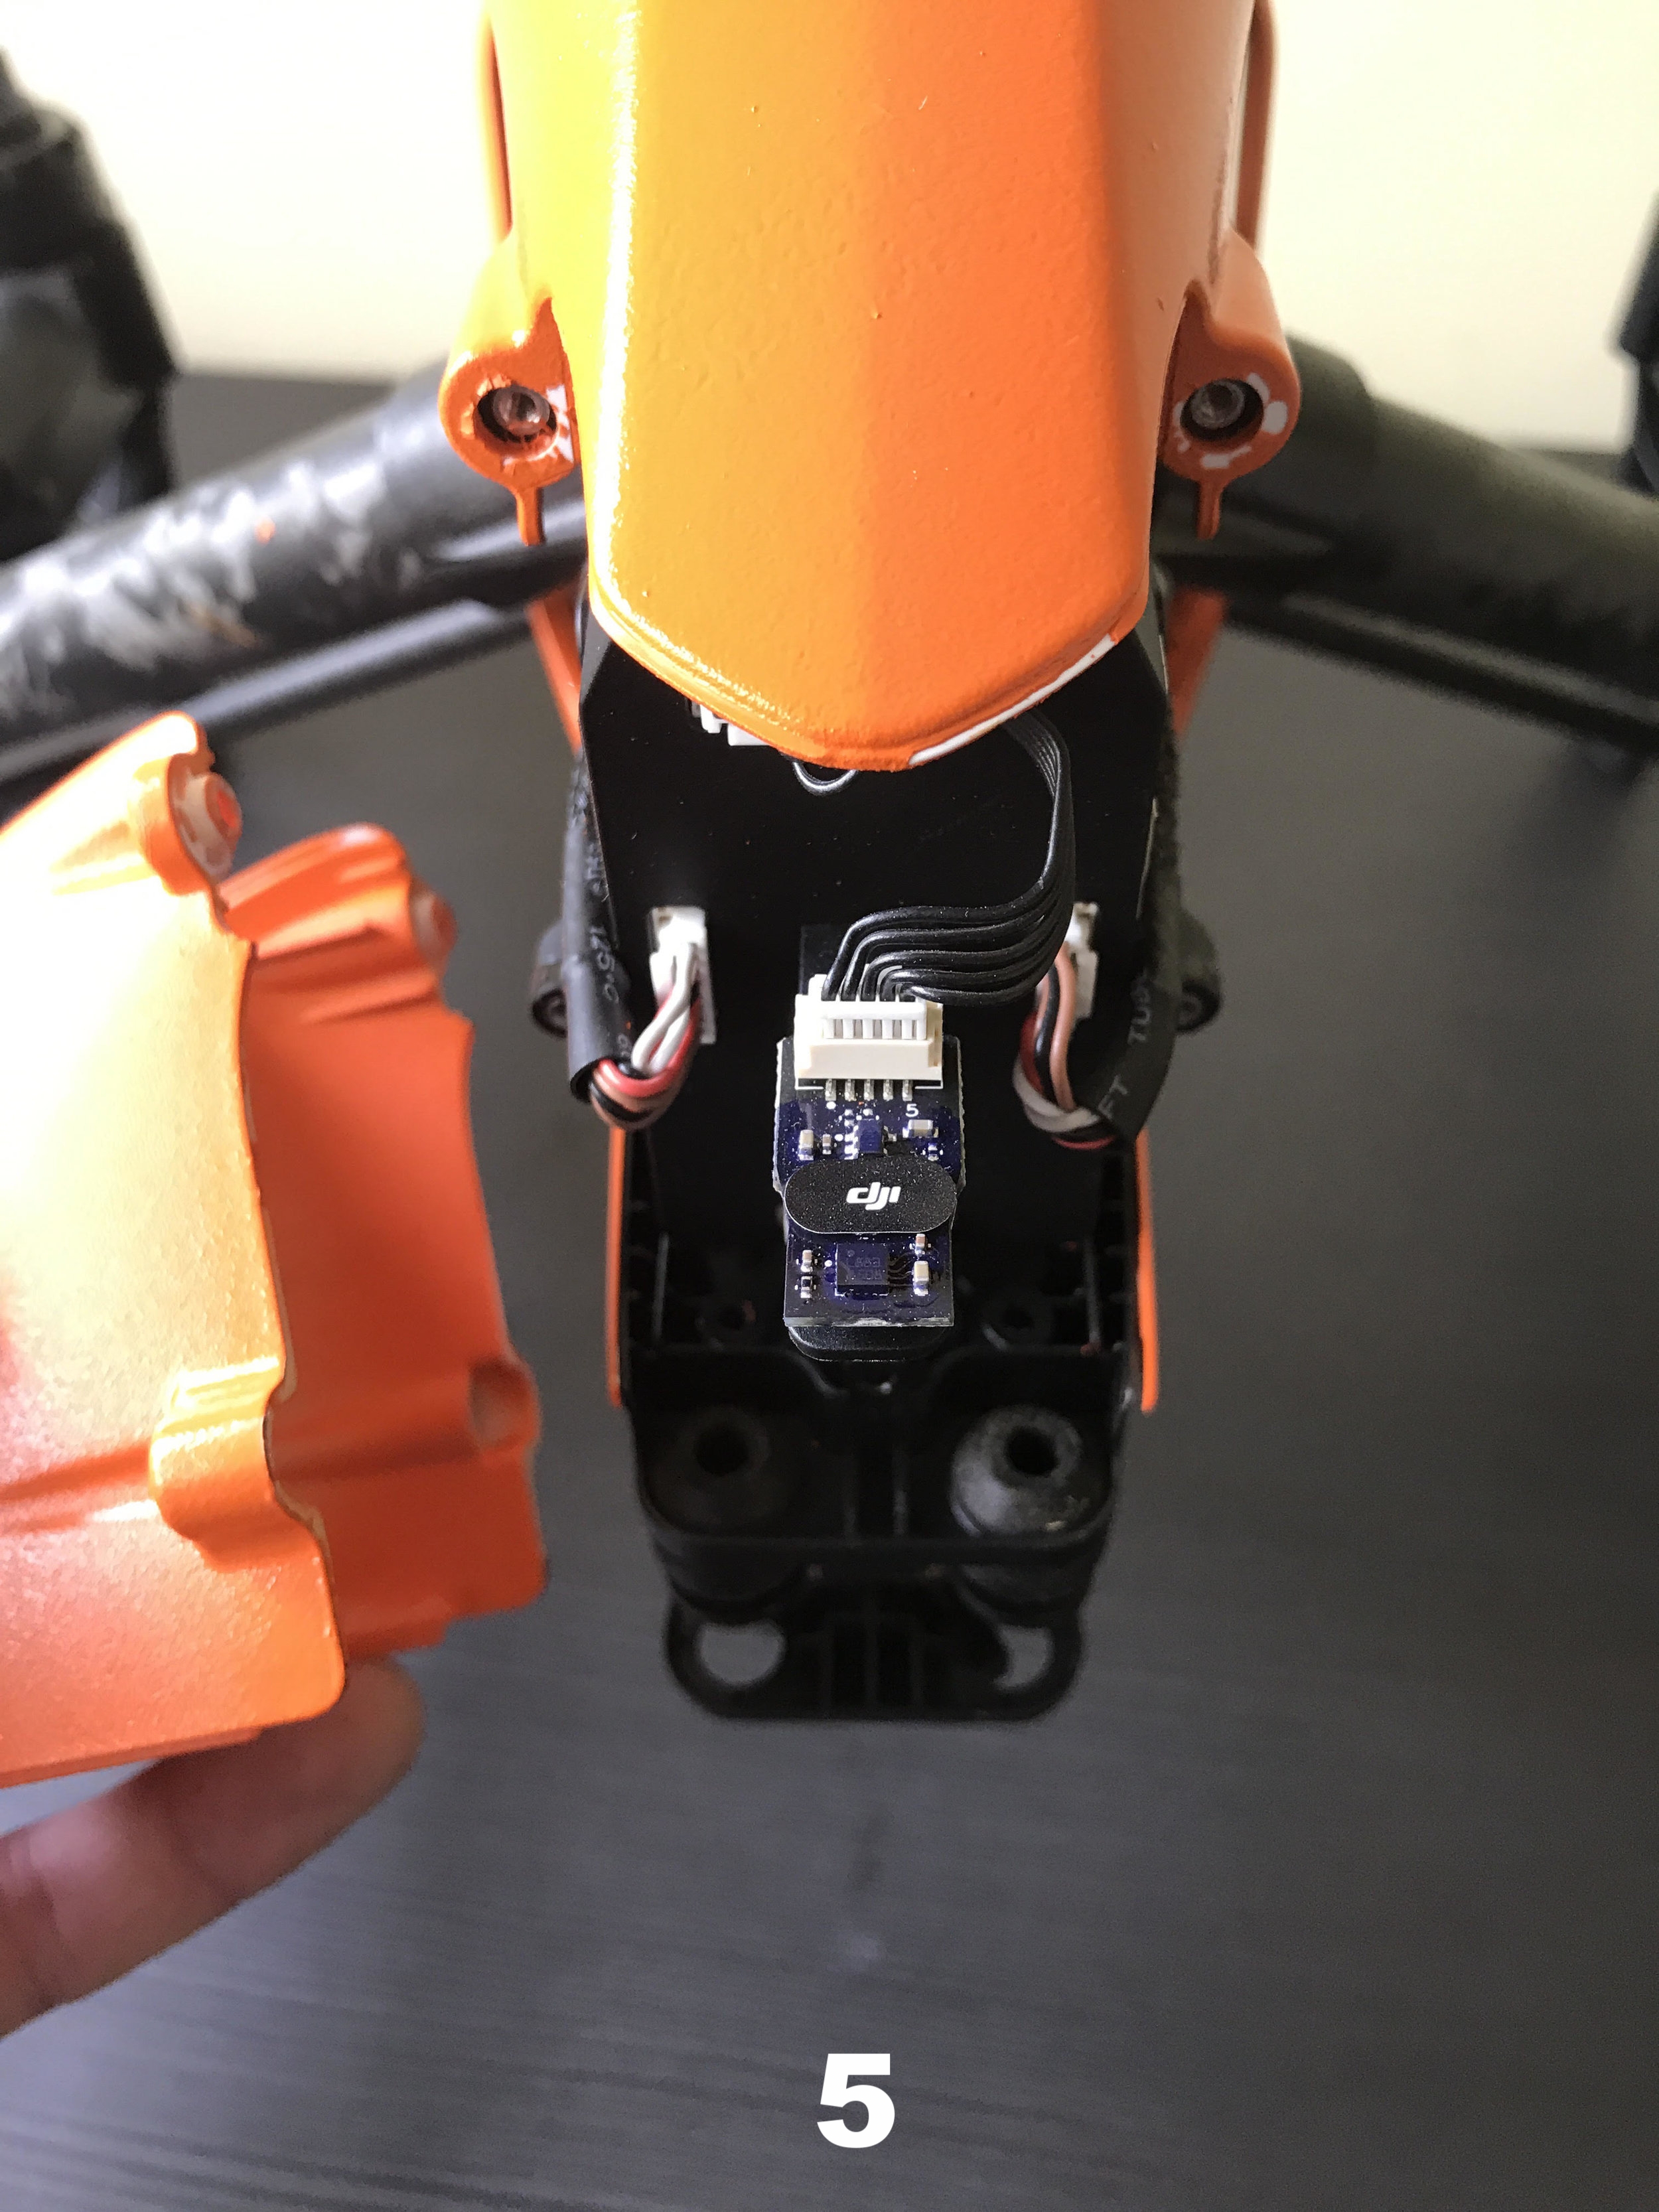
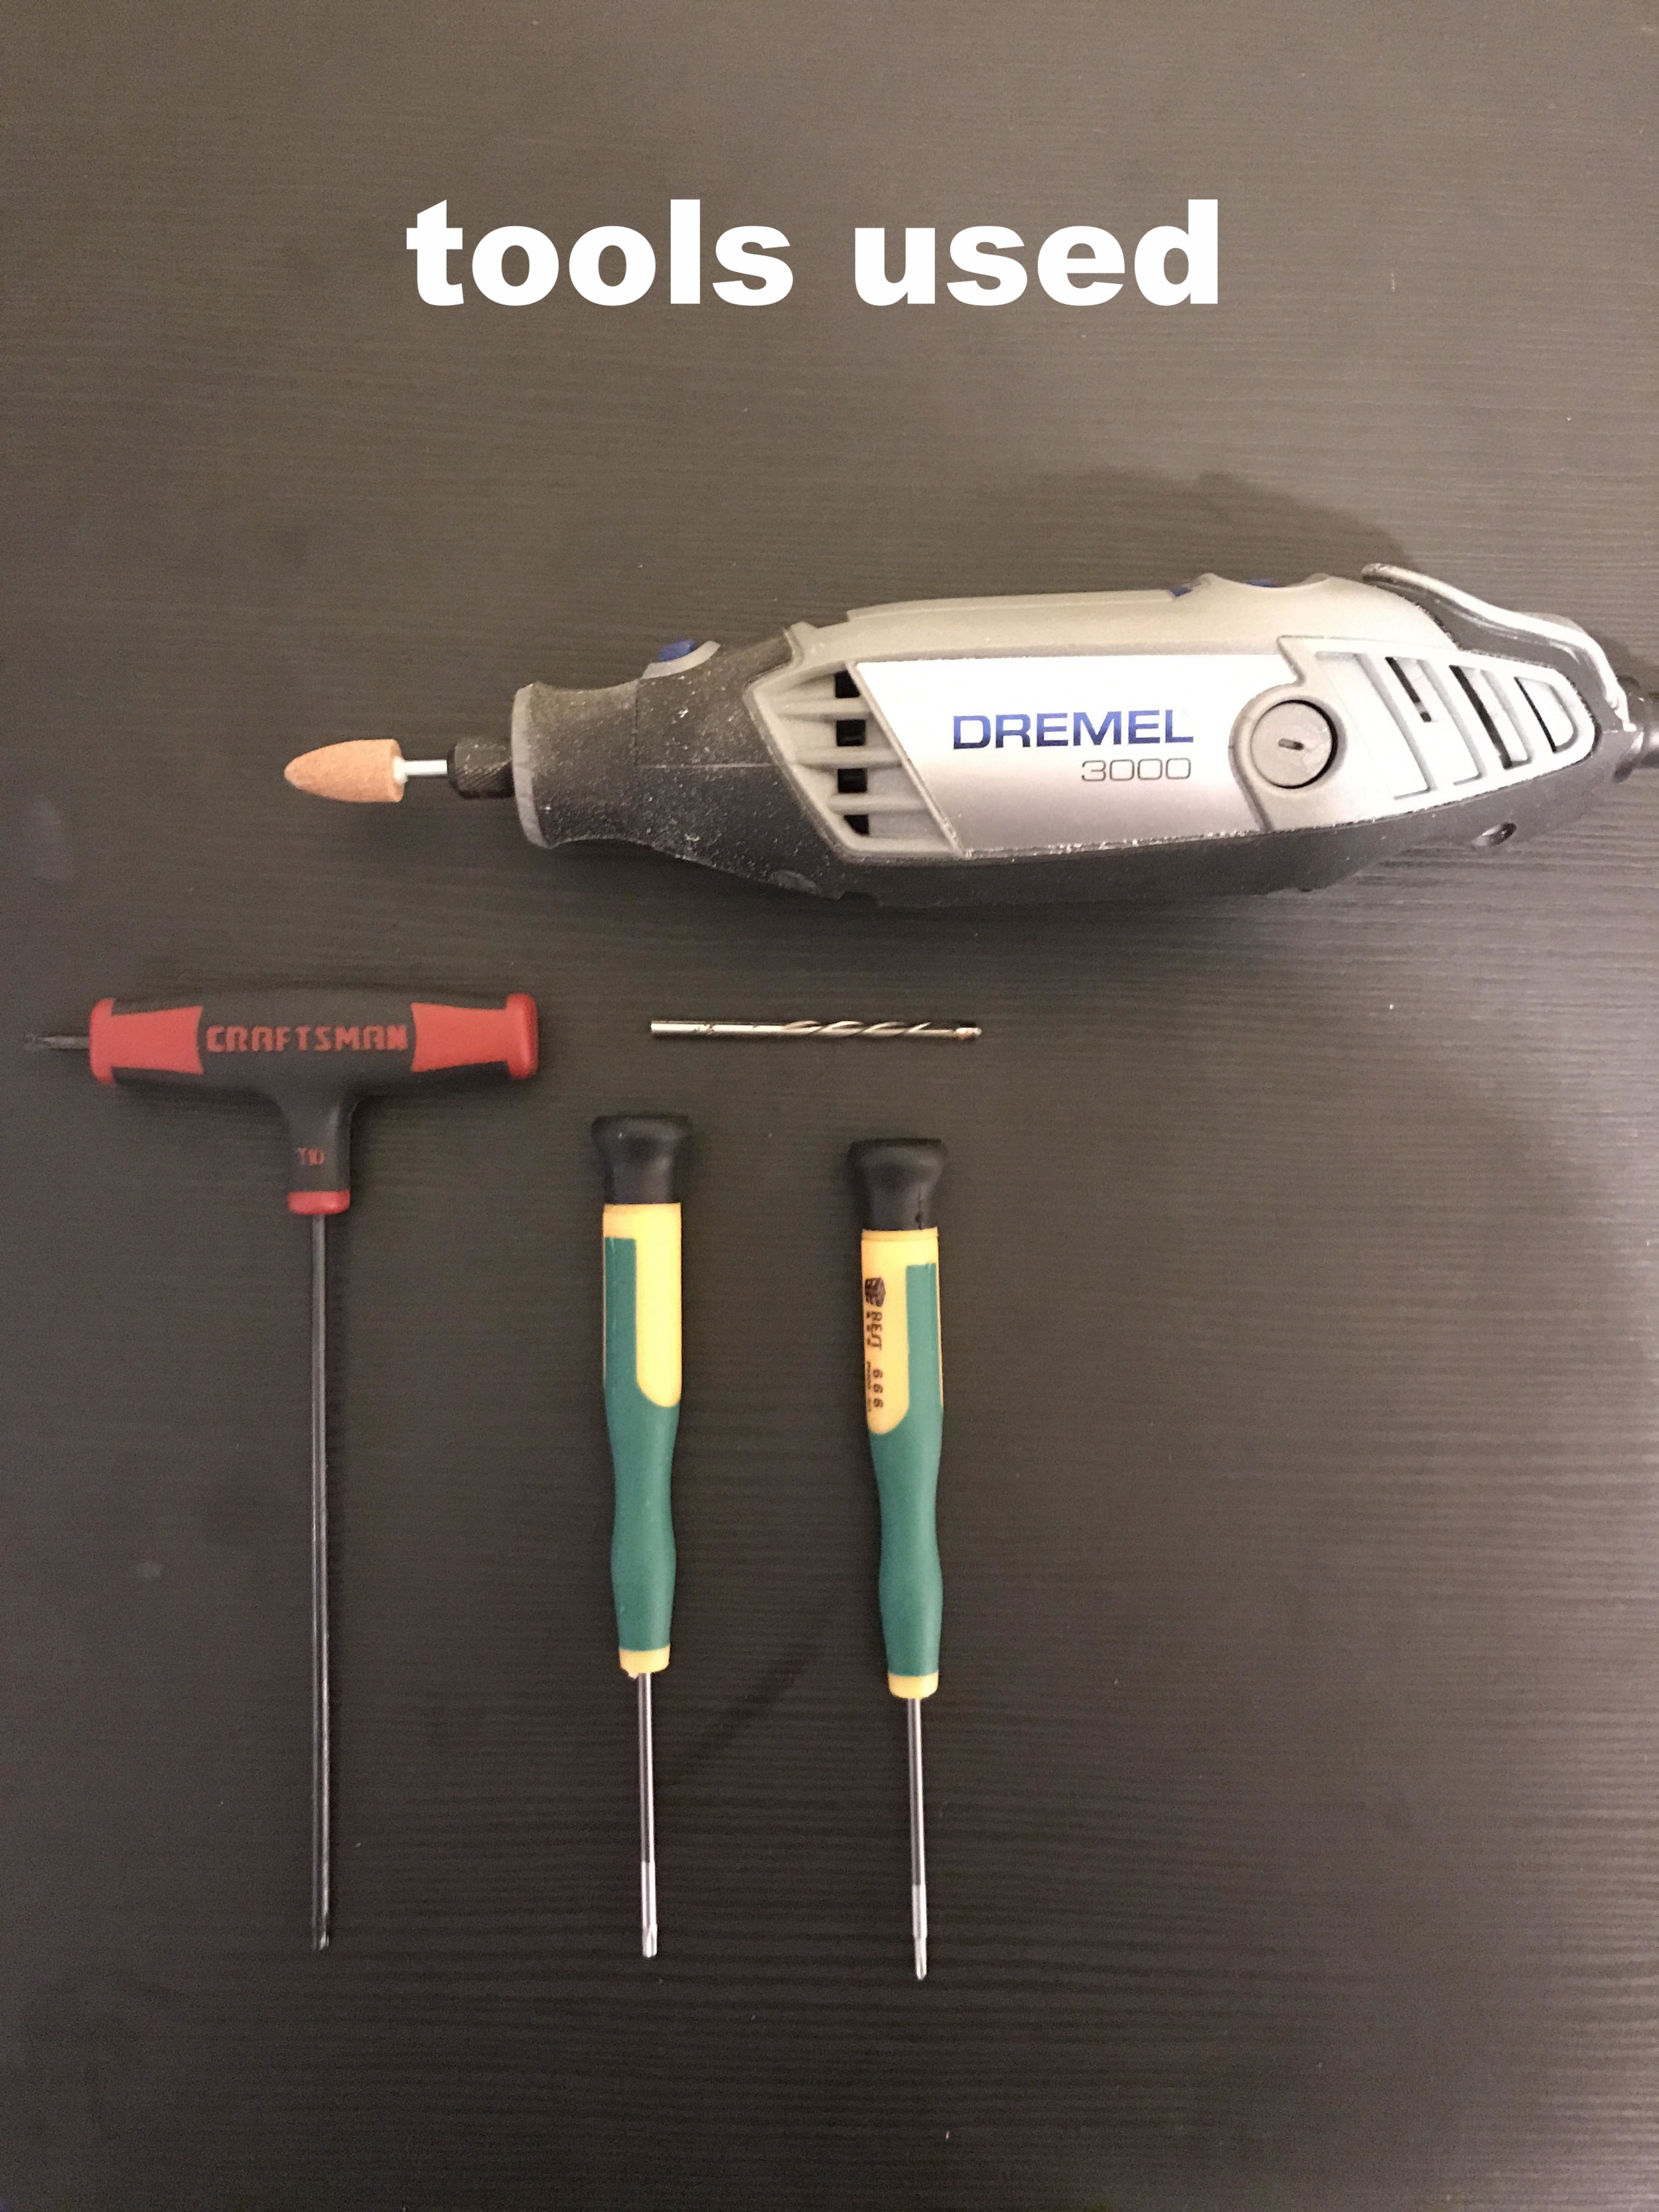
- Remove the two PH screws holding the nose cone under the gimbal mount - pic 2 & 3
- Unscrew the four T9 Torx and pop the nose cone off - pics 4 & 5
- Using a pencil, outline the area needed to slide the camera through the nose cone and then drill a hole. After a "guide" hole is formed use the 952 Aluminum Oxide Grinding Stone to make a perfect symmetrical hole - pic 6
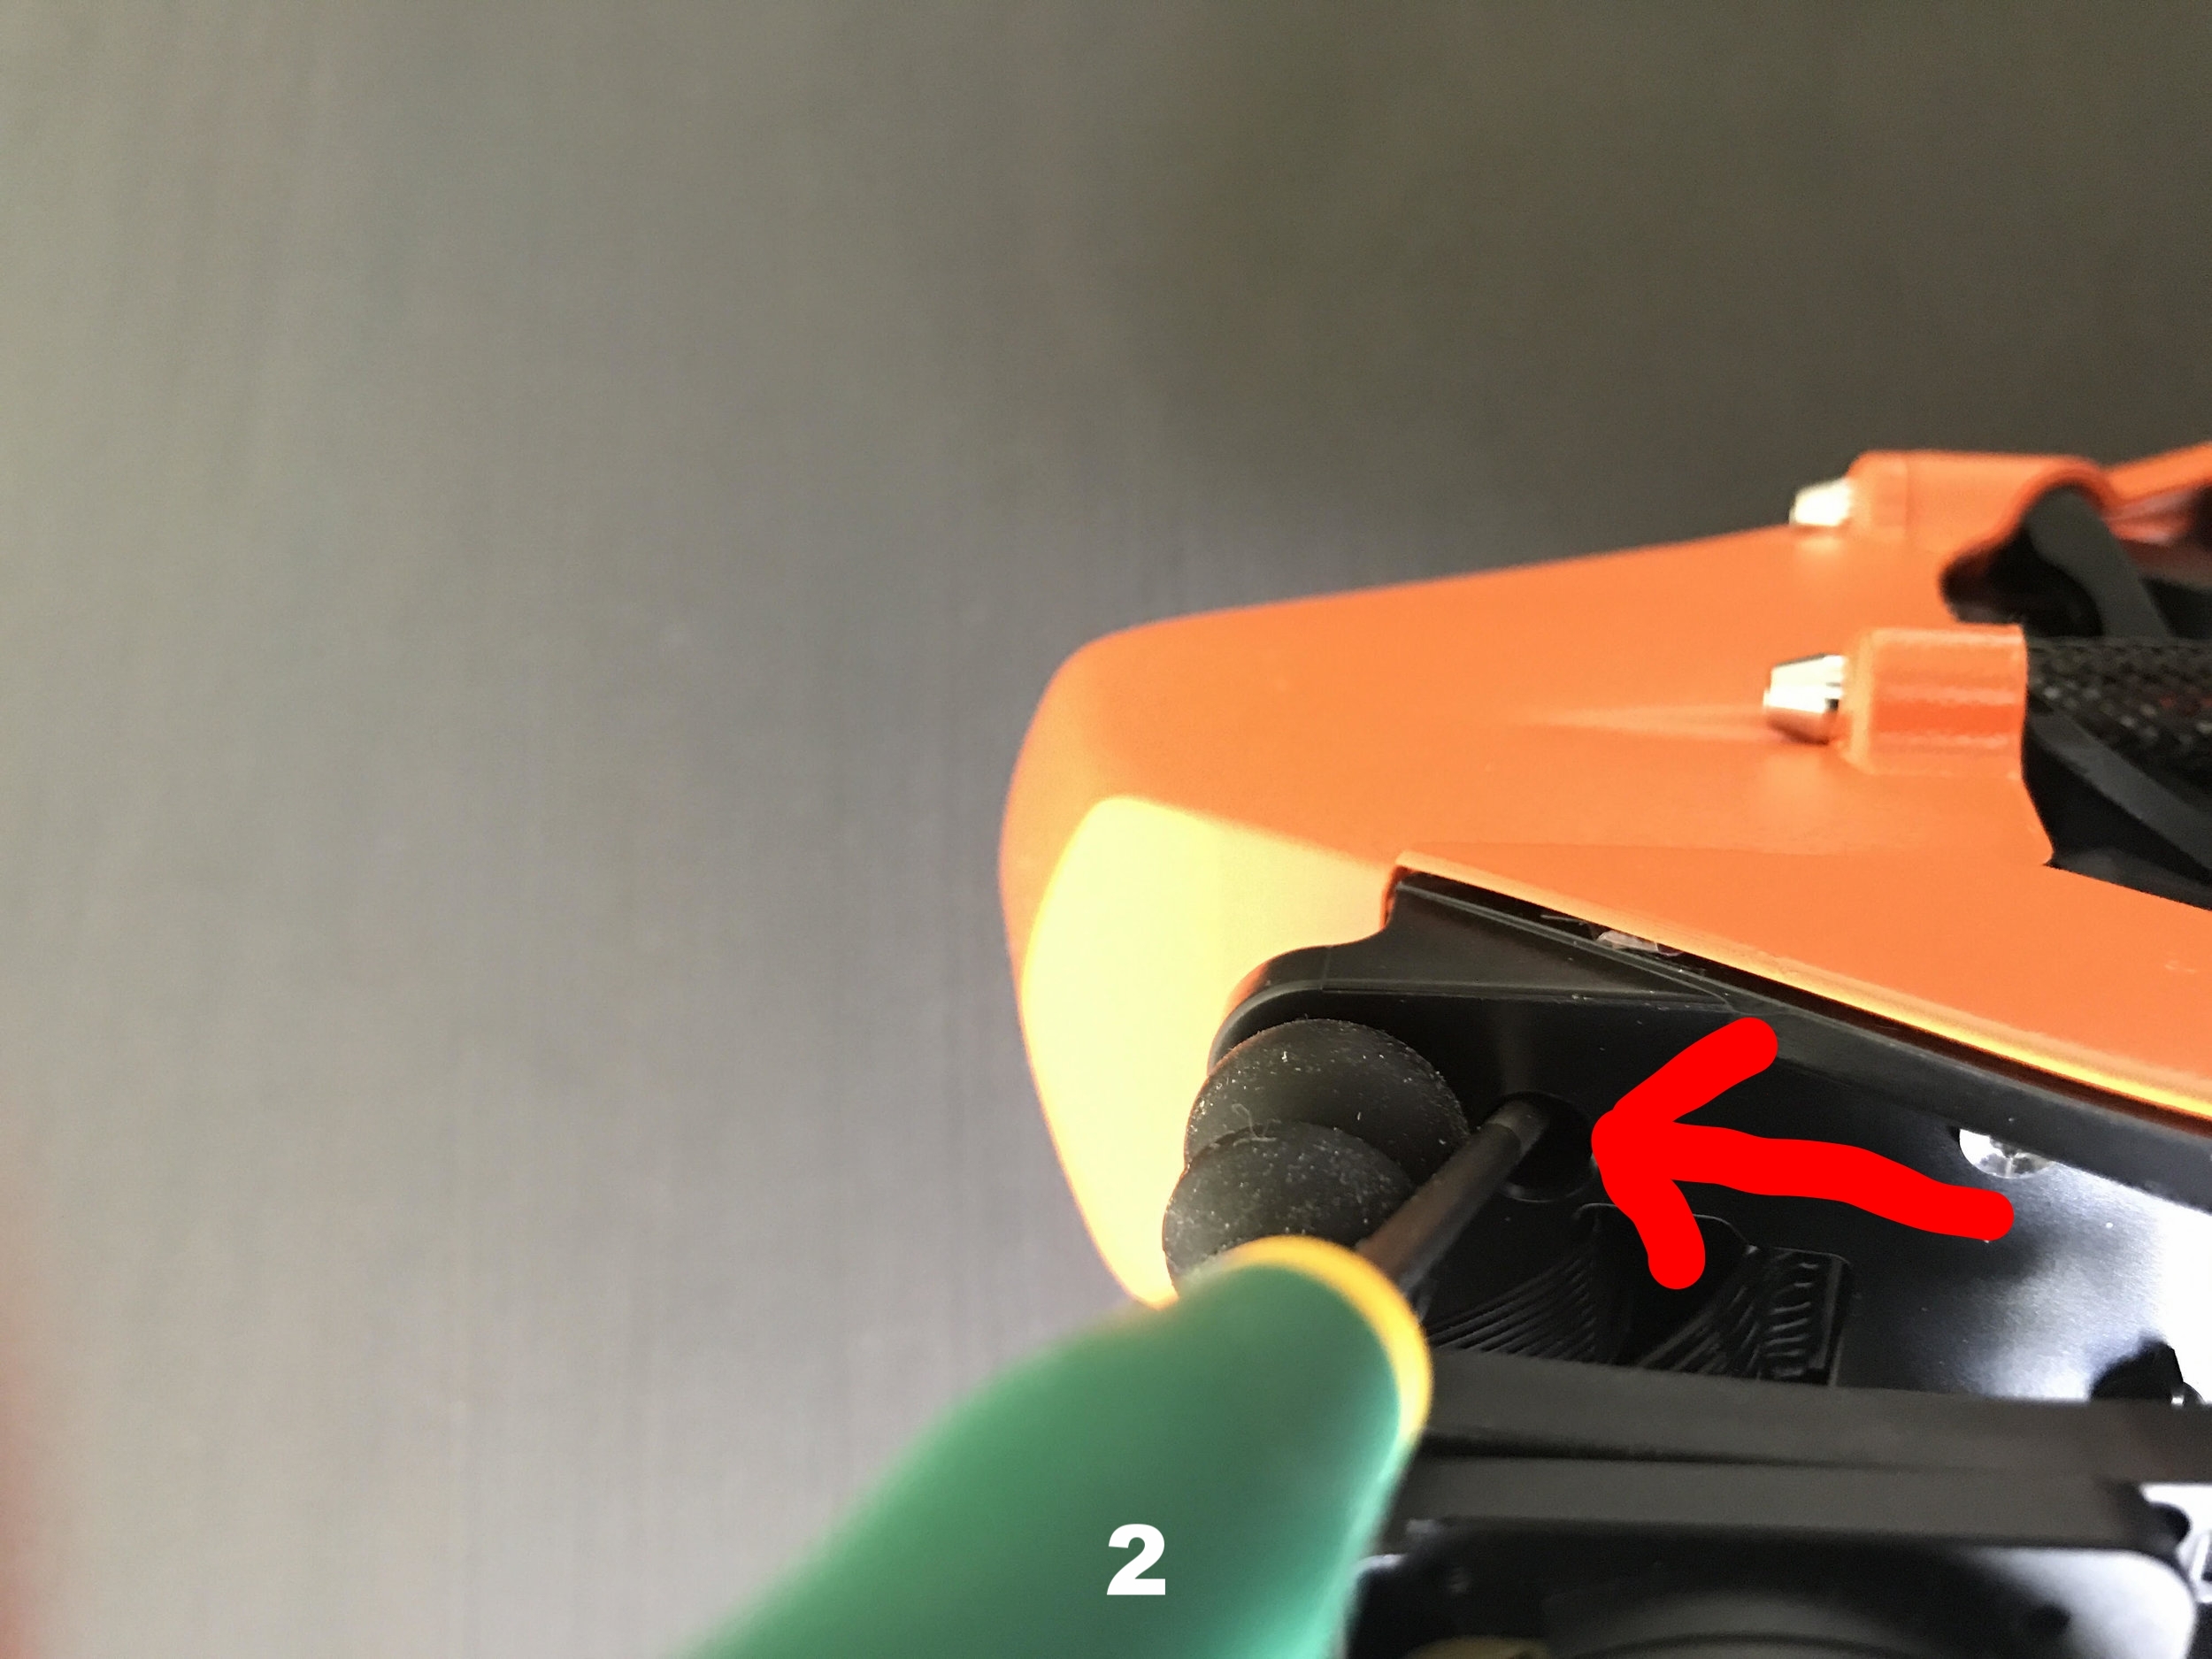
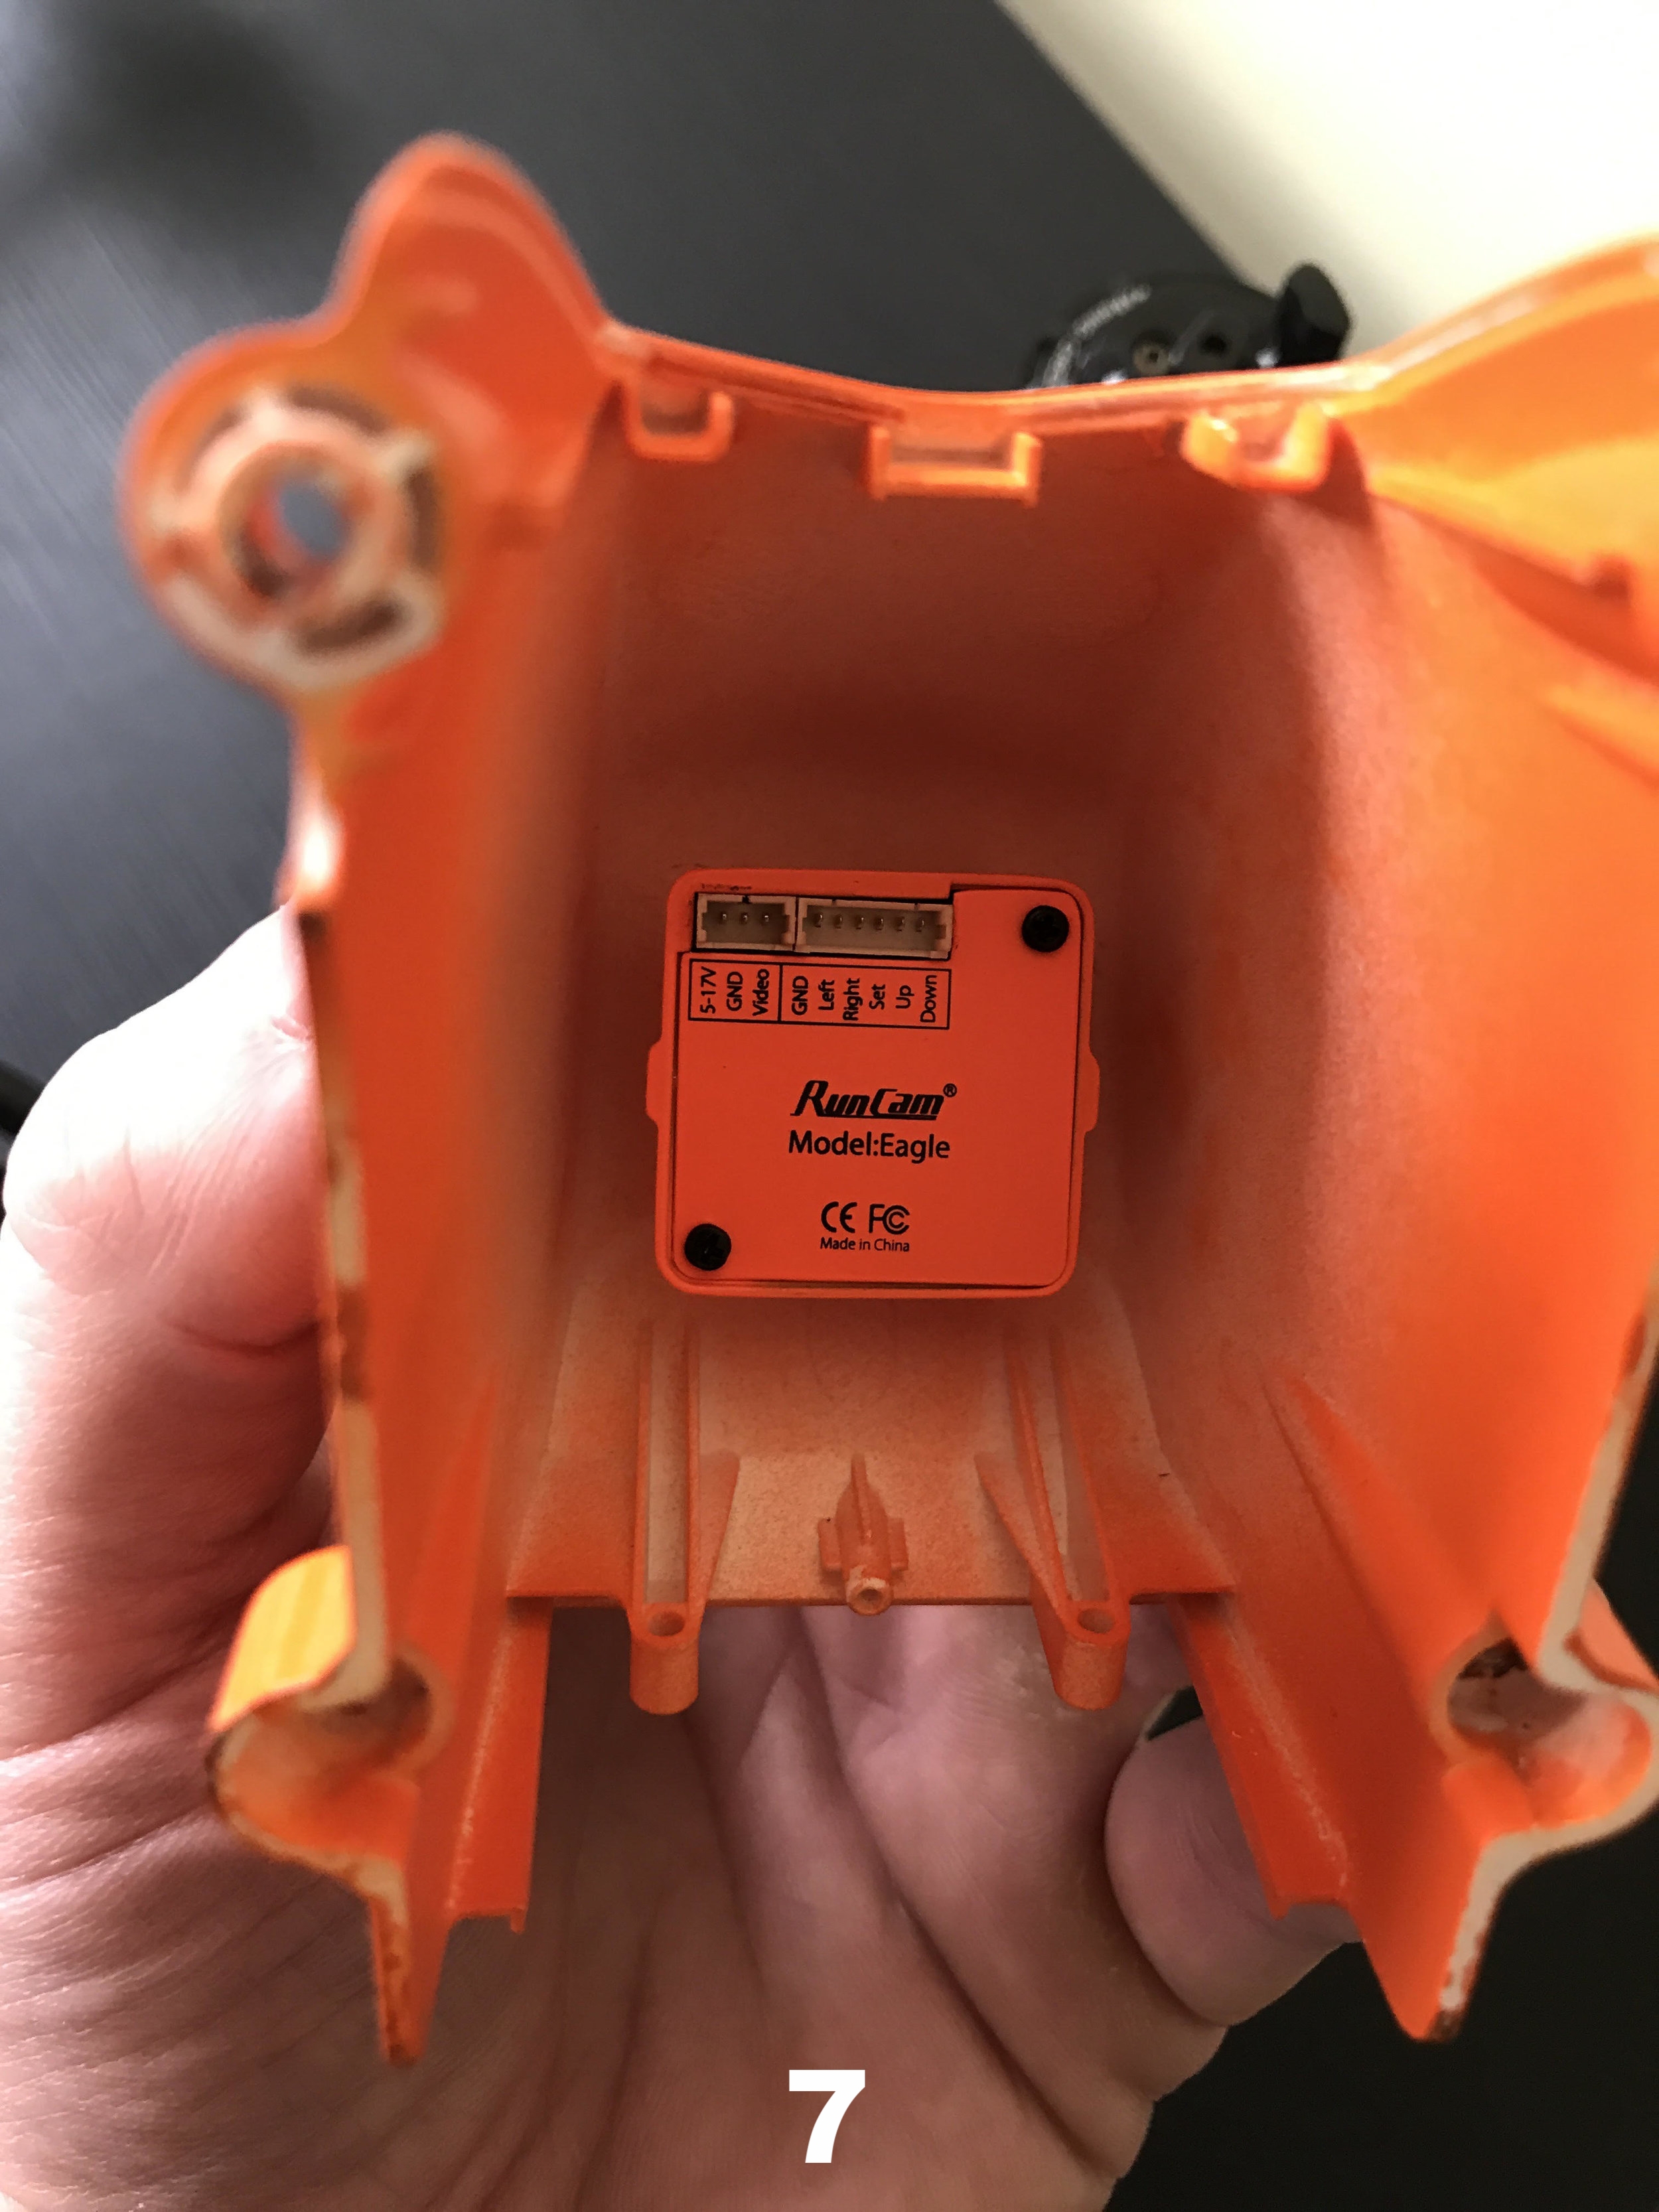
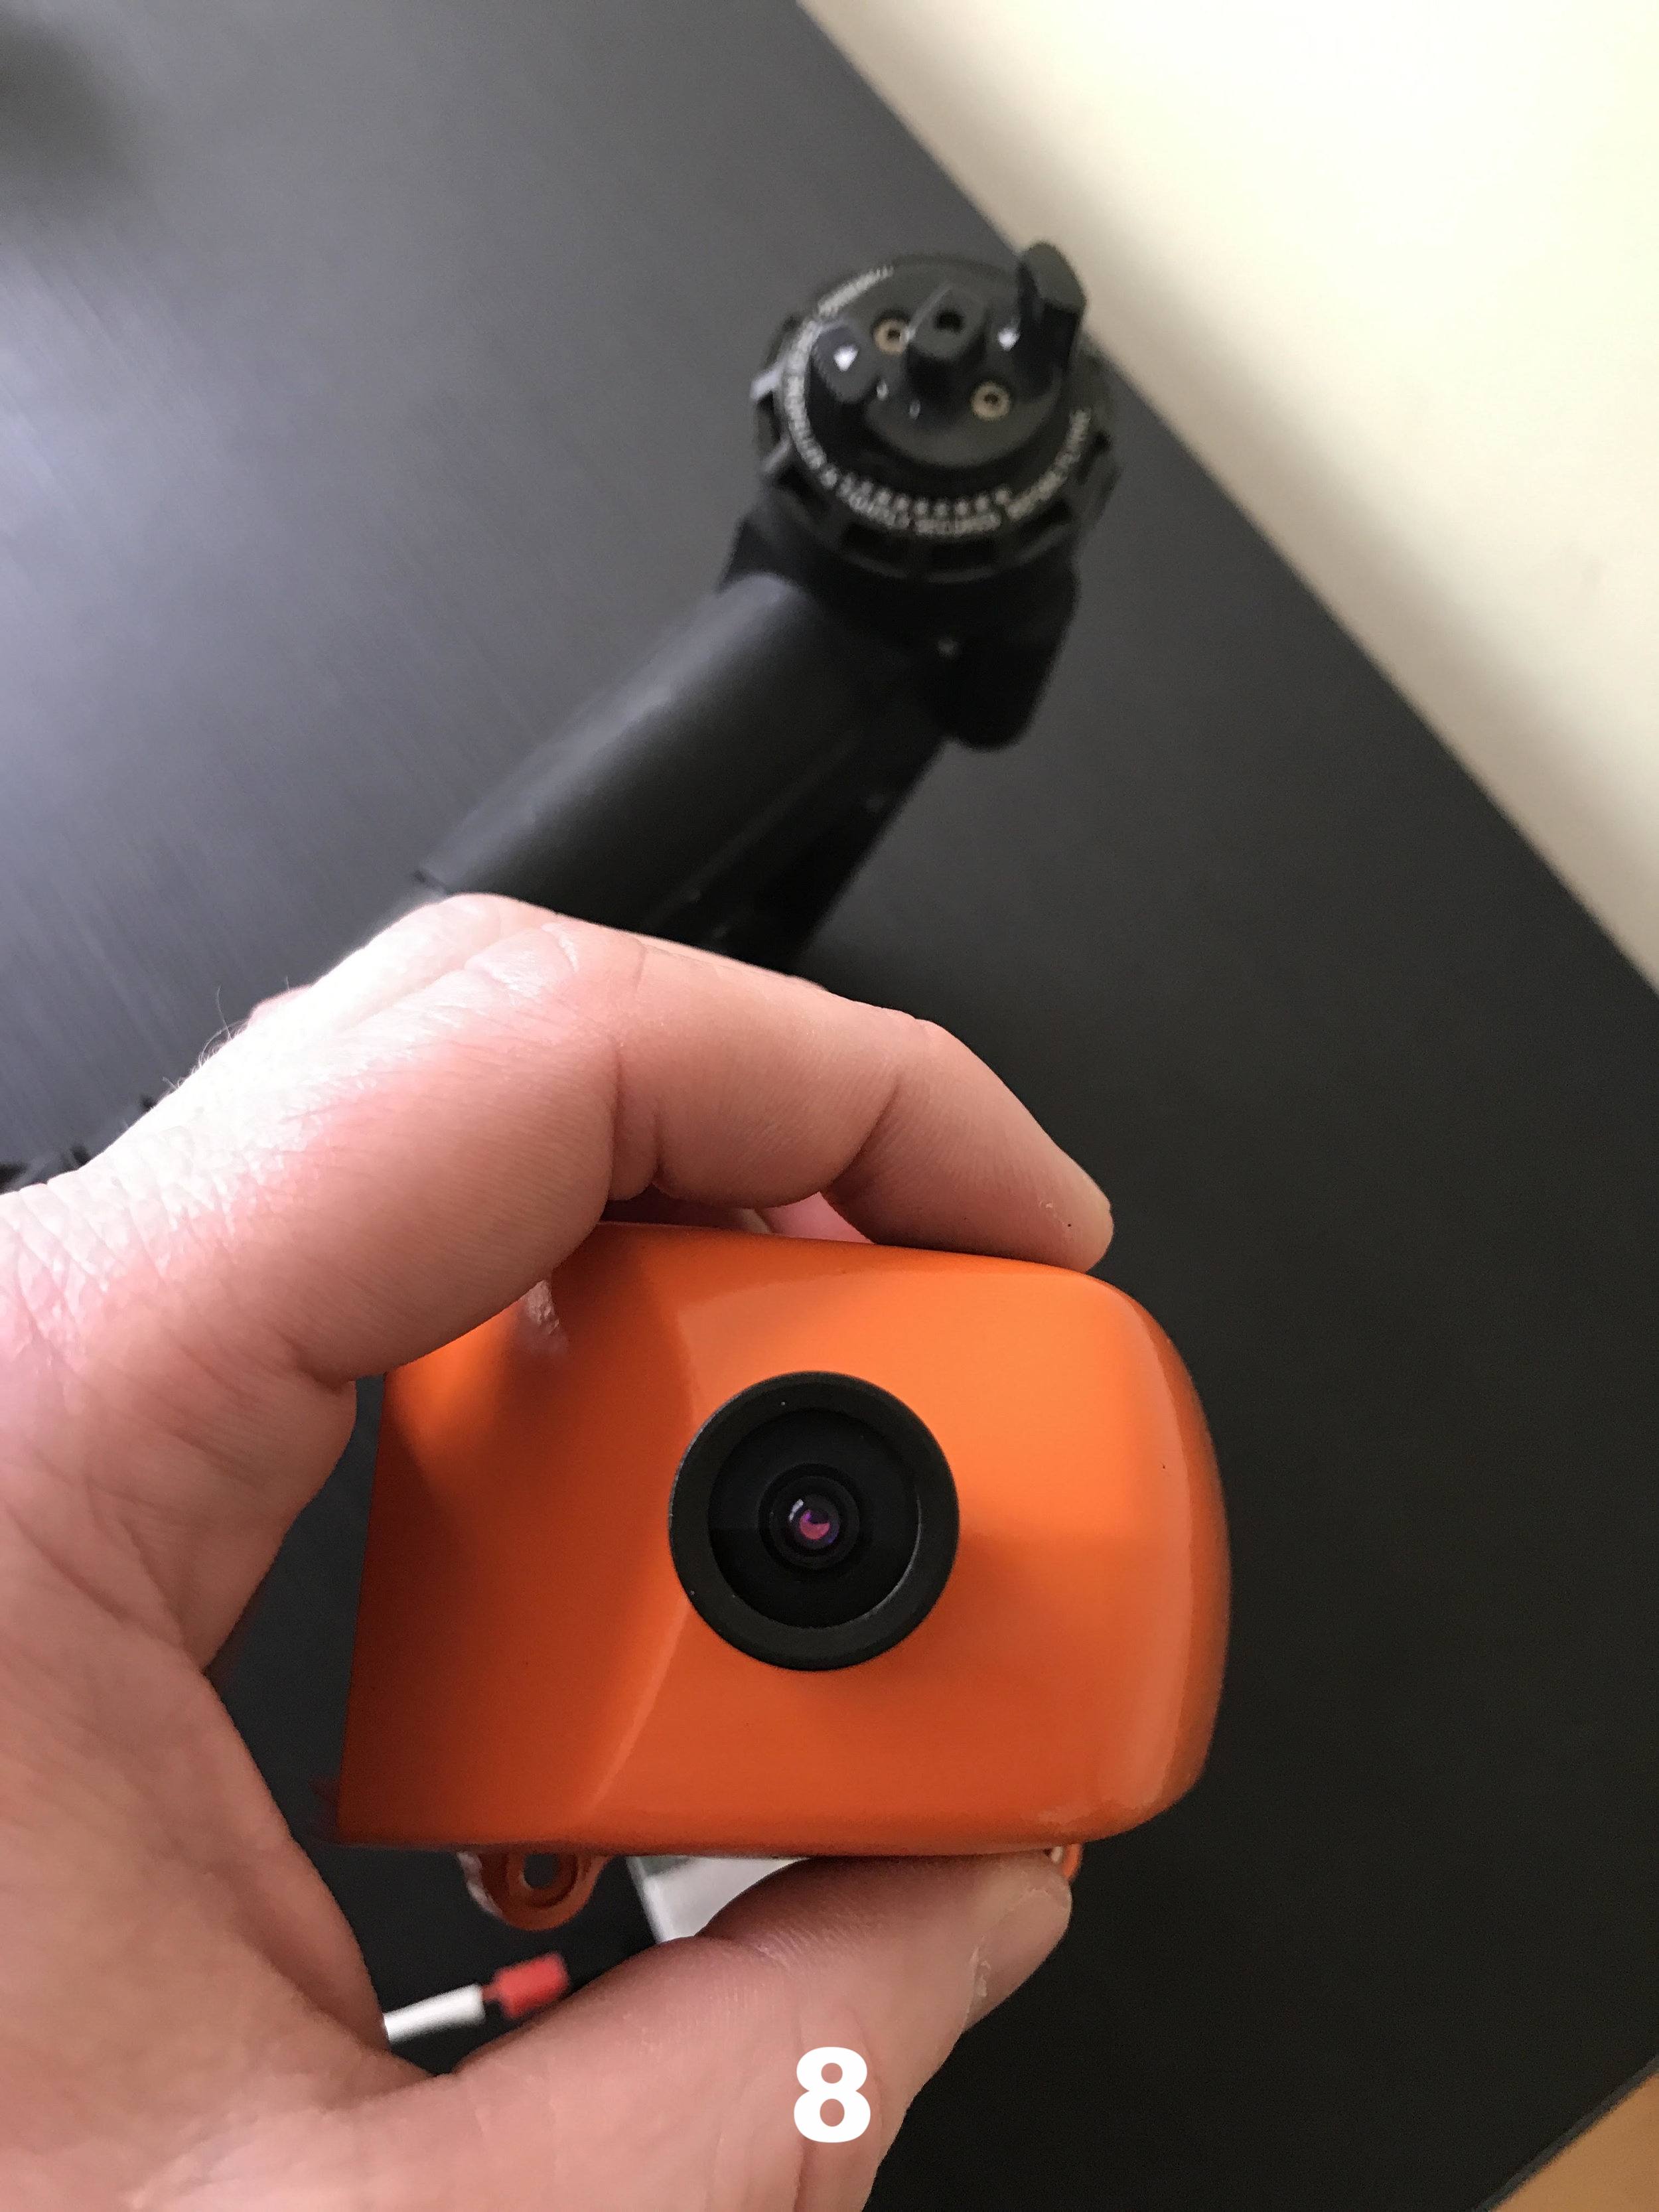
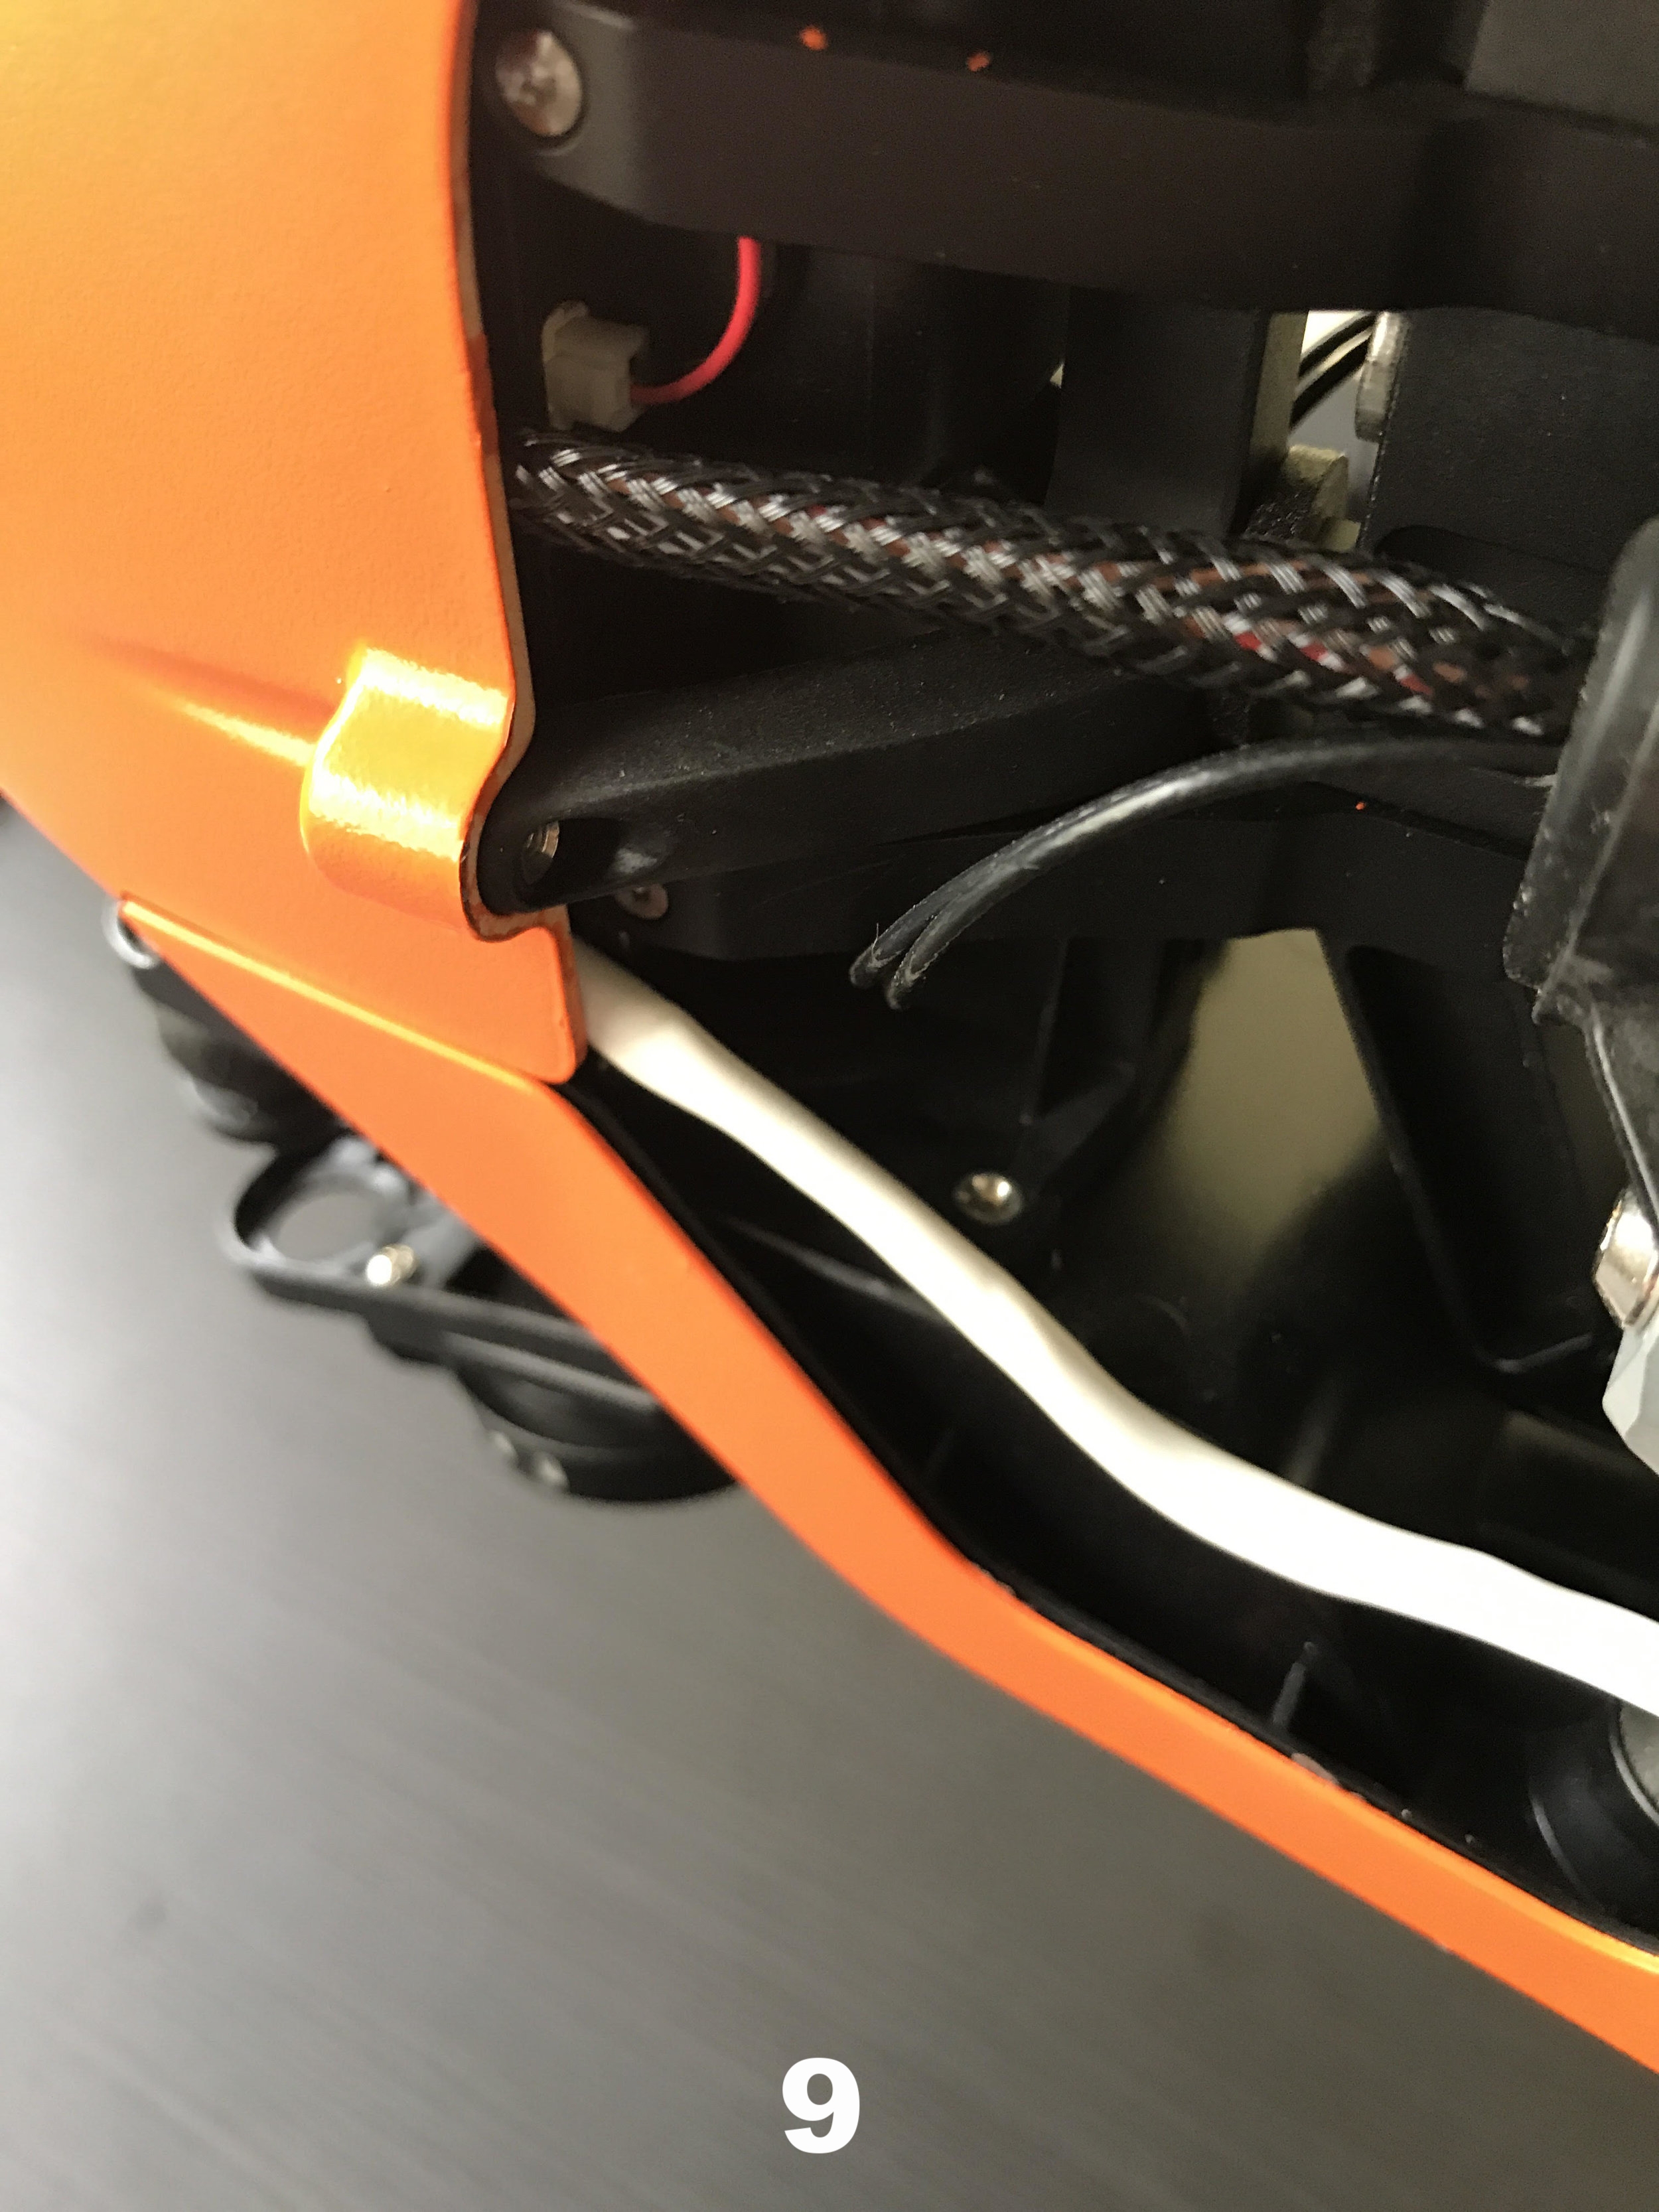
- Insert the RunCam Eagle into the hole and verify it's tight. I used a hot glue gun to secure the camera in place. It was a little messy but doesn't add much weight. Once the glue has set one can remove the excess with a scalpel - pics 7, 8, & 9
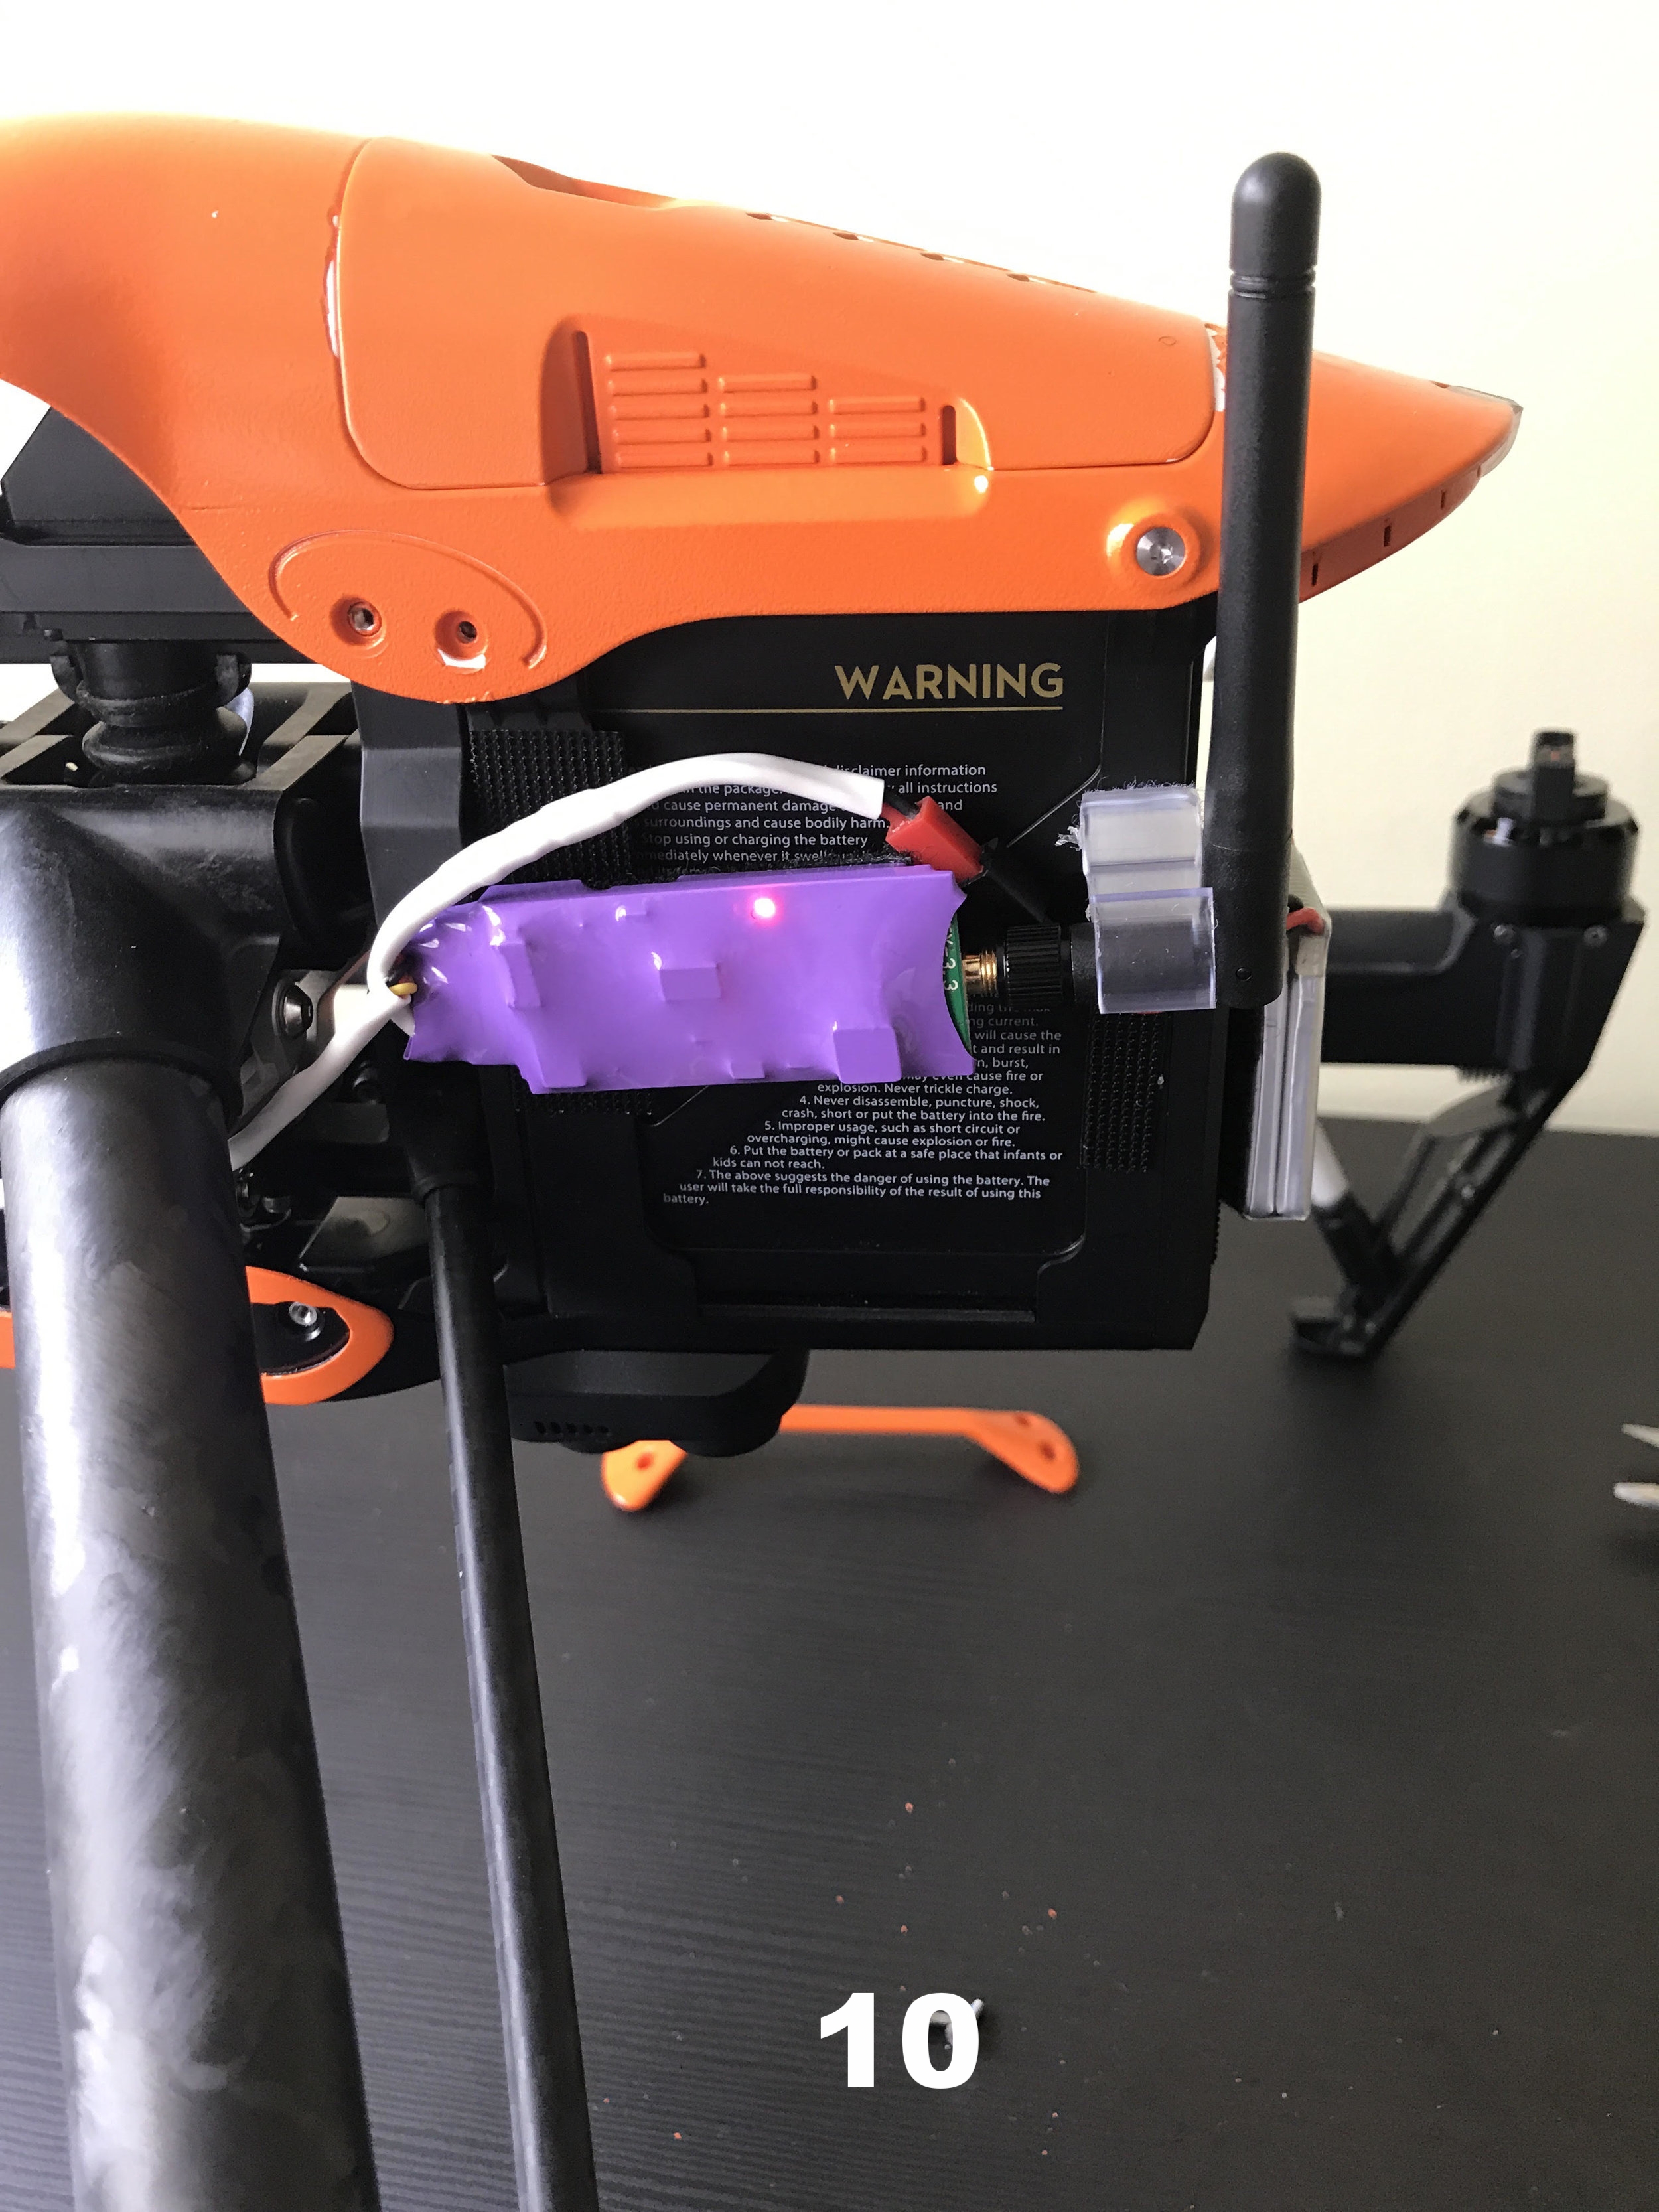
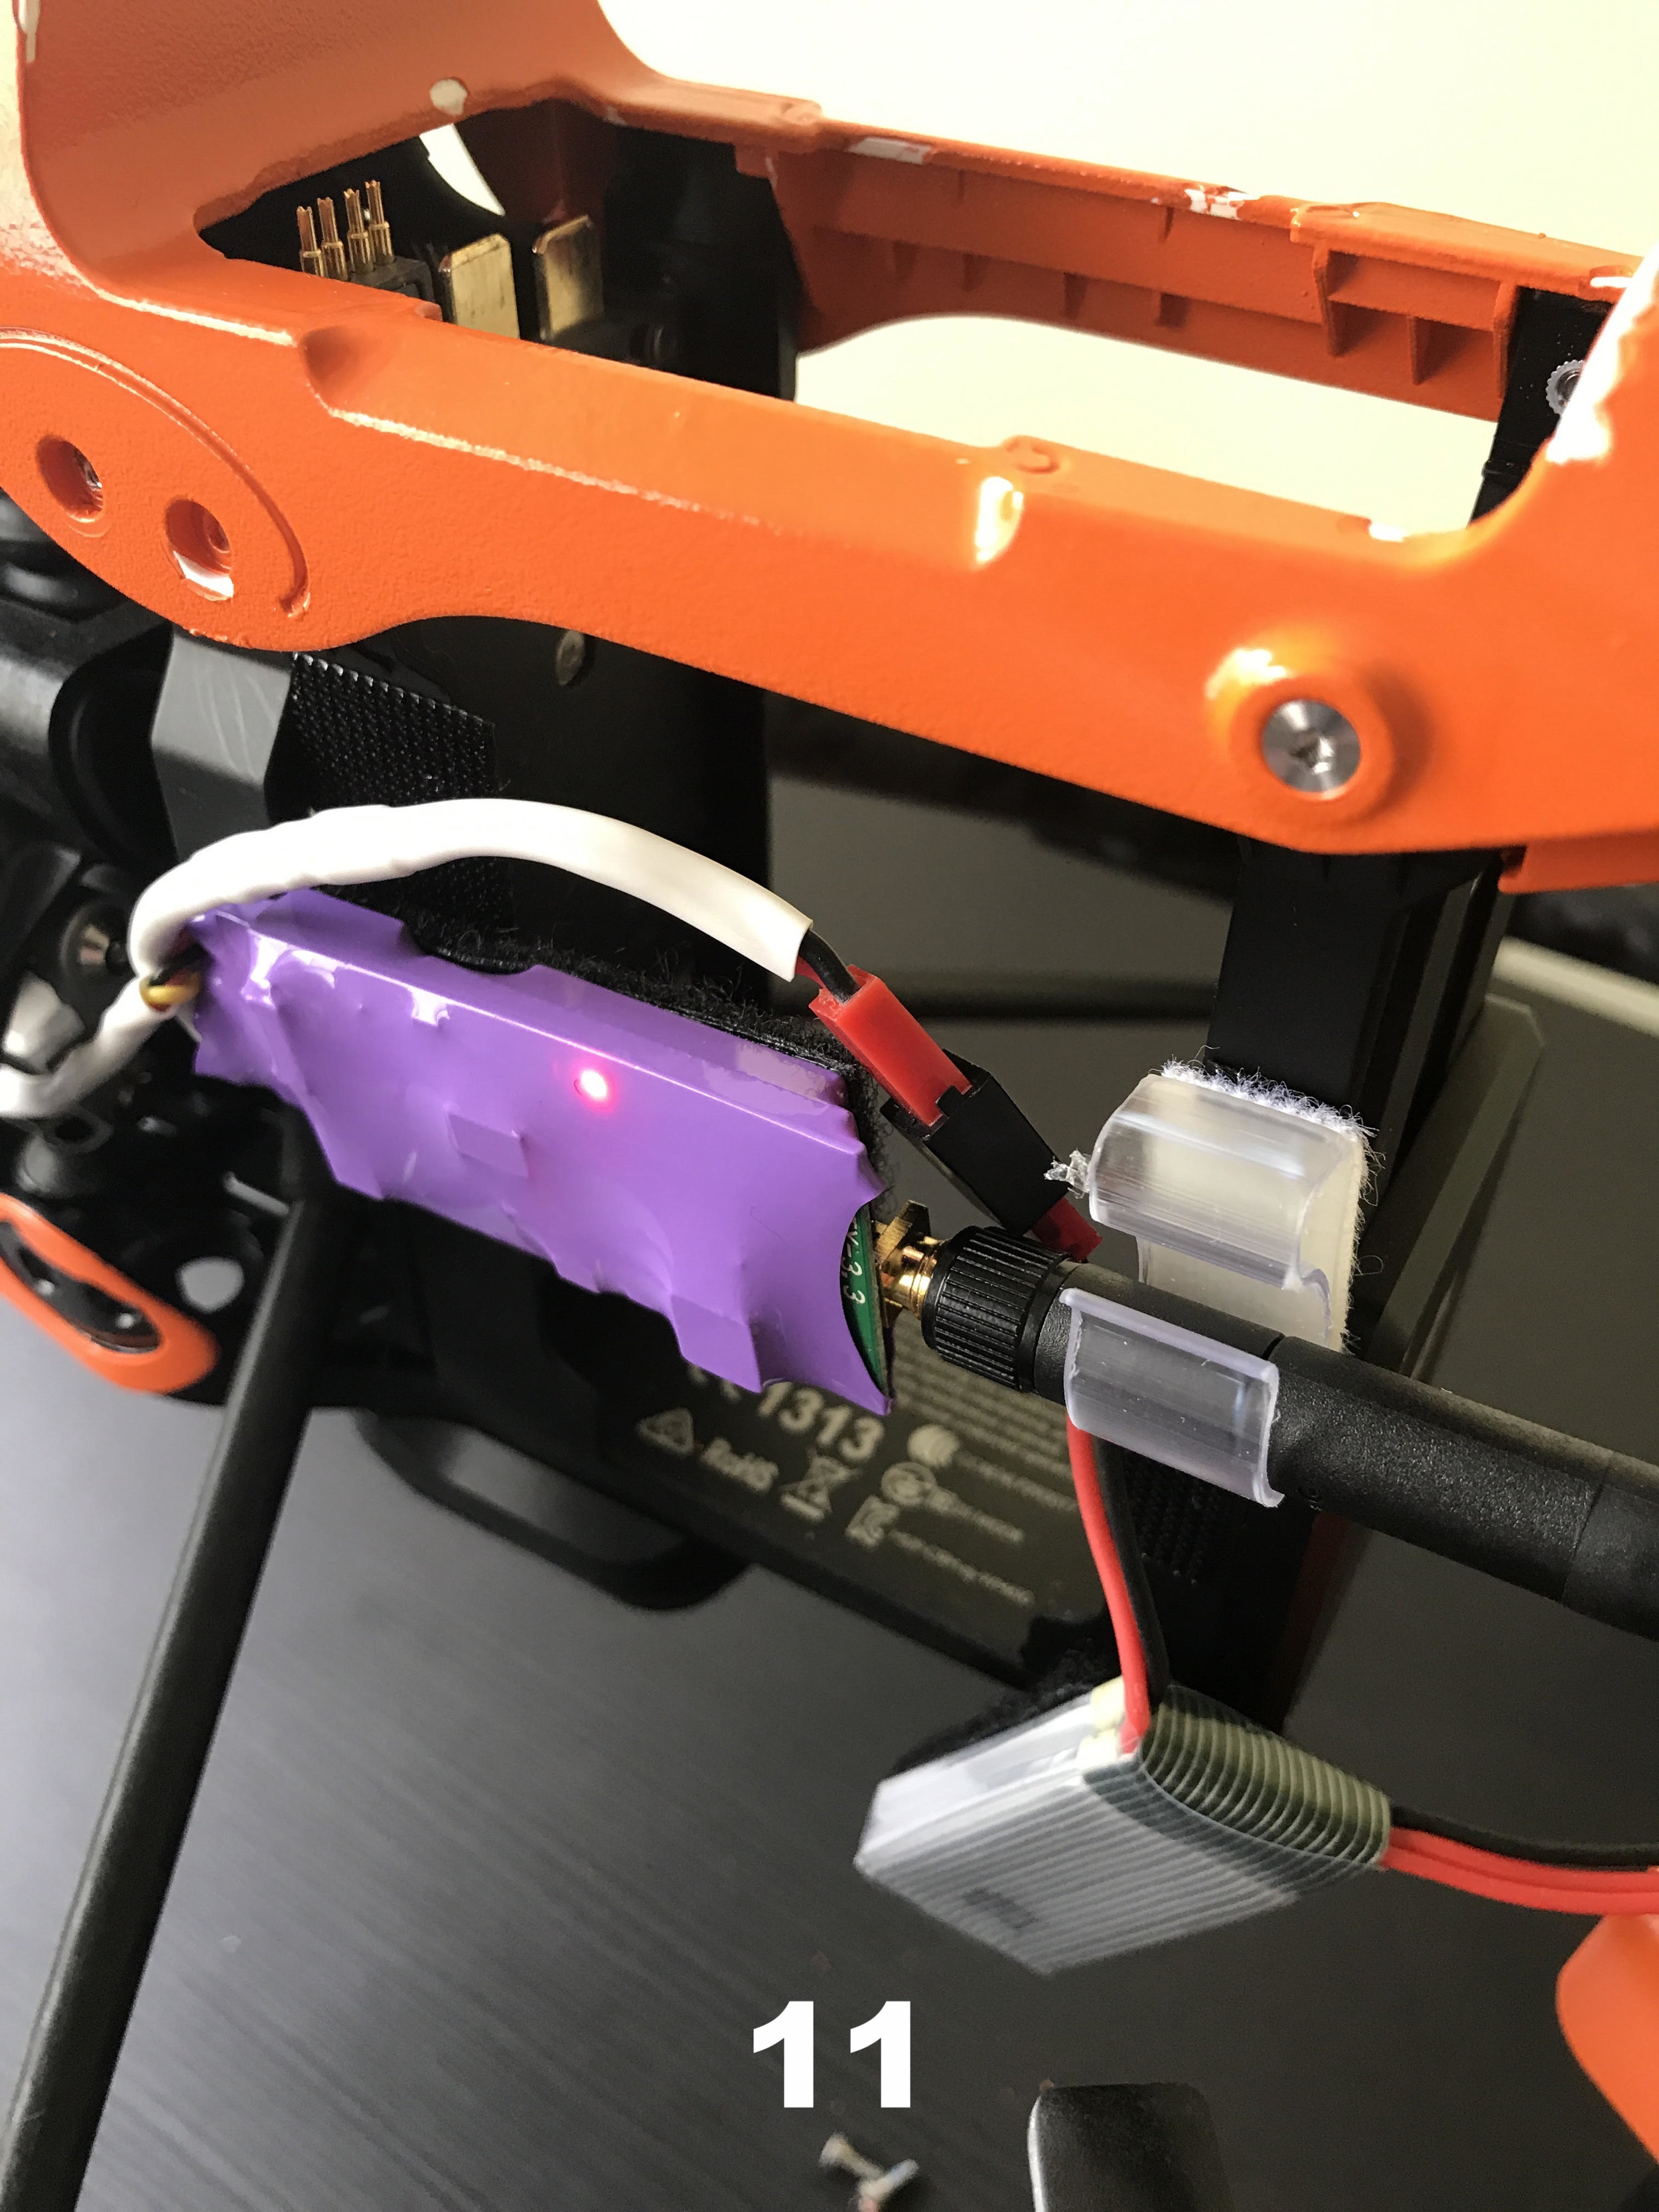
- Remove the left arm support and place your video transmitter of choice on the bird (pic 10). I used velcro to attach the FatShark 250mW V3 5.8GHz Video Transmitter With NexwaveRF. However you fashion the transmitter on the Inspire 1 make sure everything is safe when the landing gear move. I raised and lowered the gear multiple times before deciding on a safe placement. Next, add the Inspire's props and spin them around to mimic flight. This is another way to ensure your transmitter and accessories are safe during flight. I also added a second fail-safe, I added a Velcro cable fastener to hold the transmitter's antenna (pic 11).
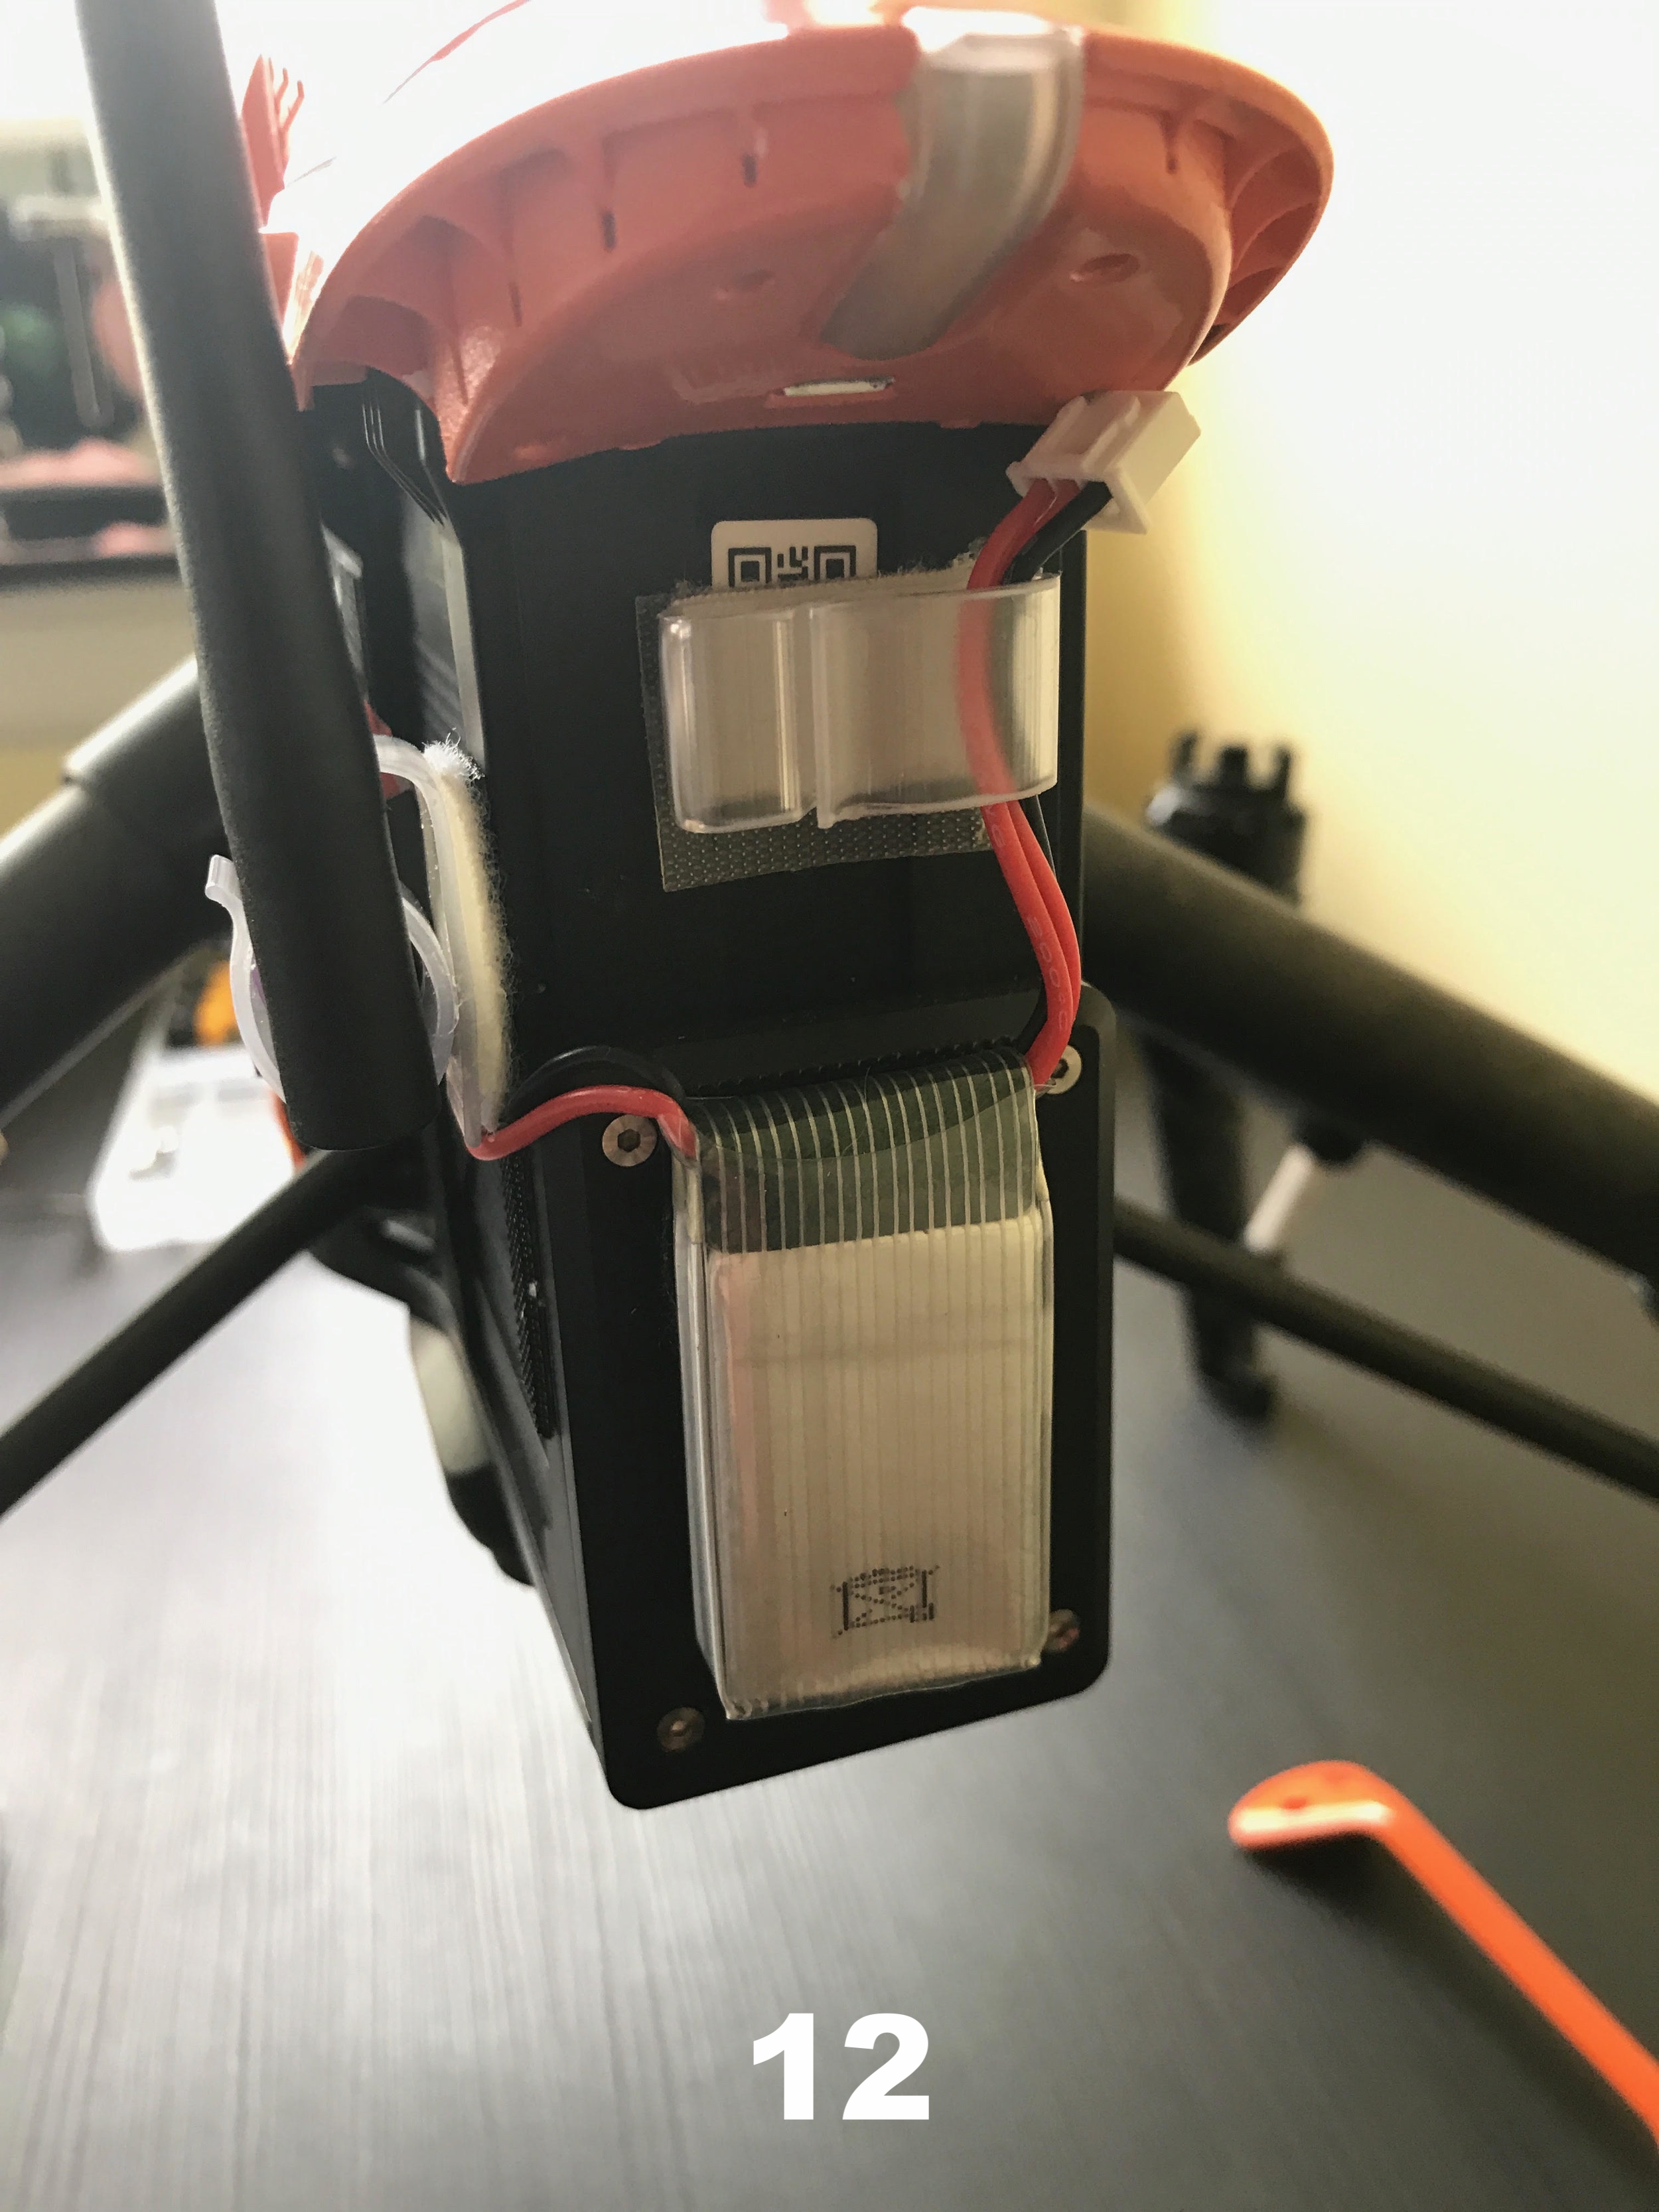
- Make sure the small battery for the camera and transmitter is secure - pic 12
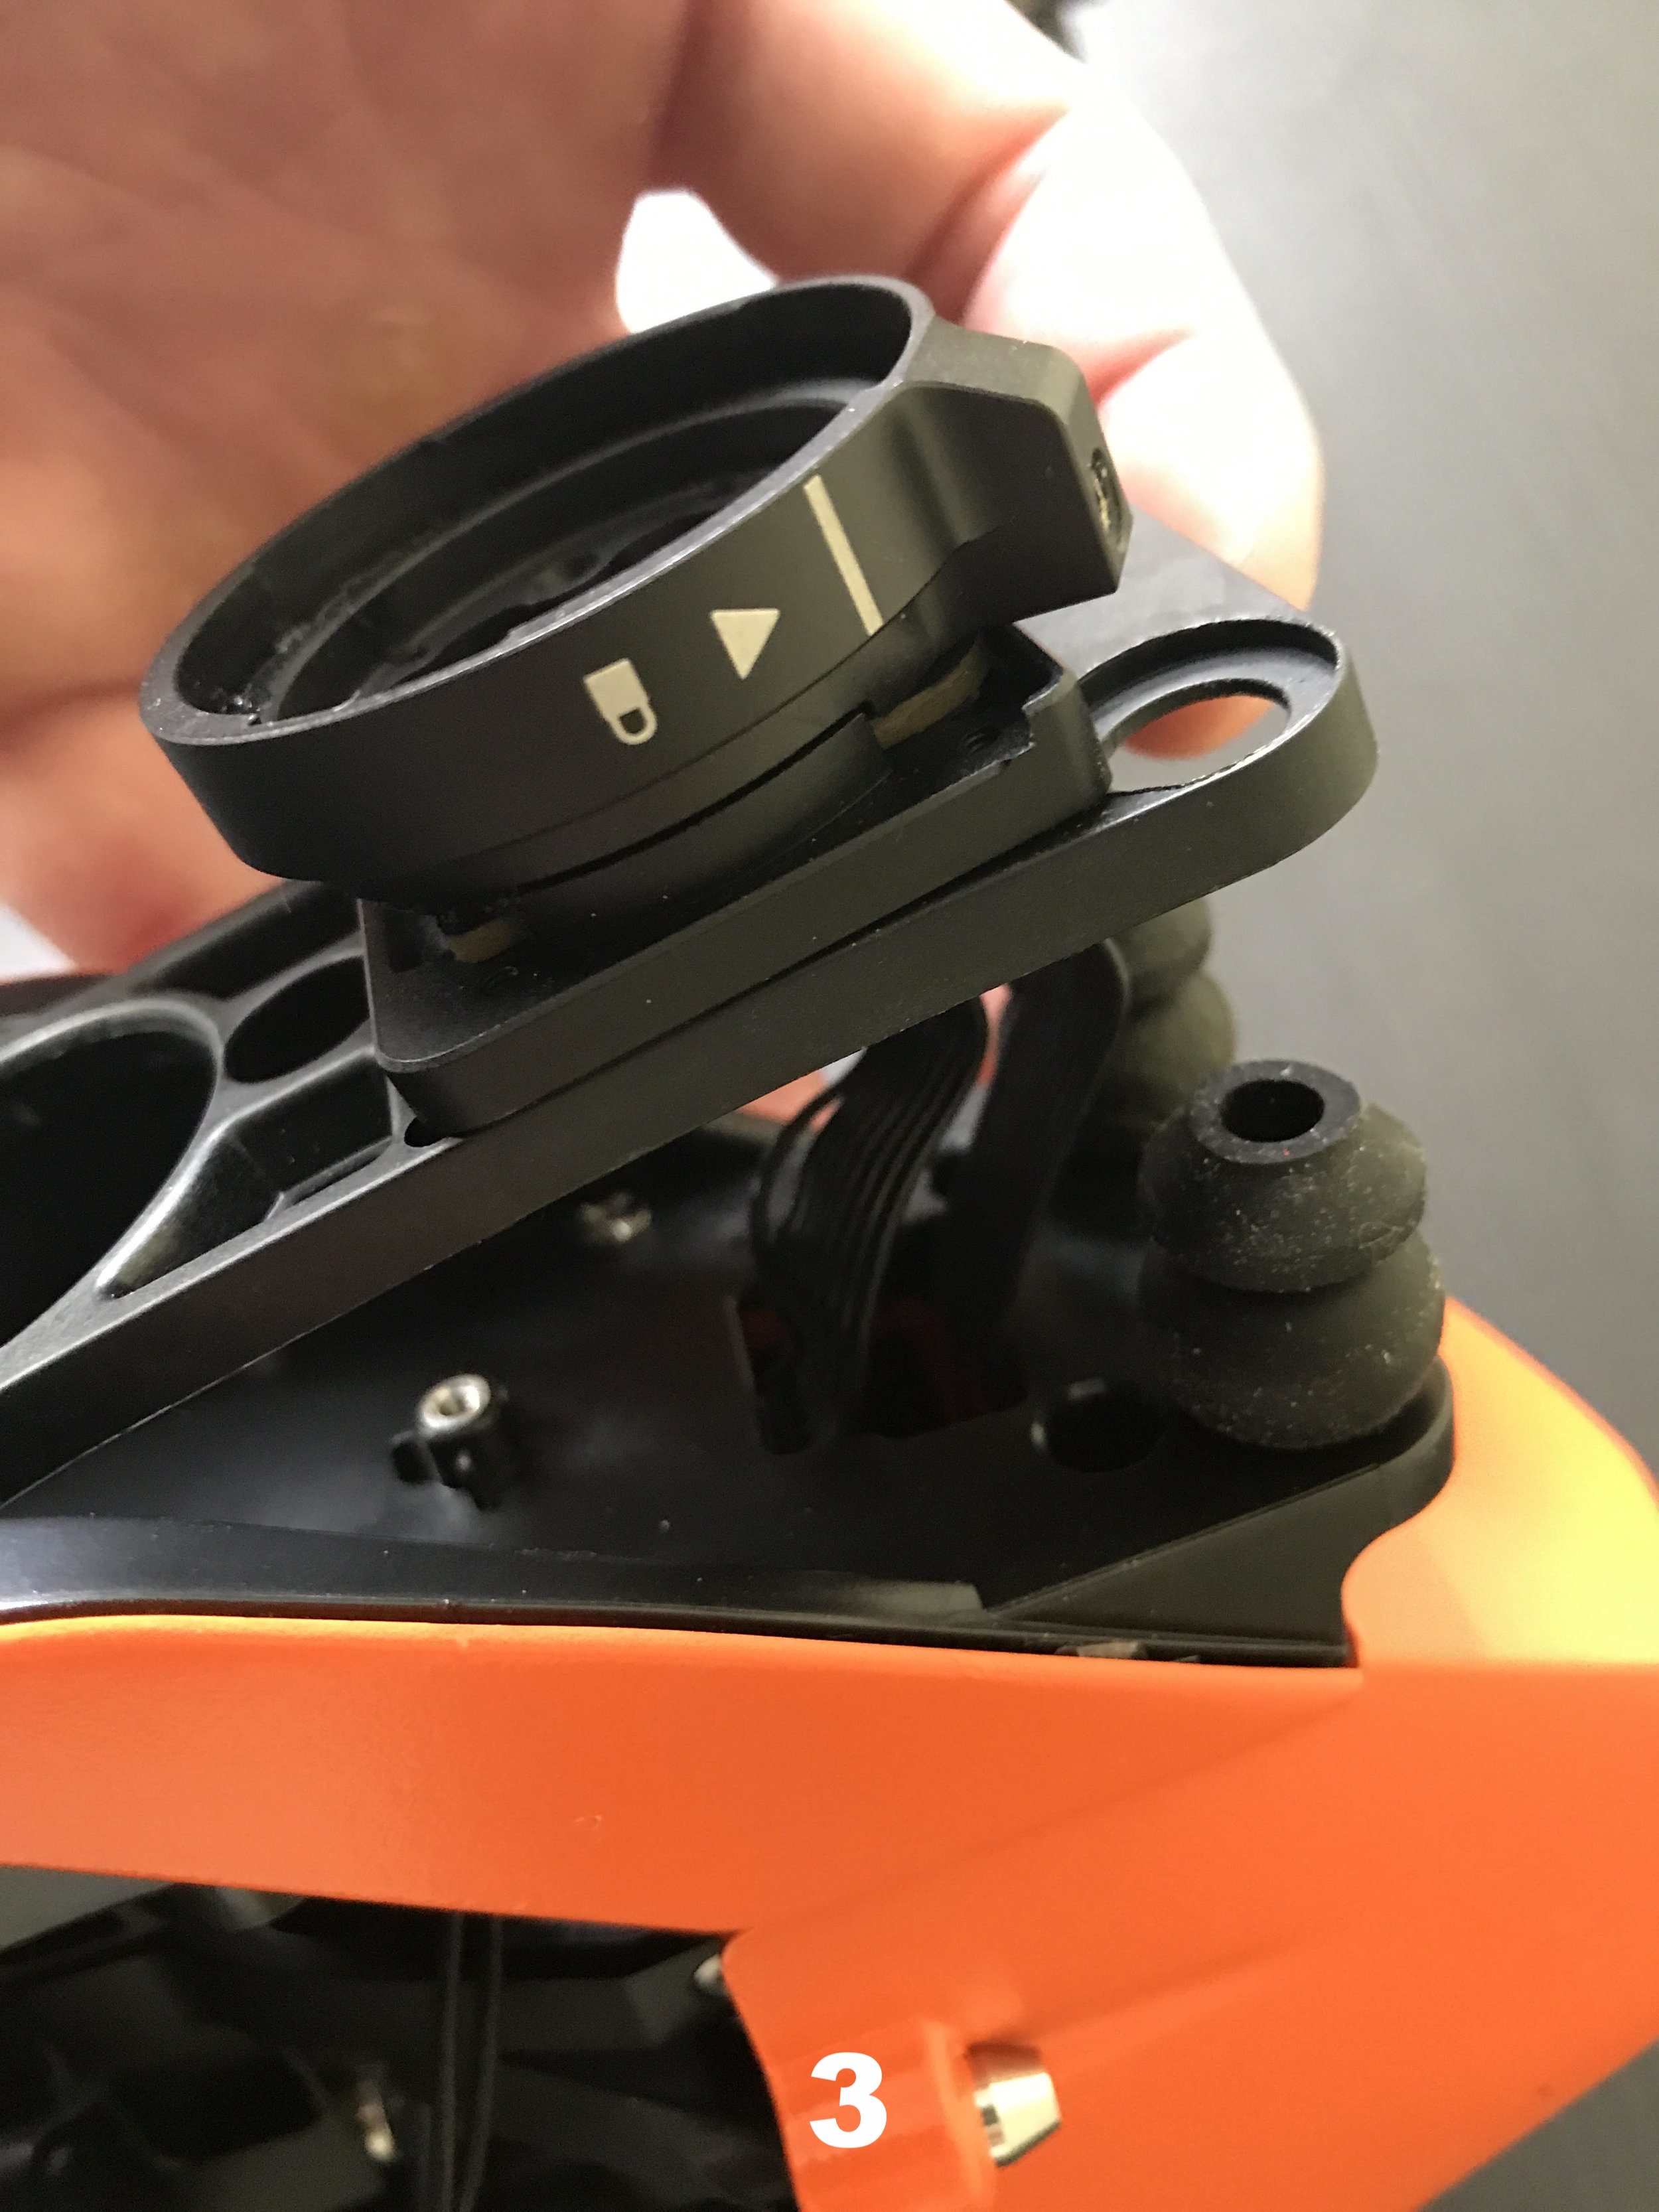
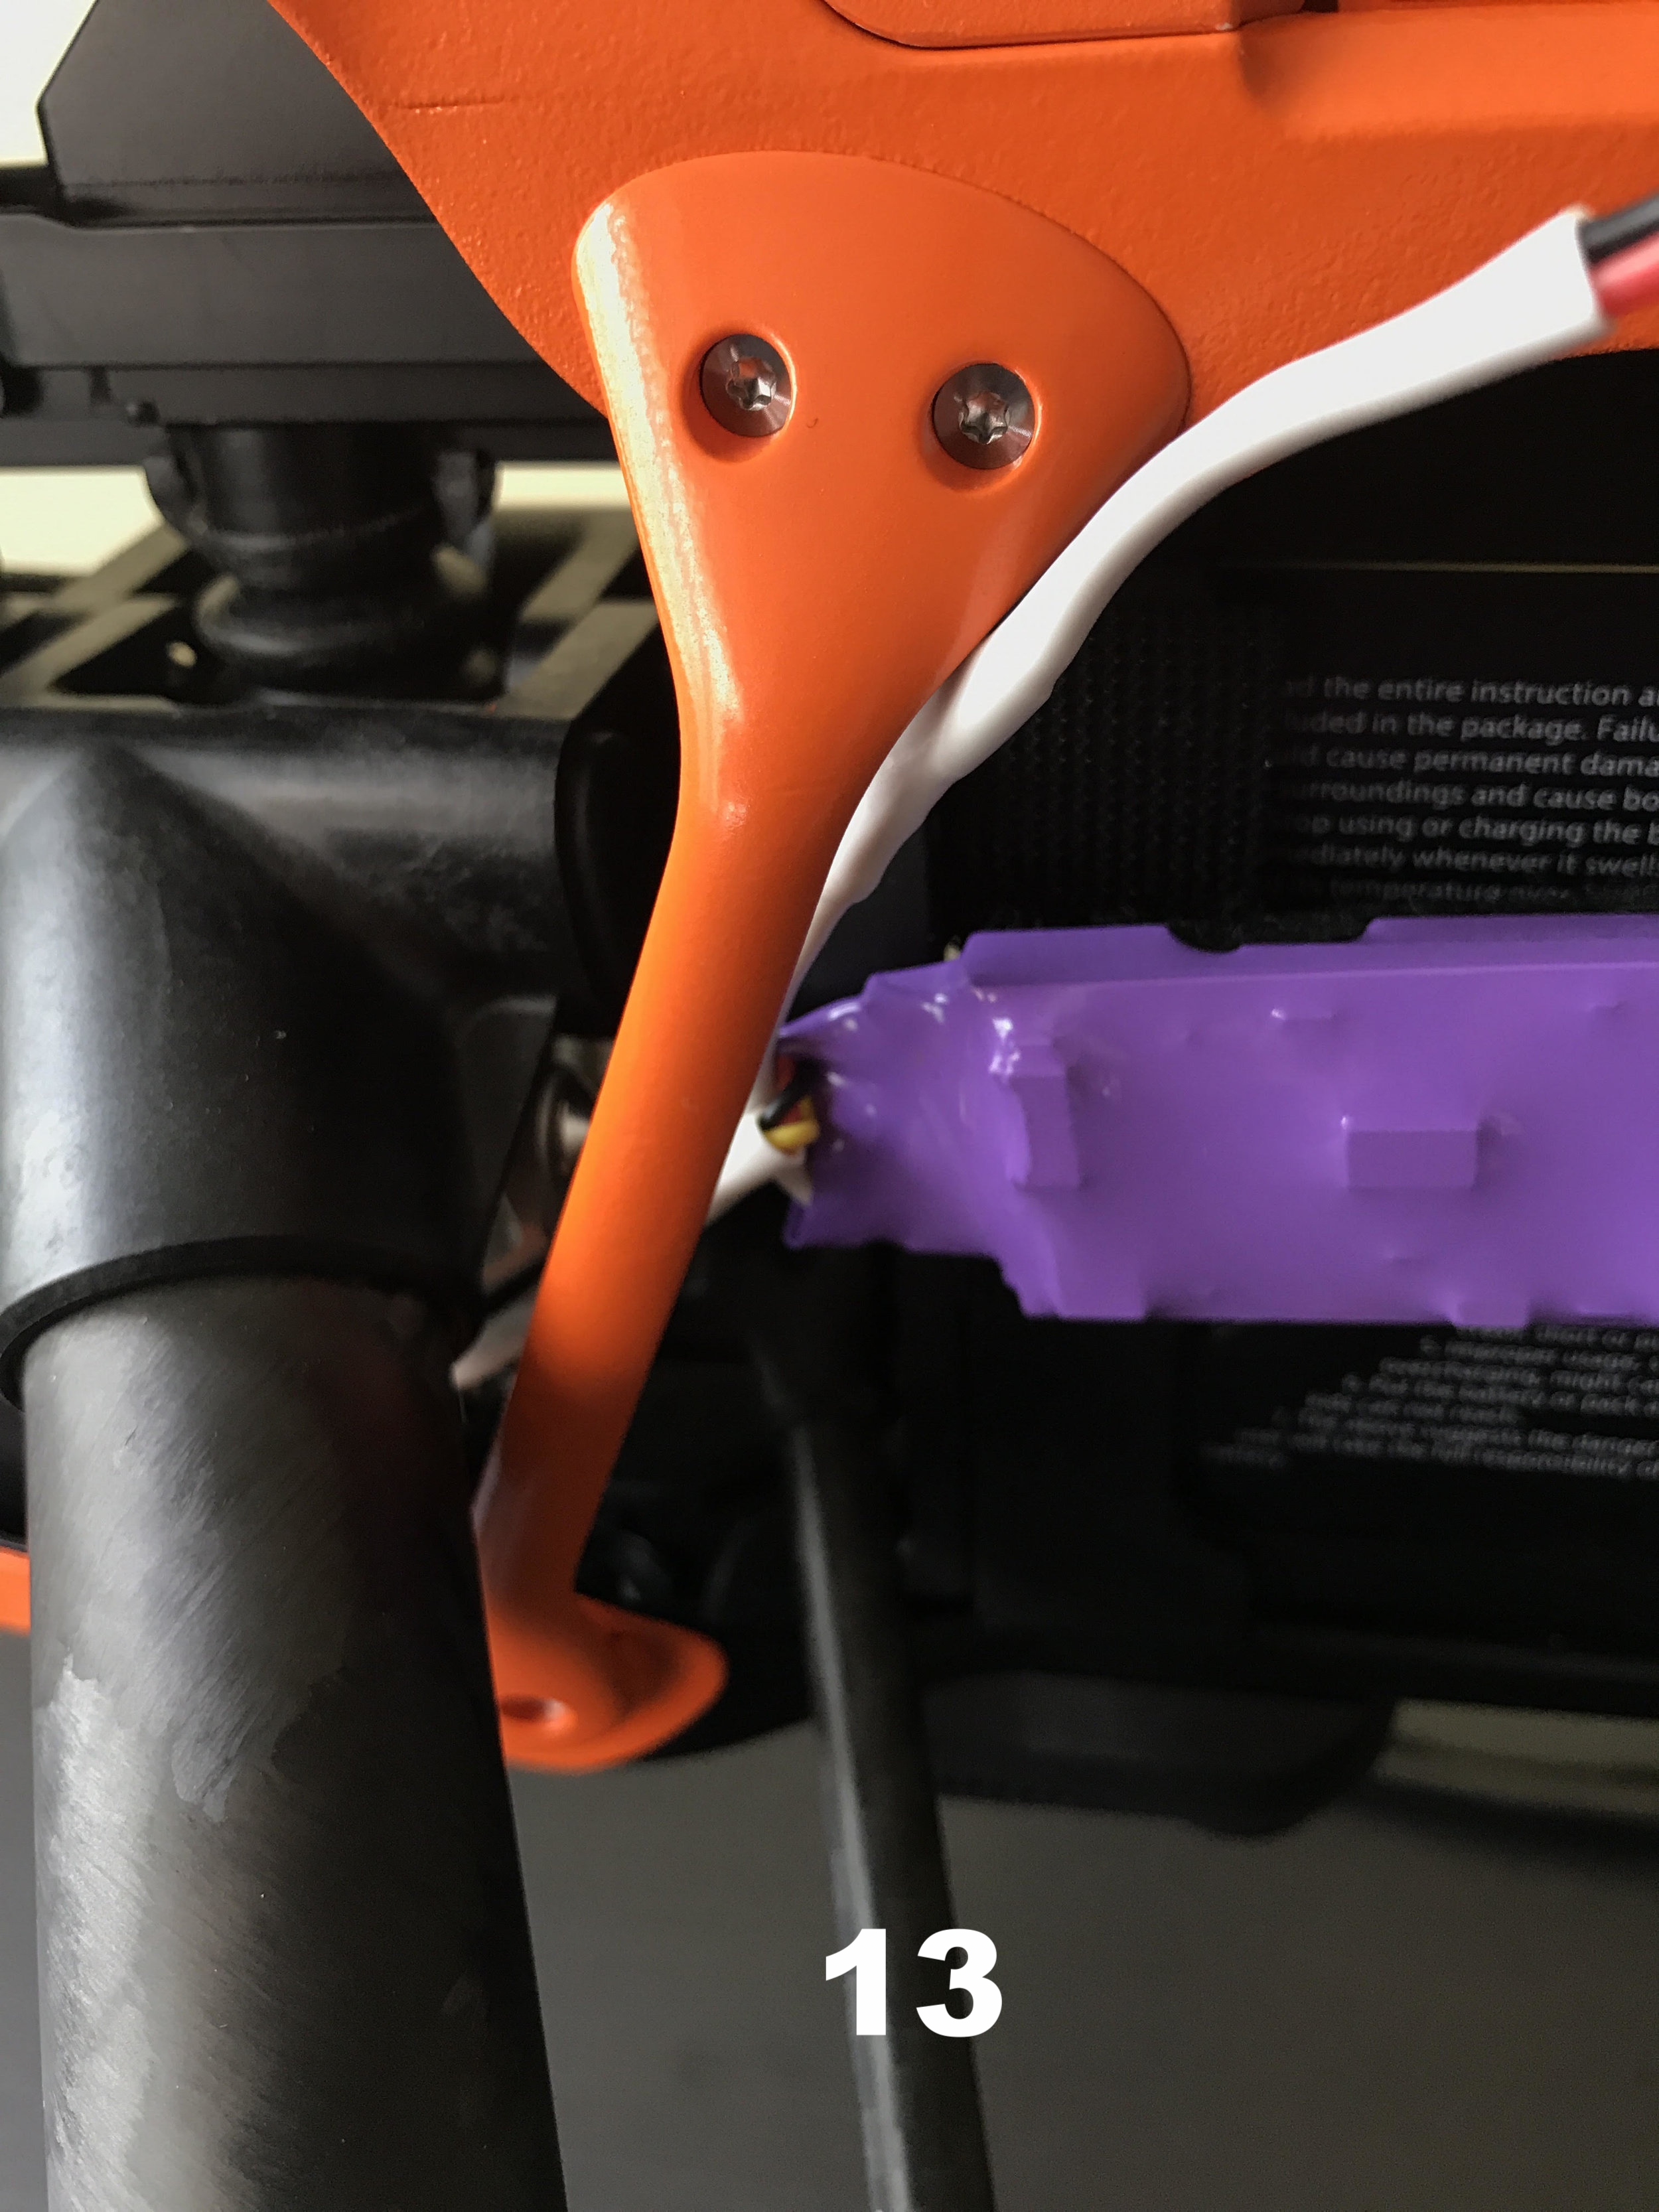
- Attach the left arm support back to the frame and verify correct placement - pic 13
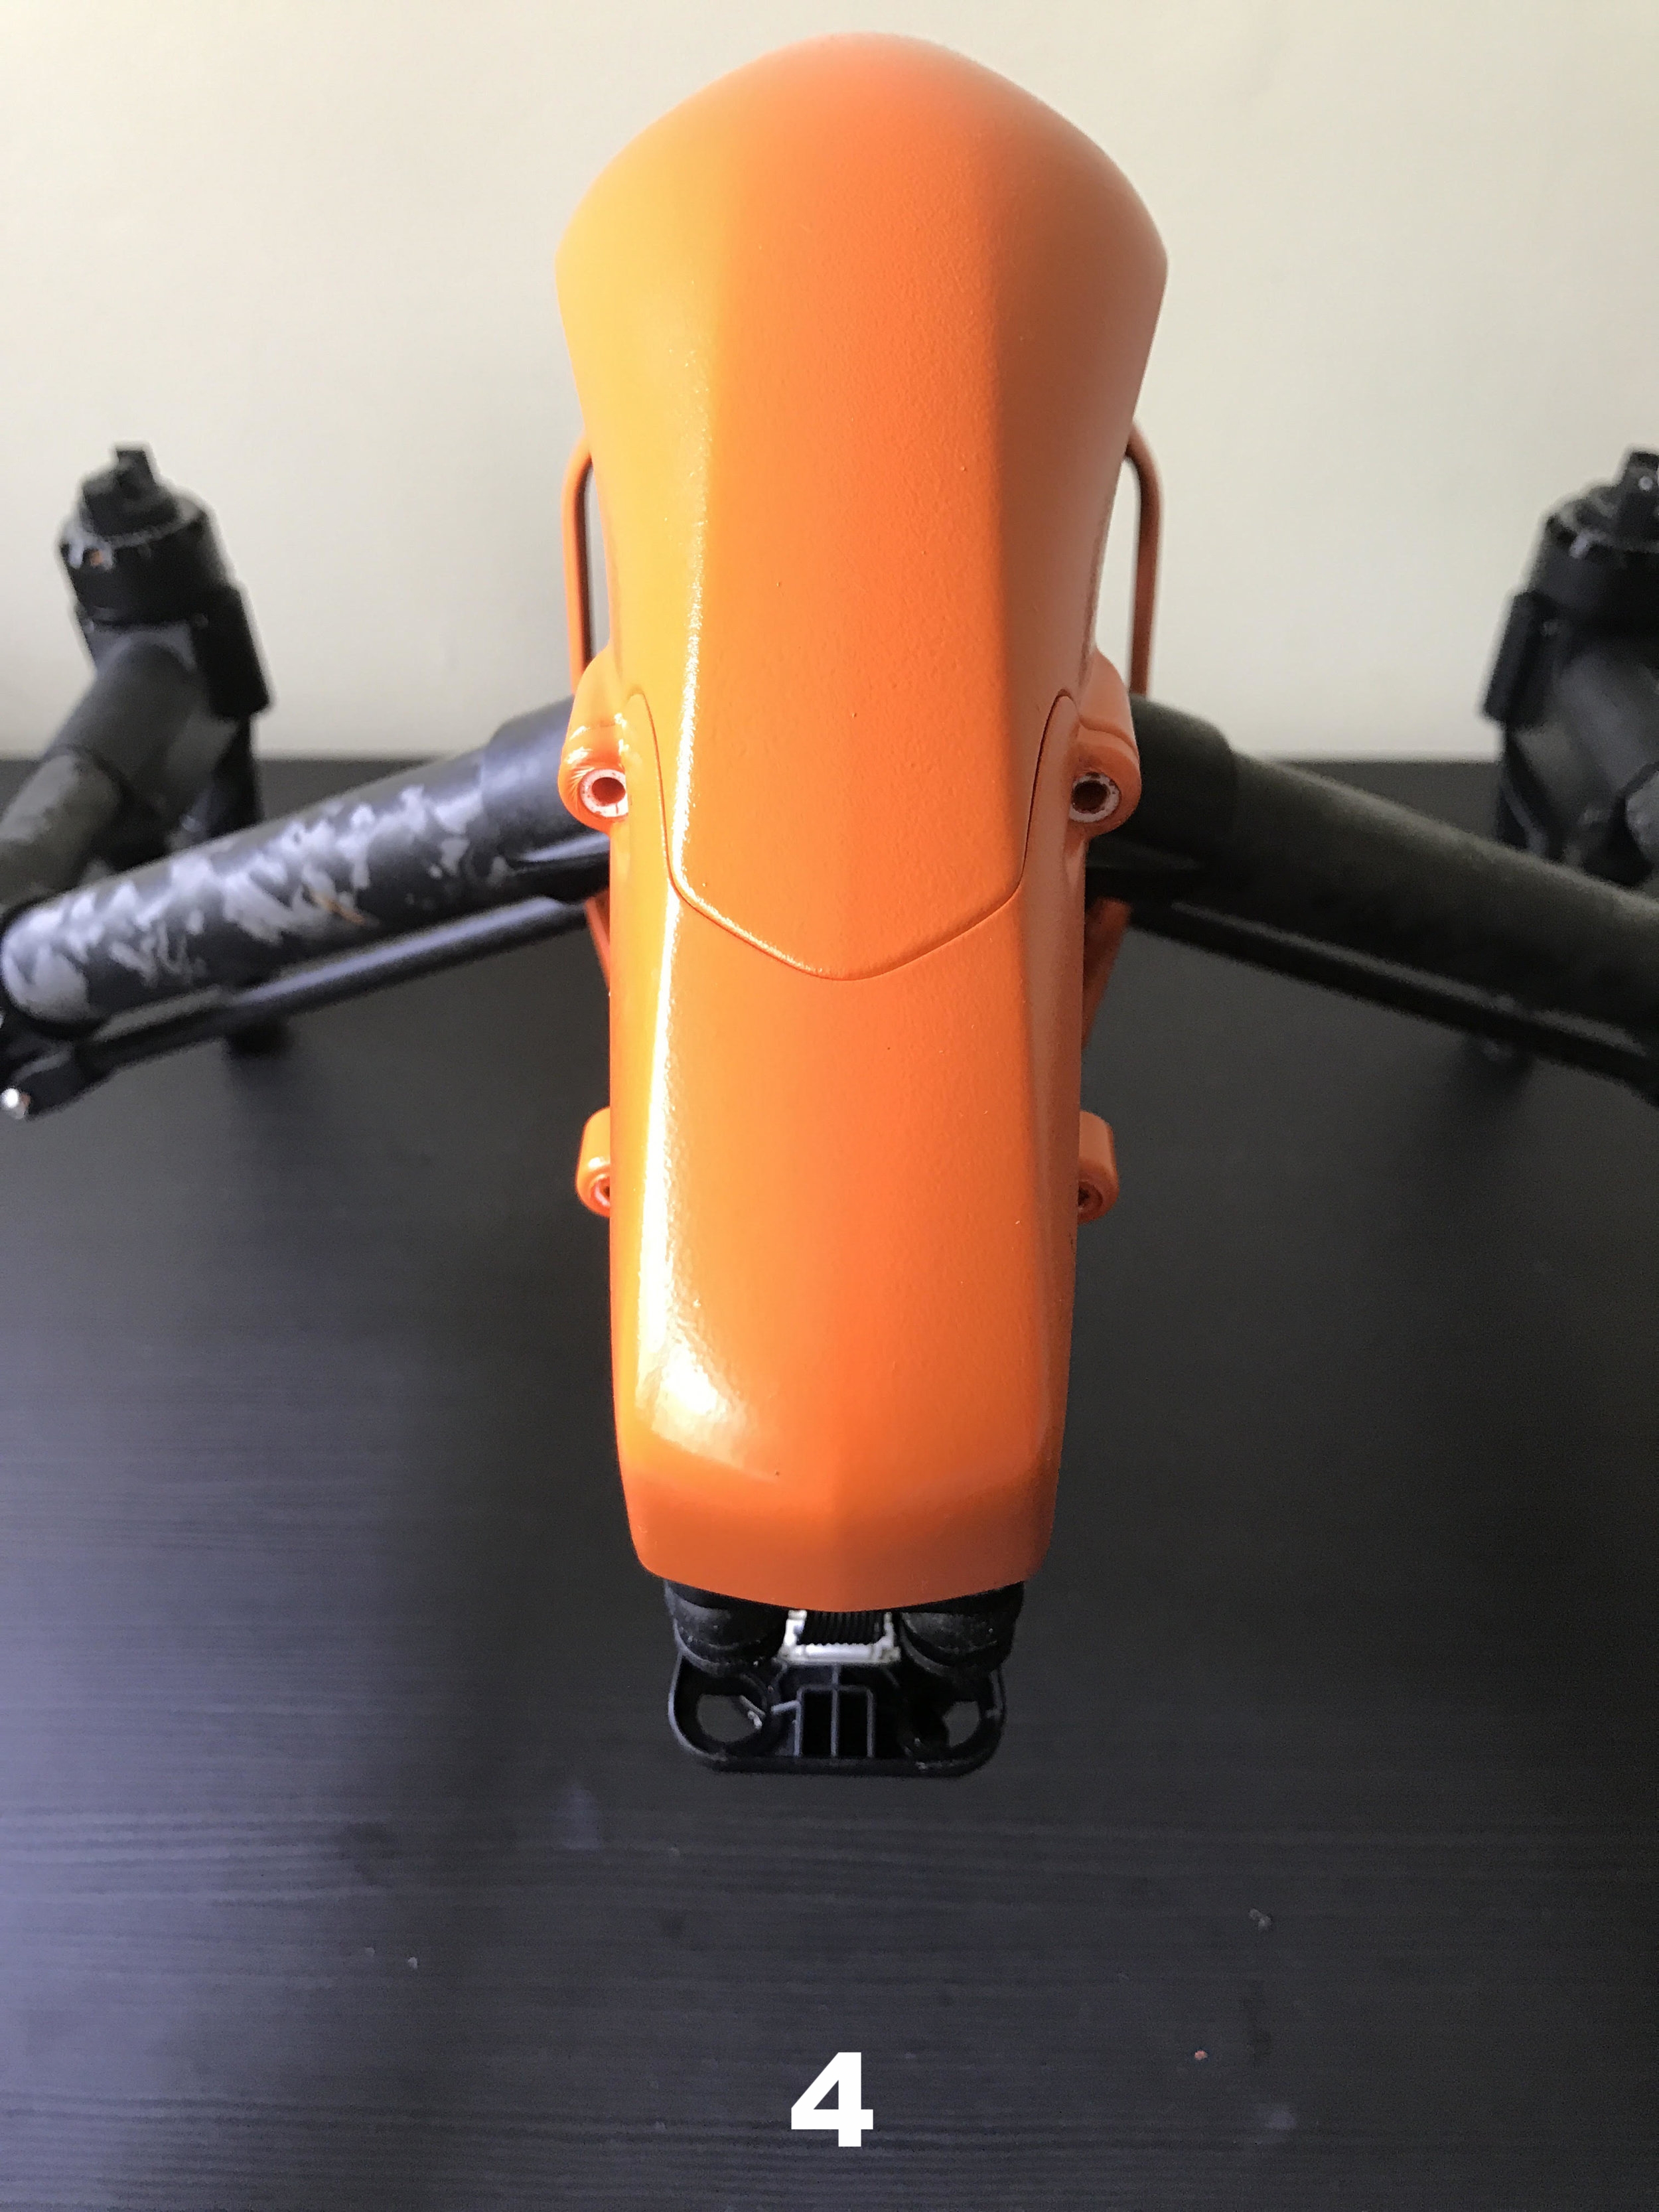
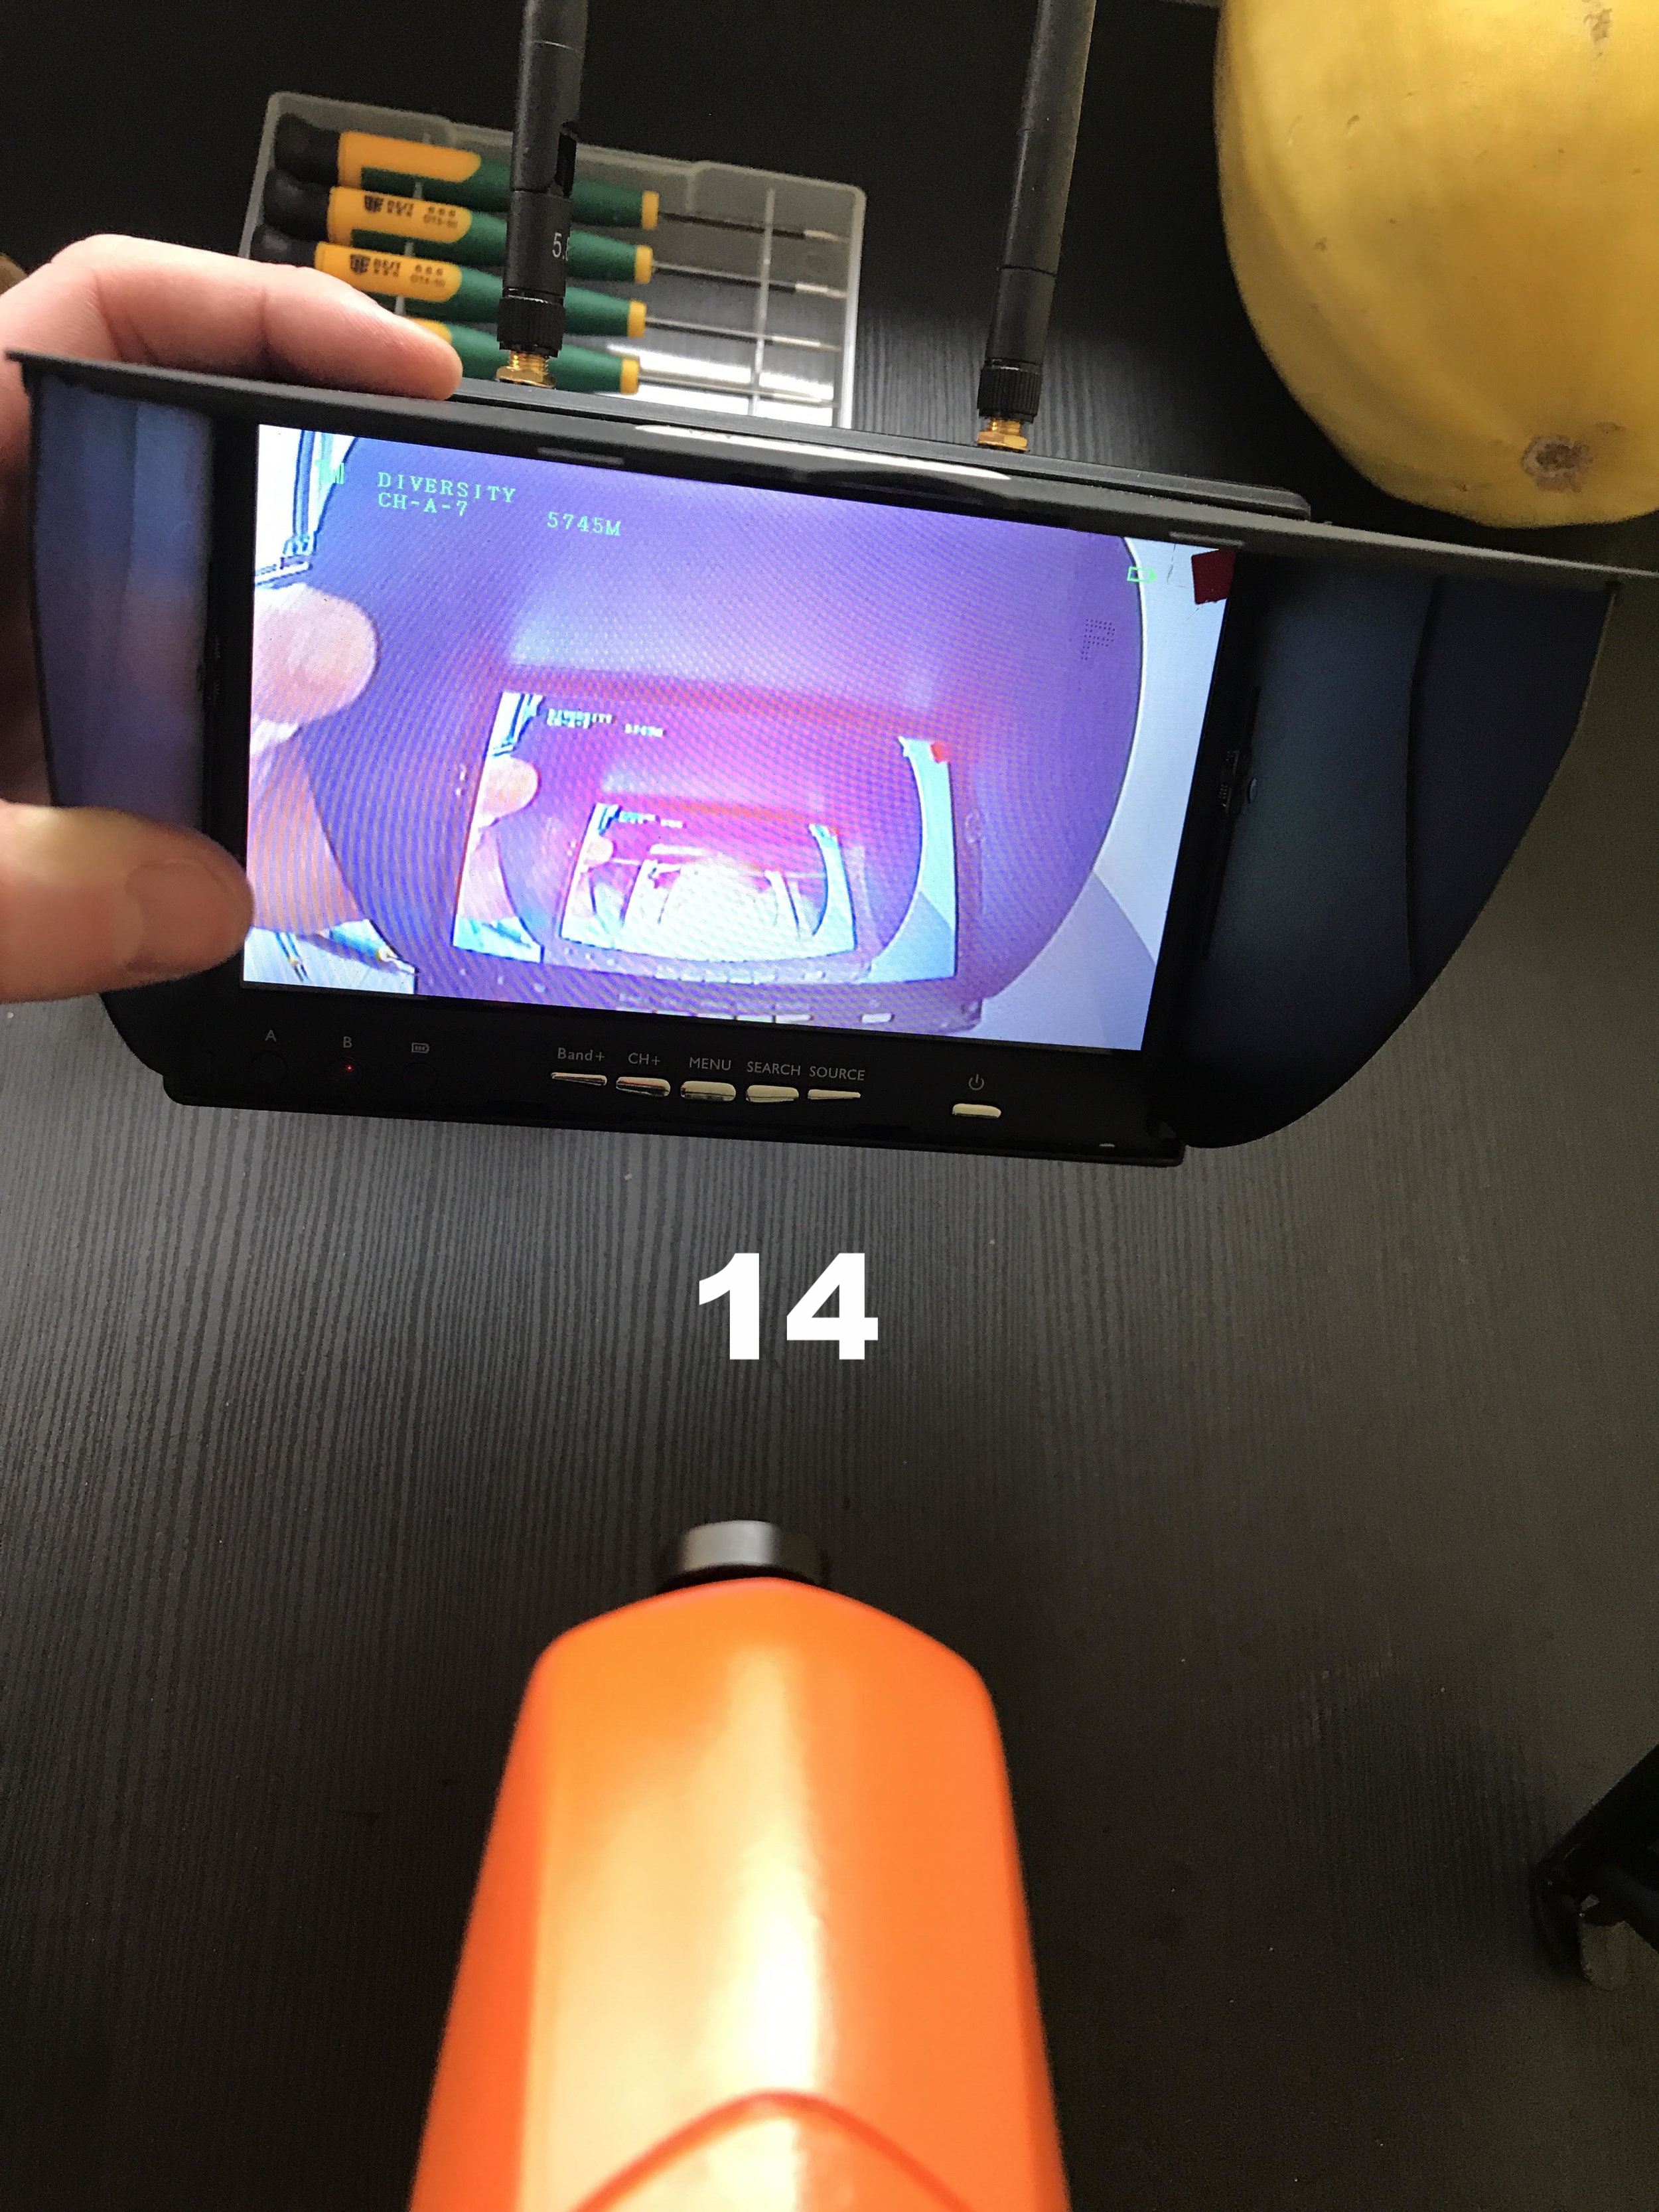
- Power on and make sure FPV feed is still working properly after installation - pic 14 & 15
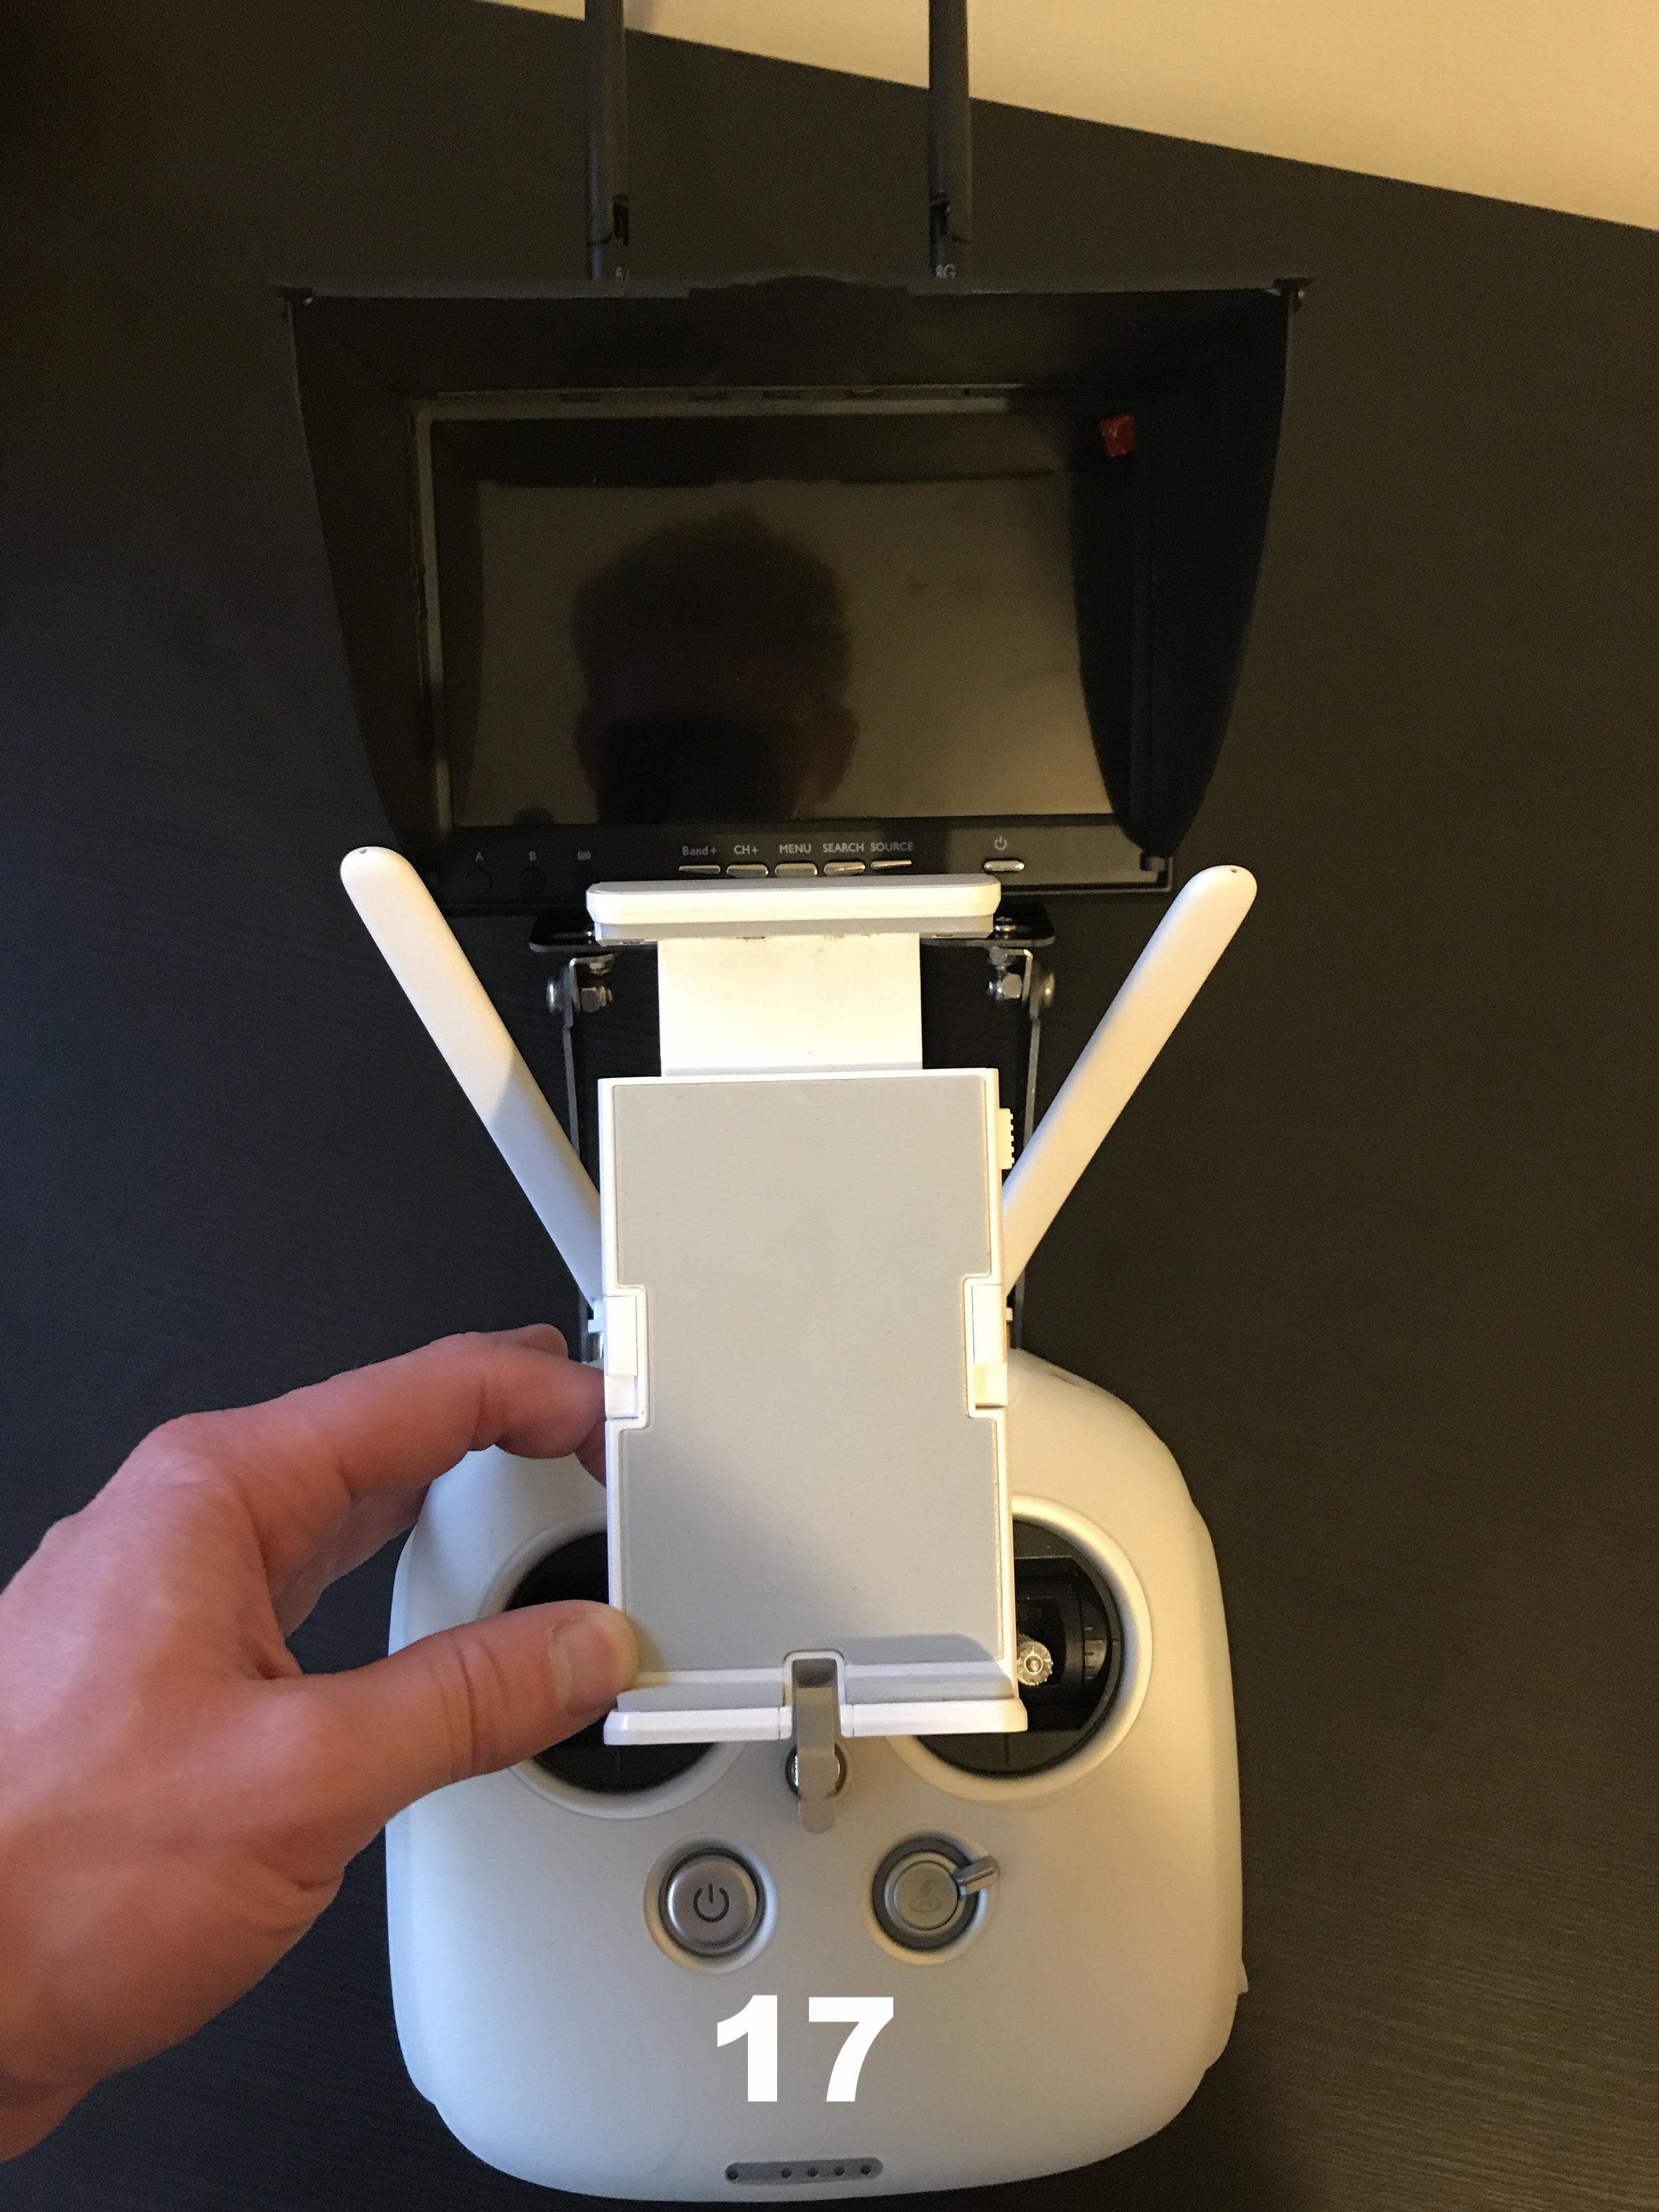
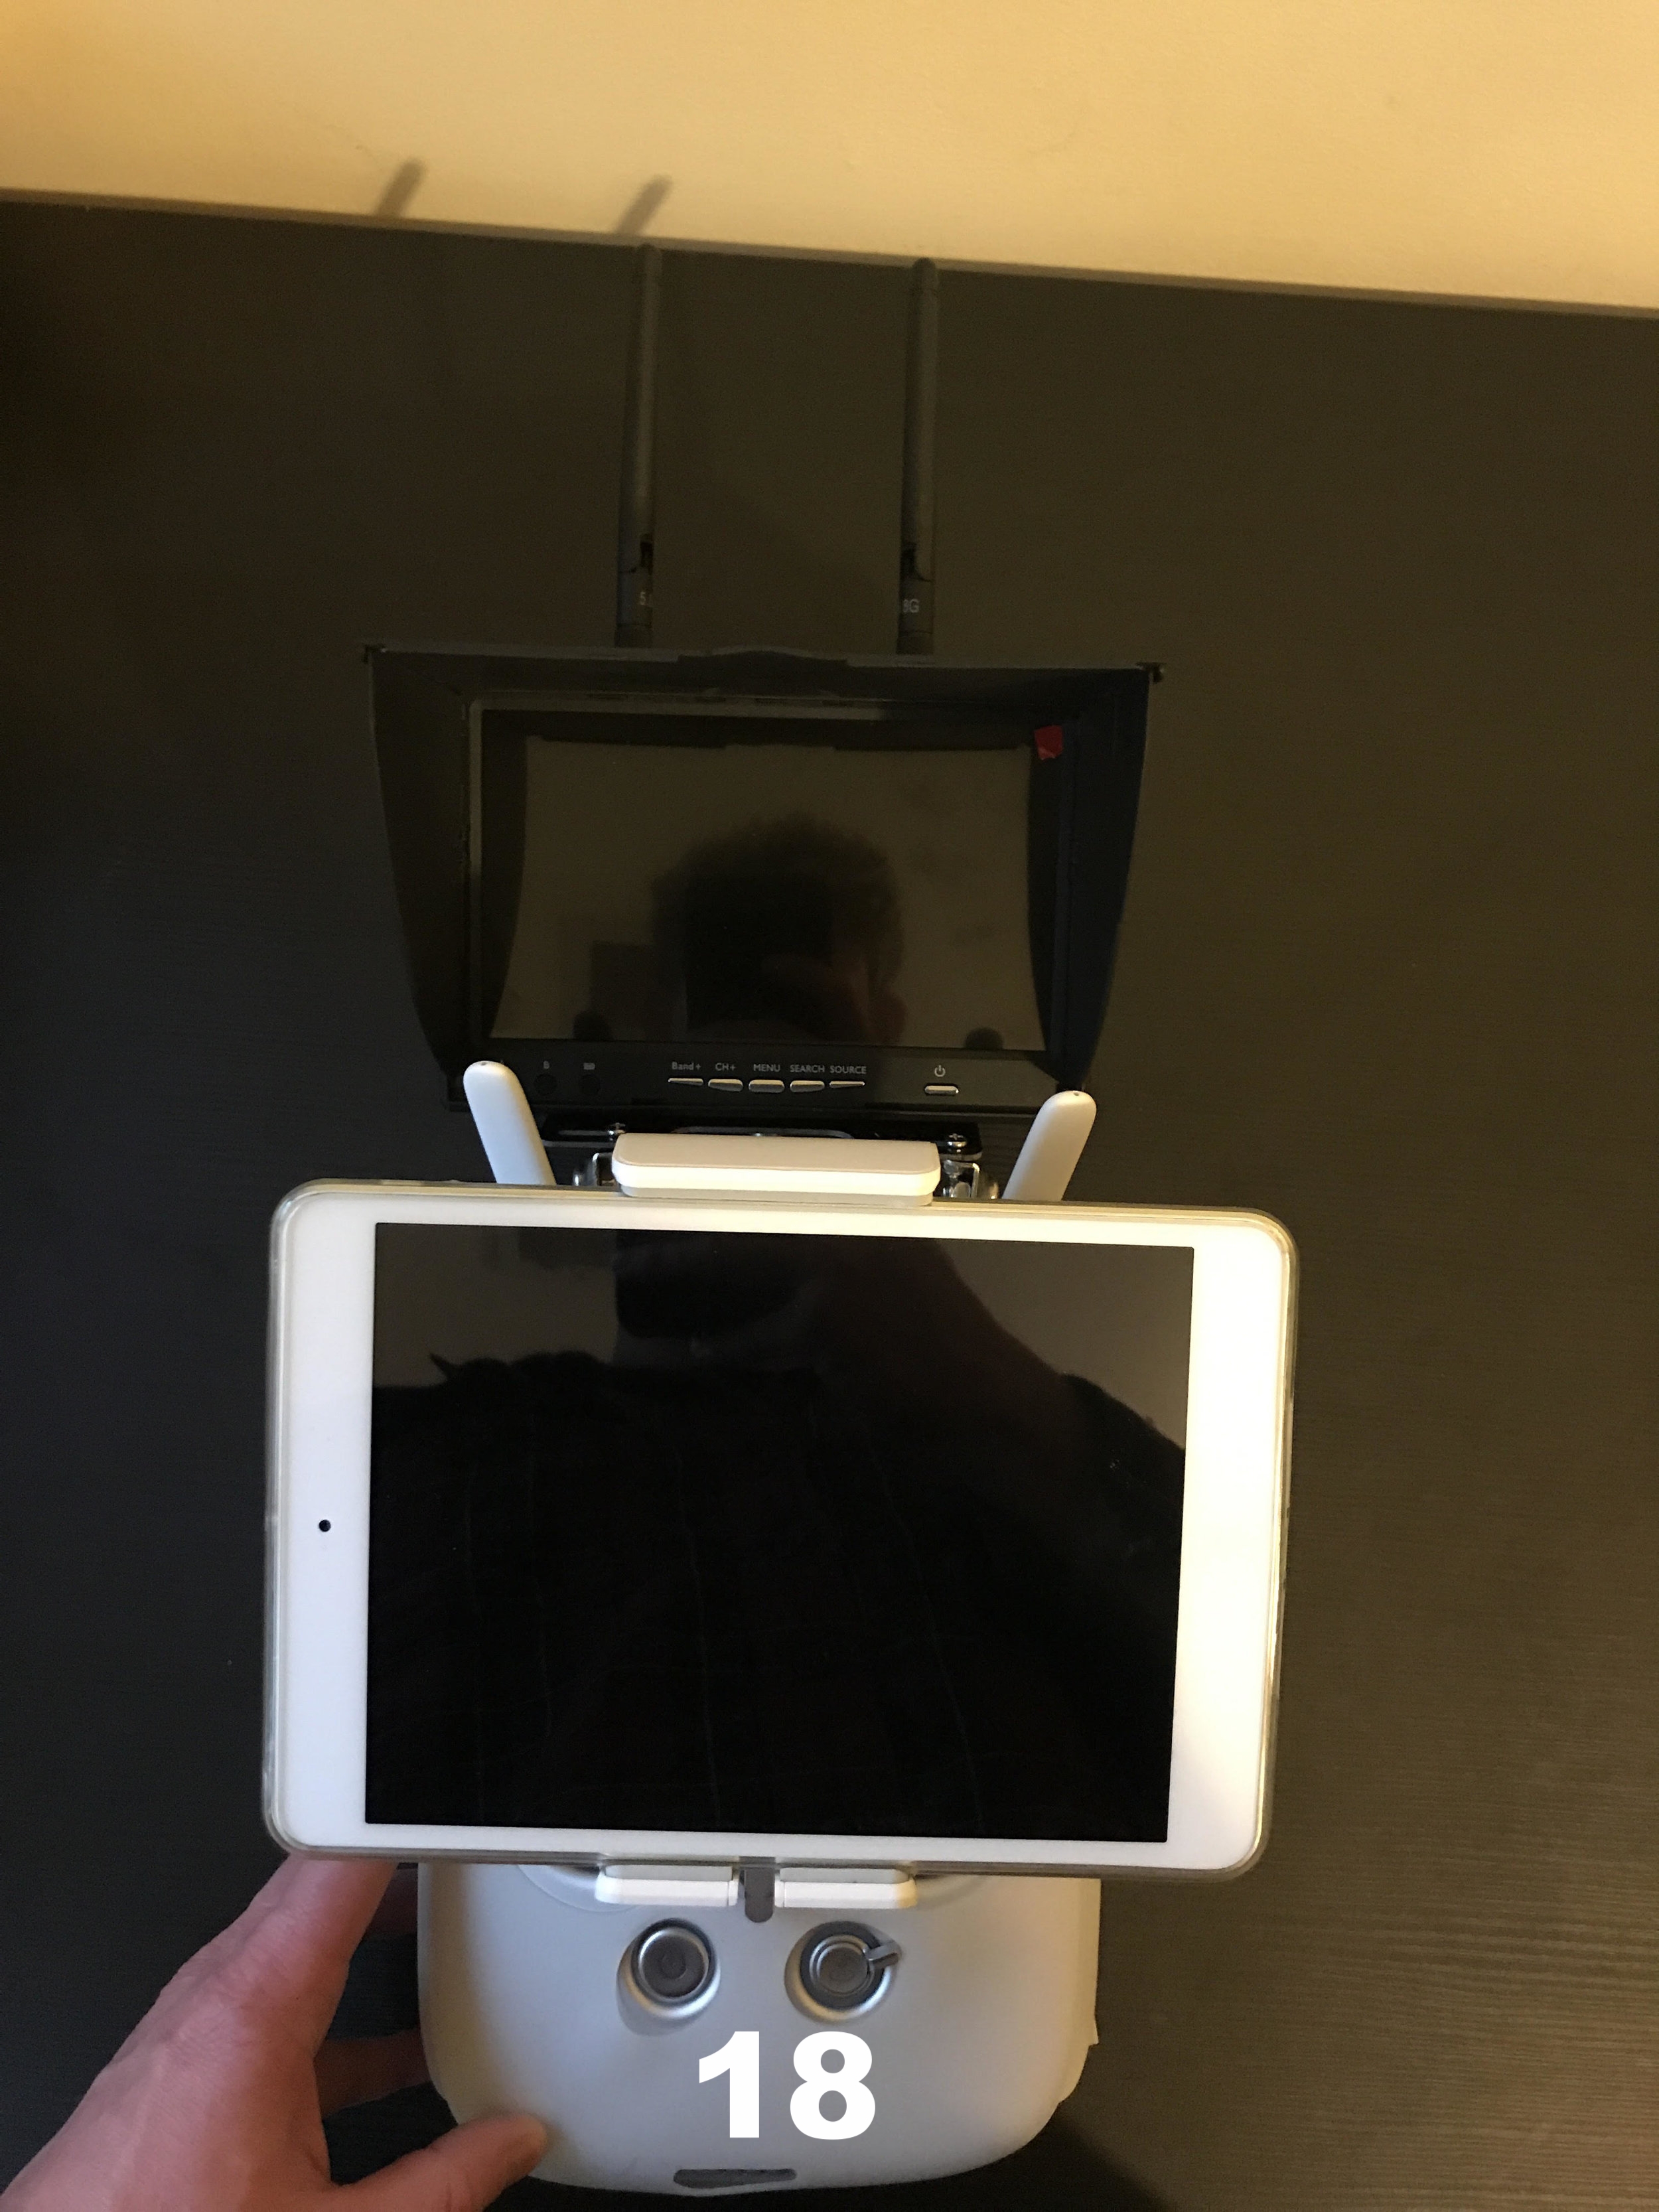
The hard part is over! Now, you need to add your second screen to the Inspire's RC. Using the YKS Carbon Fiber Display Monitor Support Stand, I was easily able to add the FPV screen - pics 16 & 17. Finally, the last step which I was concerned about. Does the new screen work with the iPad Mini too? Is there any overlap? Check out picture 18 in the scrolling gallery below, I think the additional screen looks and functions great.